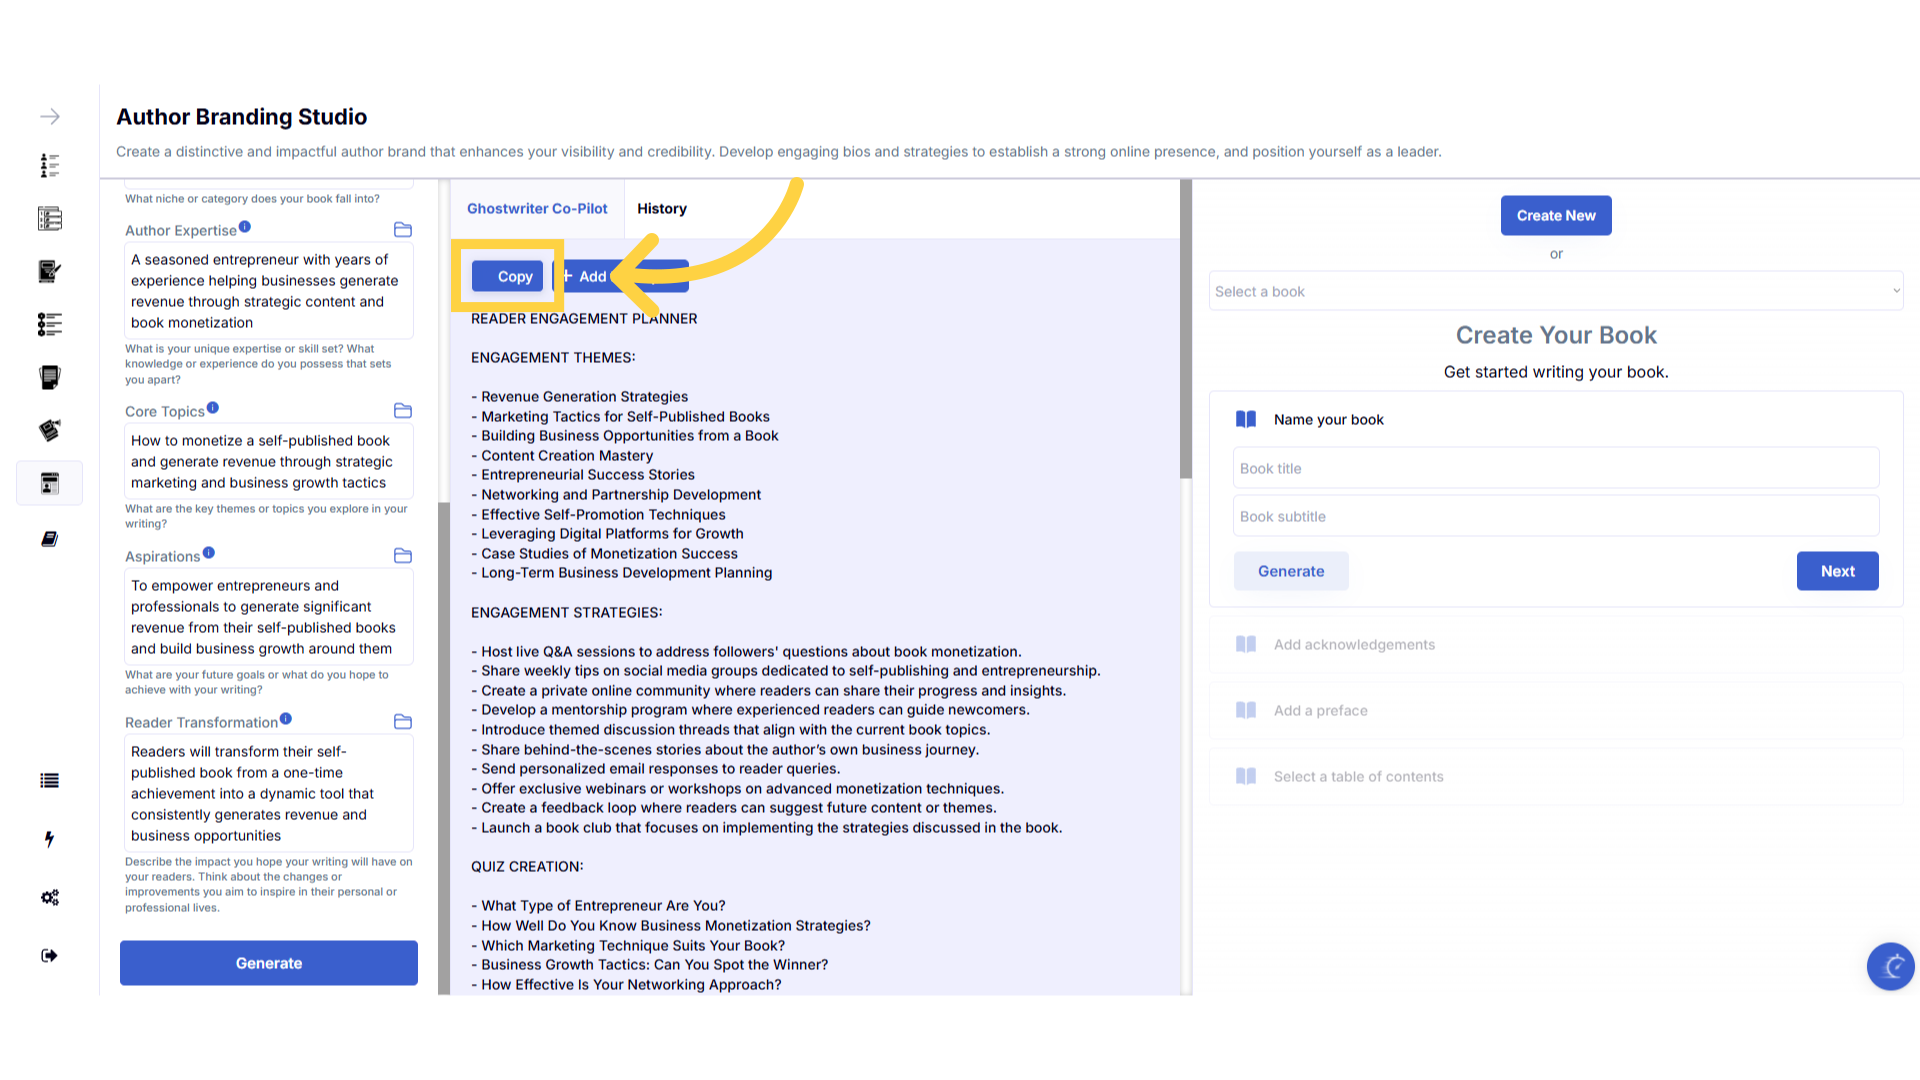
The Reader Engagement Planner template provides strategies to deepen your connection with your audience through interactive tools. It helps you create quizzes, polls, and contests related to your books, encouraging active participation and building a vibrant community around your work. This planner aligns with your vision and integrates your expertise and the transformative experience you aim to offer readers. It creates engagement strategies that highlight your unique narrative voice and actively involve your audience in your literary world.
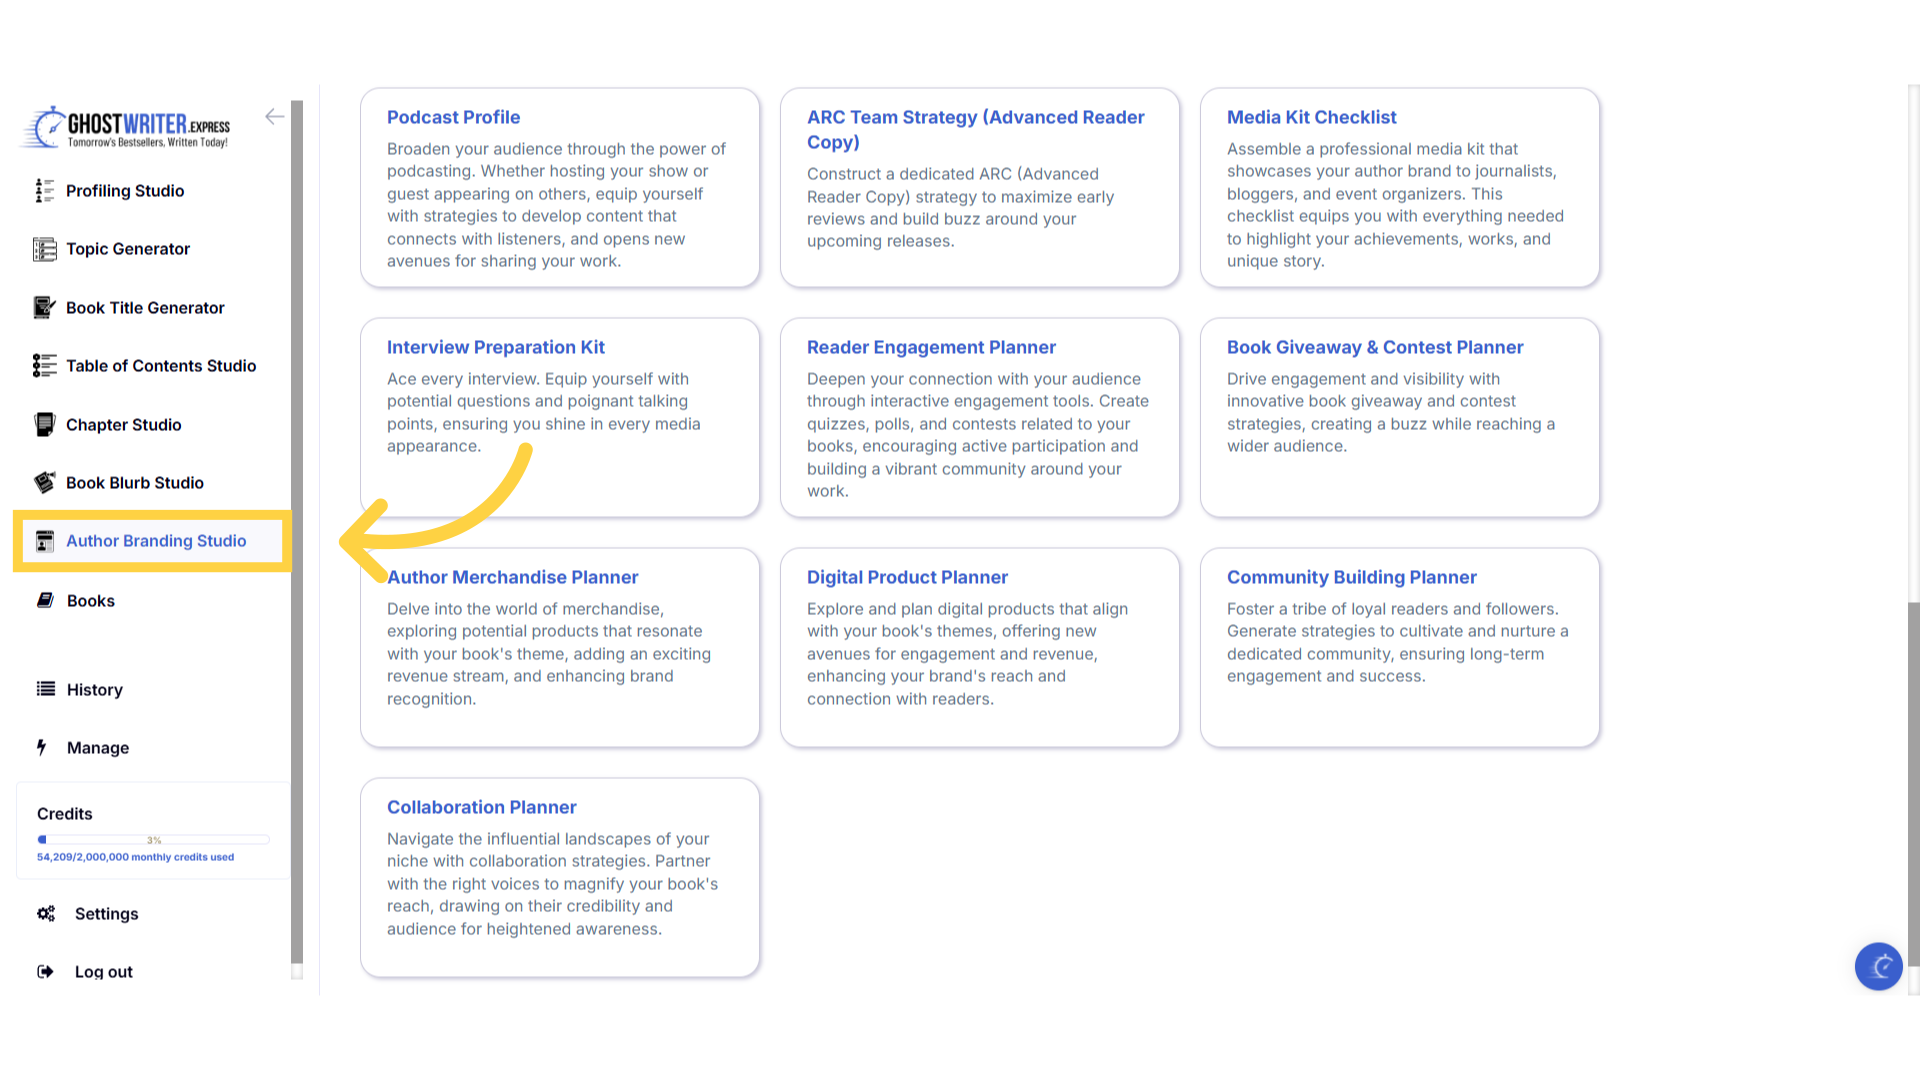
Enhance your authorial identity and engage with your readers effectively using the Author Branding Studio.
Click "Author Branding Studio"
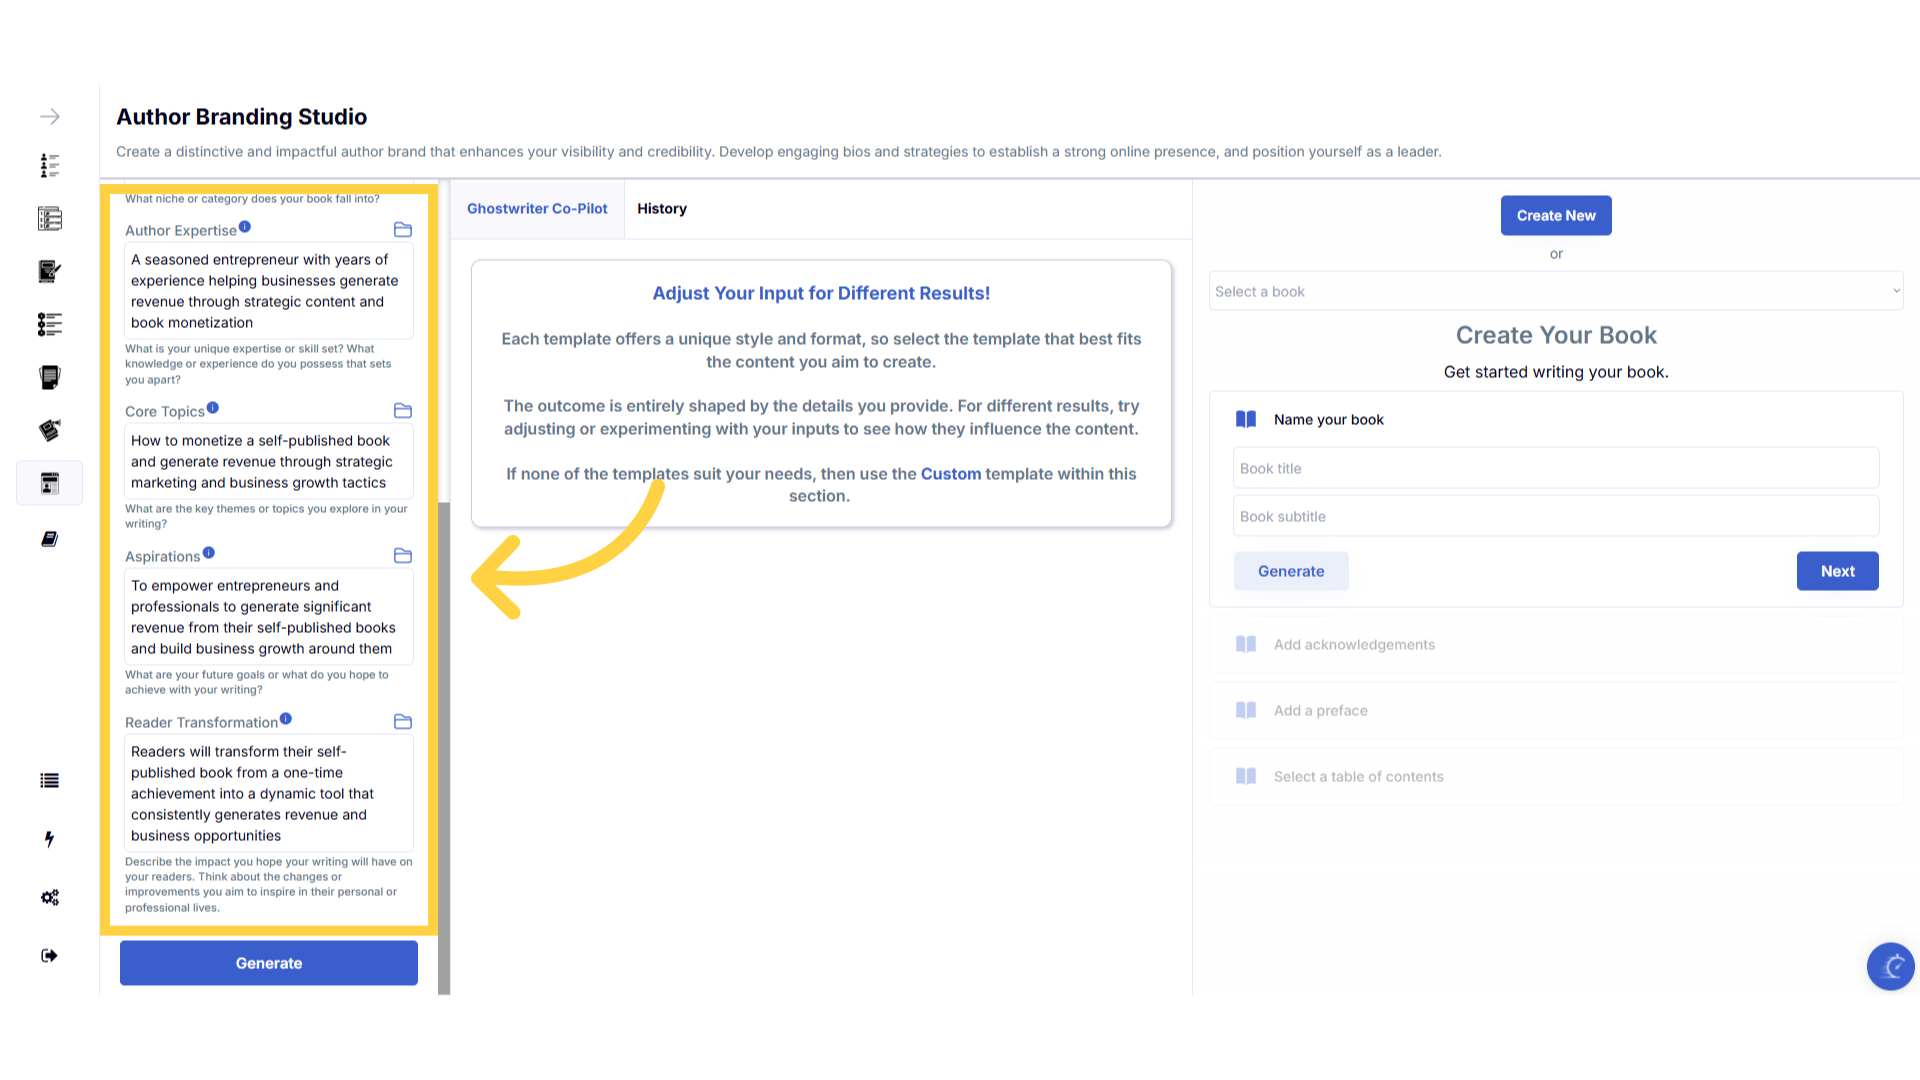
The Author Branding Studio helps you create a distinctive and impactful author brand that enhances your visibility and credibility. Develop engaging bios and strategies to establish a strong online presence, and position yourself as a leader. Let's explore the different templates available.
)
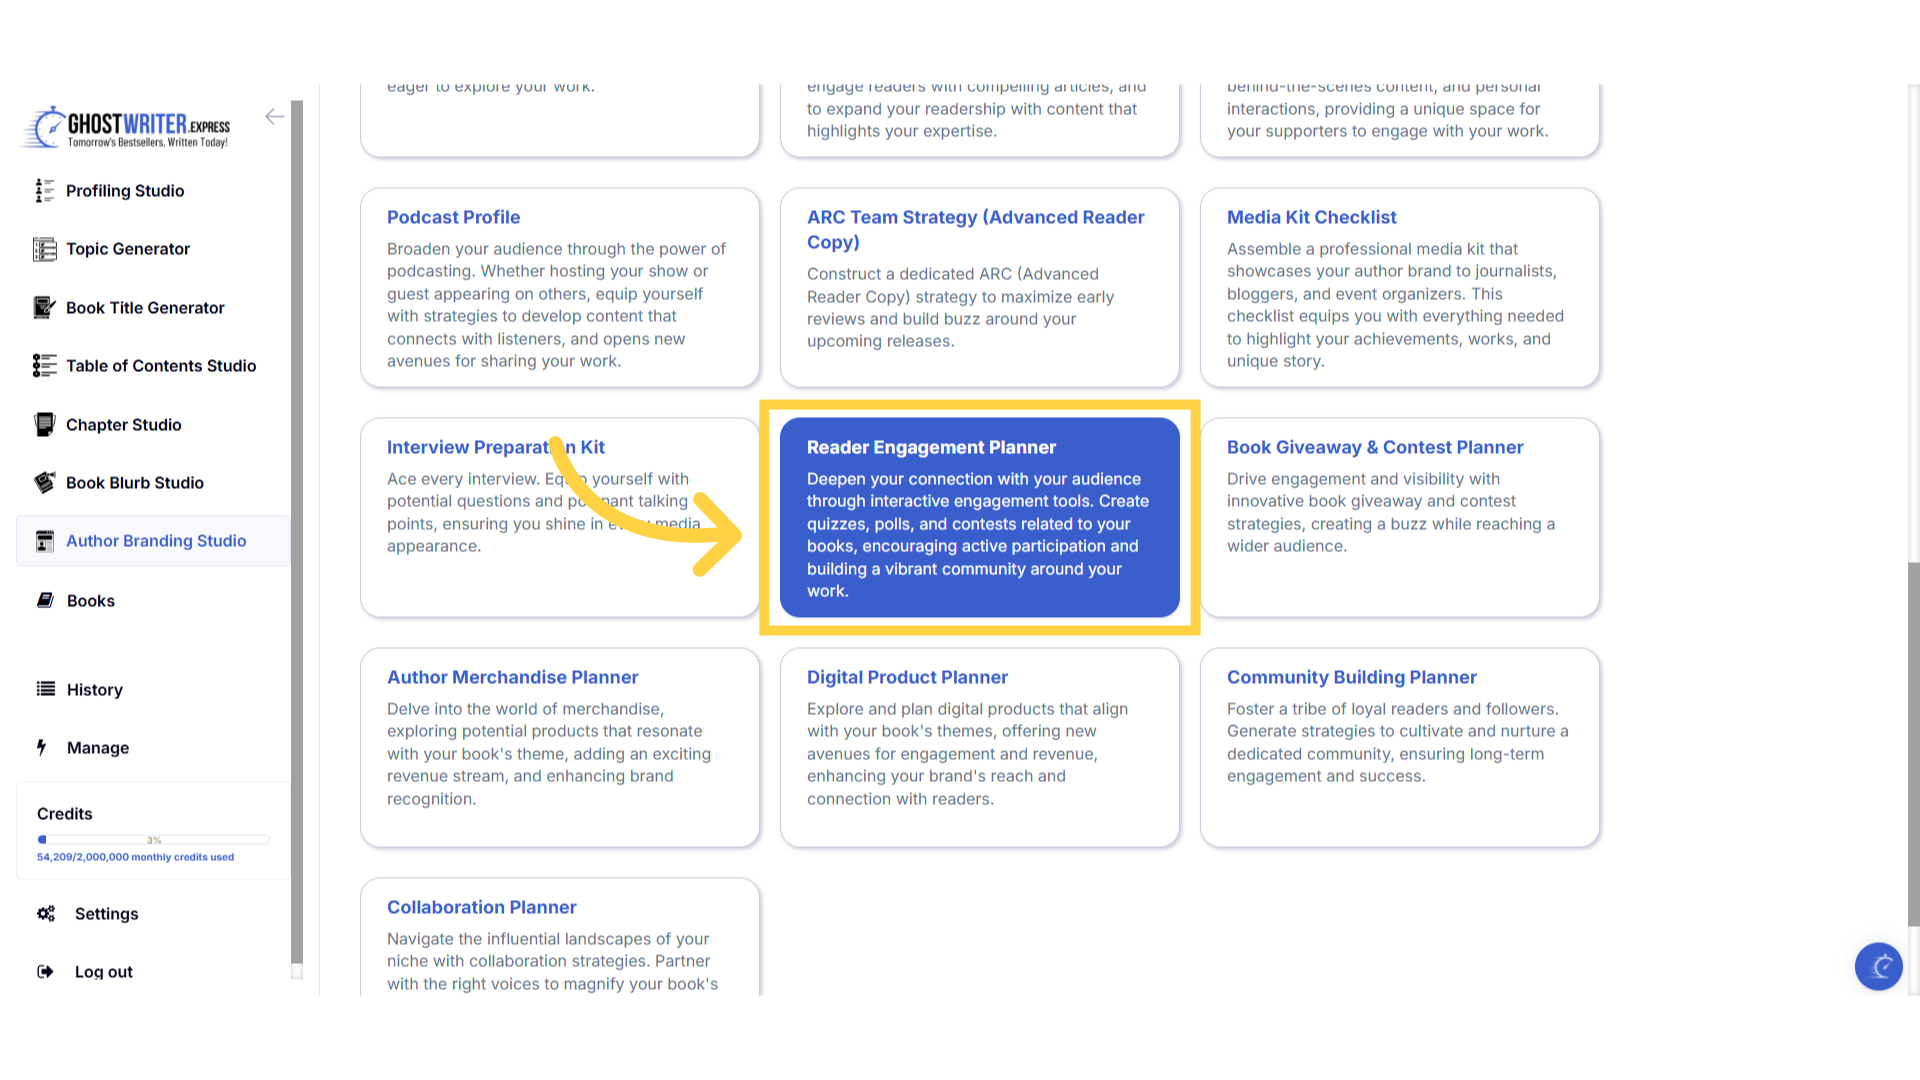
Select "Reader Engagement Planner"
The reader engagement planner provides strategies to deepen your connection with your audience through interactive tools. It helps you create quizzes, polls, and contests related to your books, encouraging active participation and building a vibrant community around your work. This planner aligns with your vision and integrates your expertise and the transformative experience you aim to offer readers. It creates engagement strategies that highlight your unique narrative voice and actively involve your audience in your literary world.
)
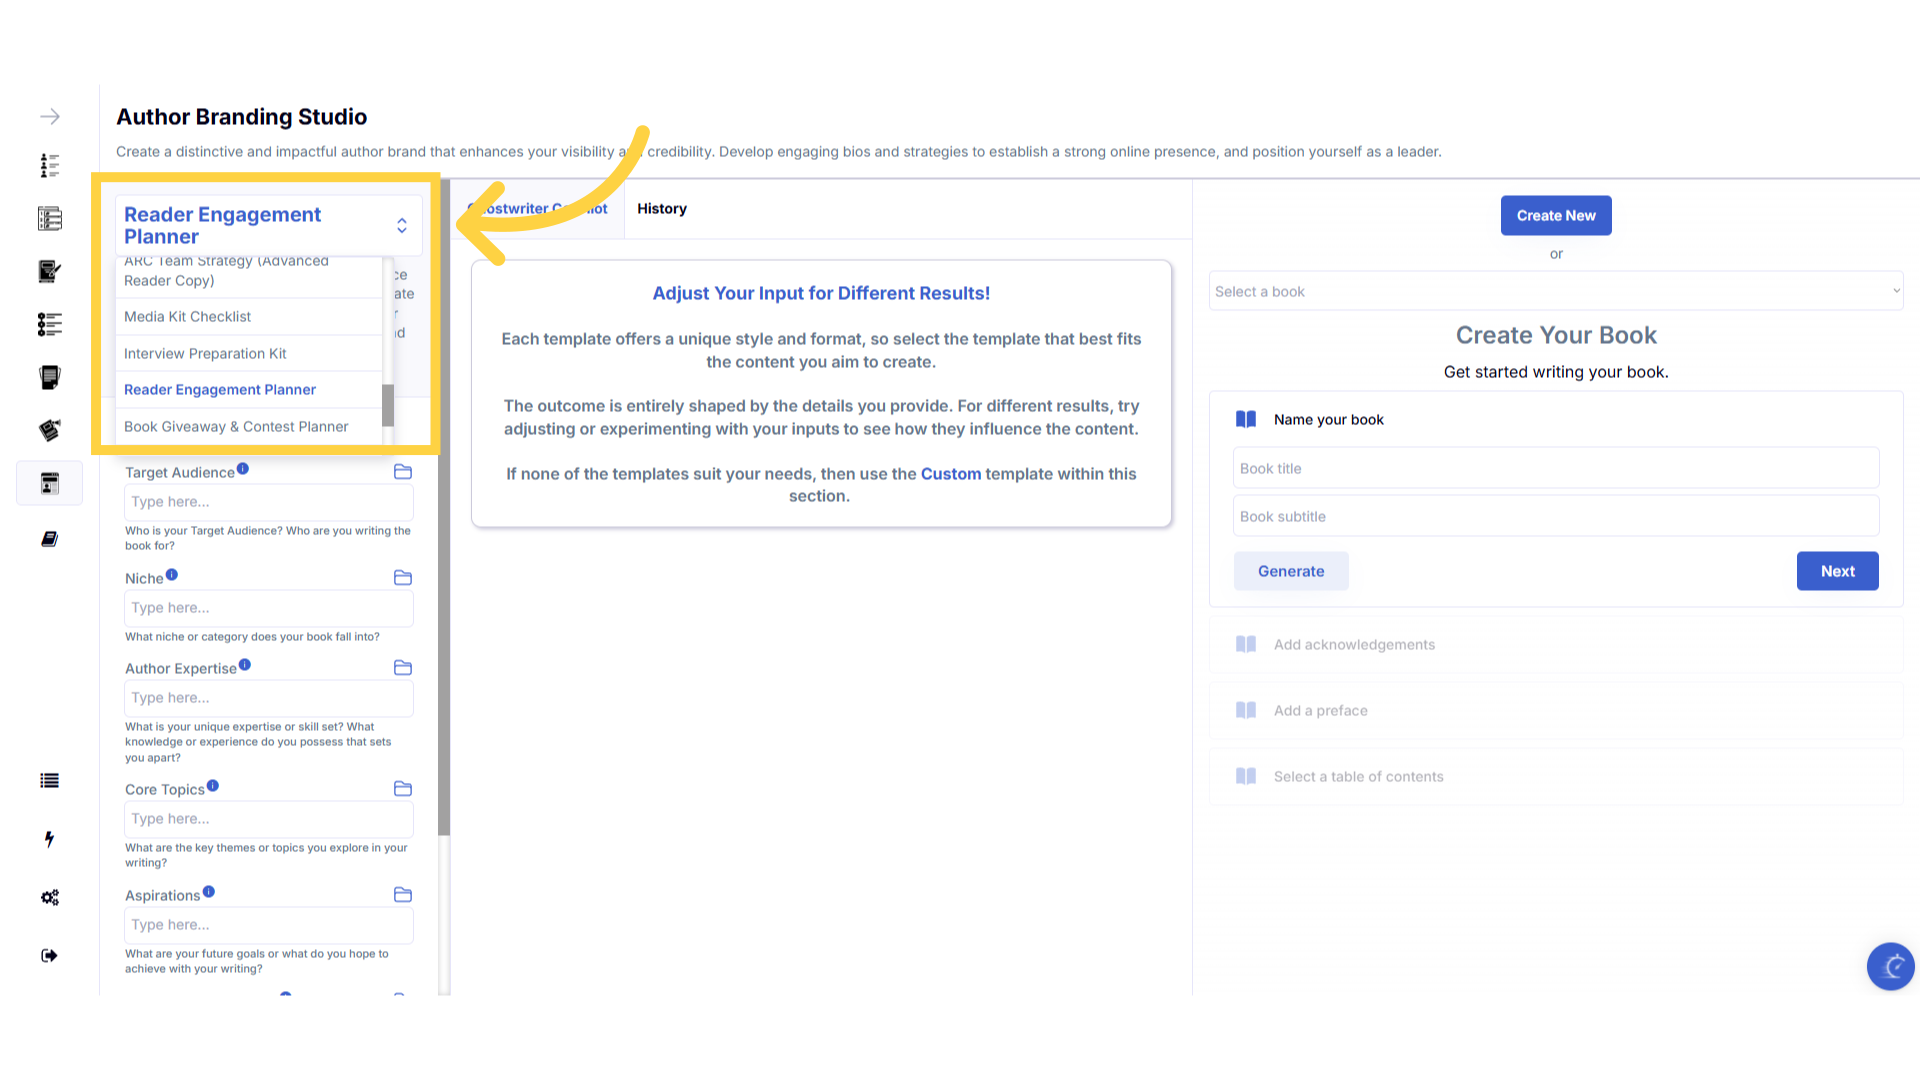
Click "Template Name" in the dropdown menu to change between the templates.
Click on the template name to open the dropdown menu, to select and change between the templates within the author branding studio.
)
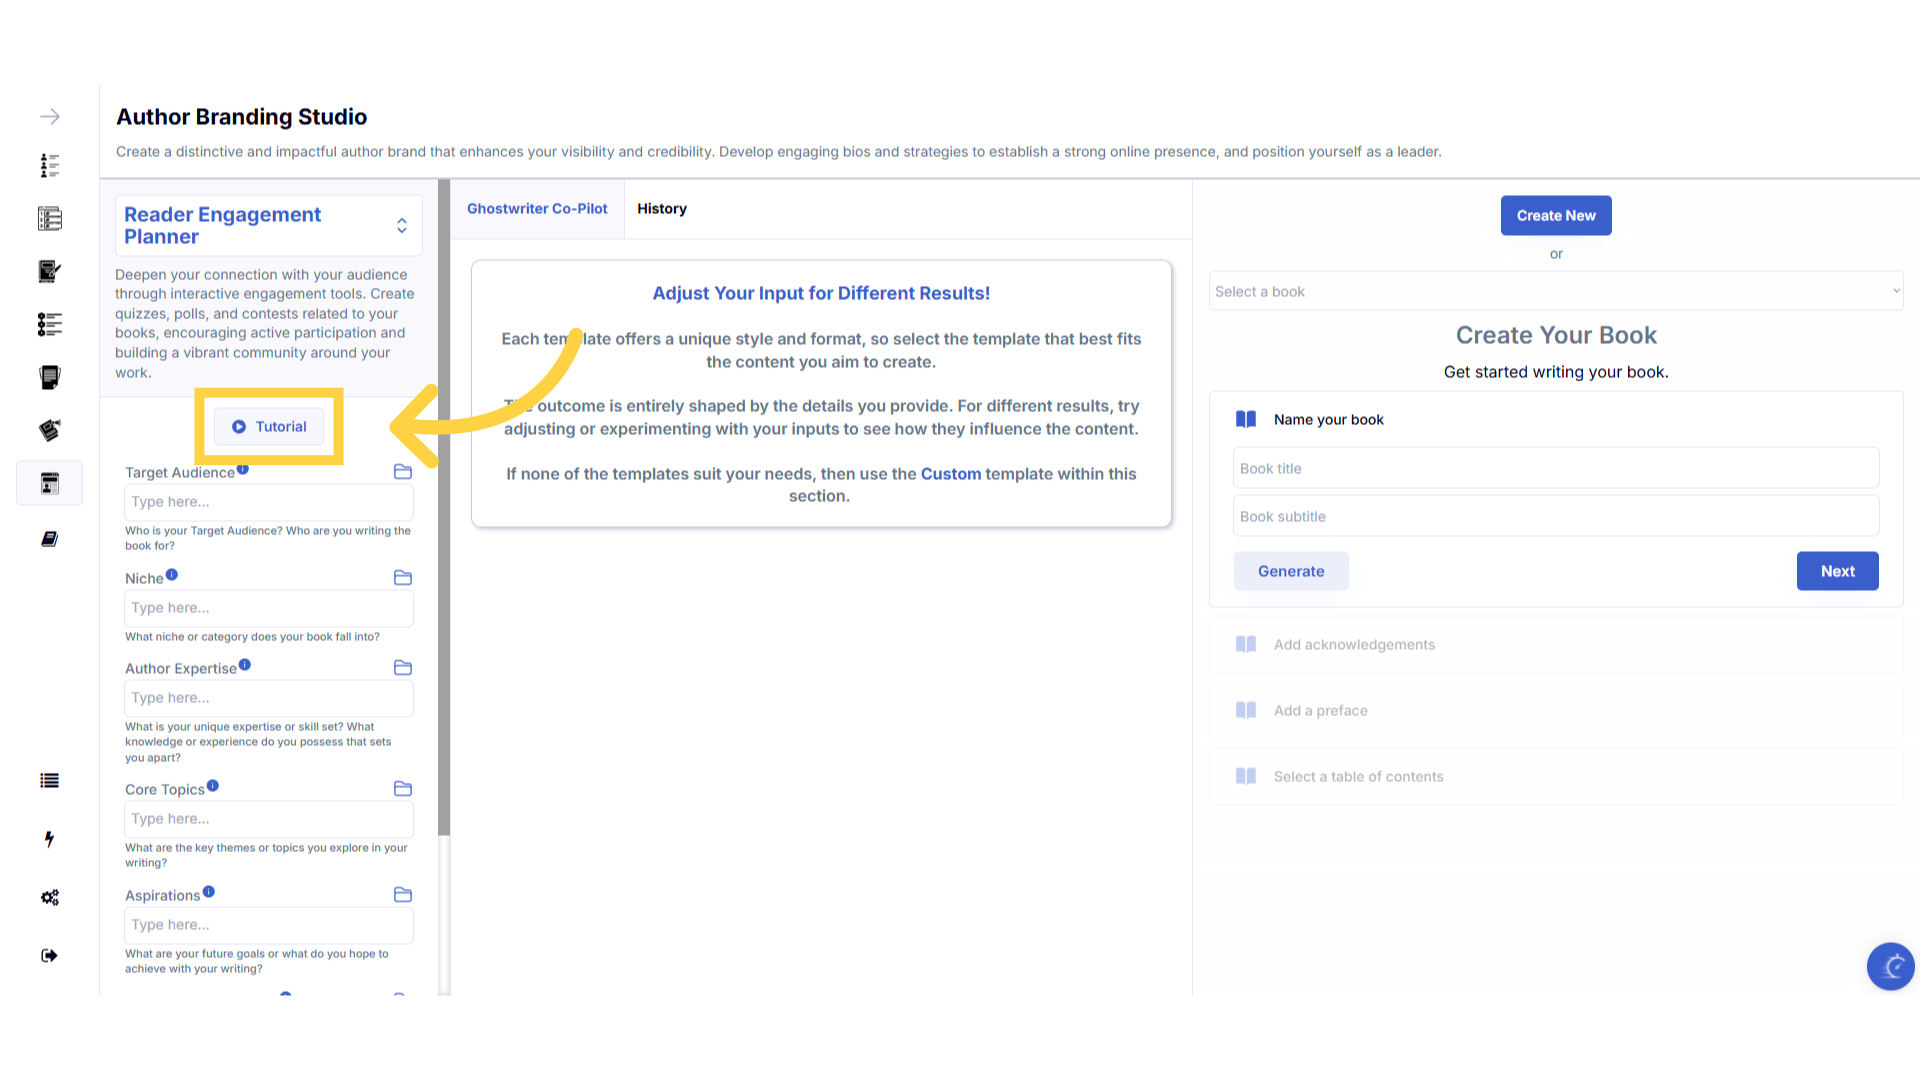
Click the "Tutorial" button to learn more about how to use the template.
If you need help at any time you can watch the tutorial.
)
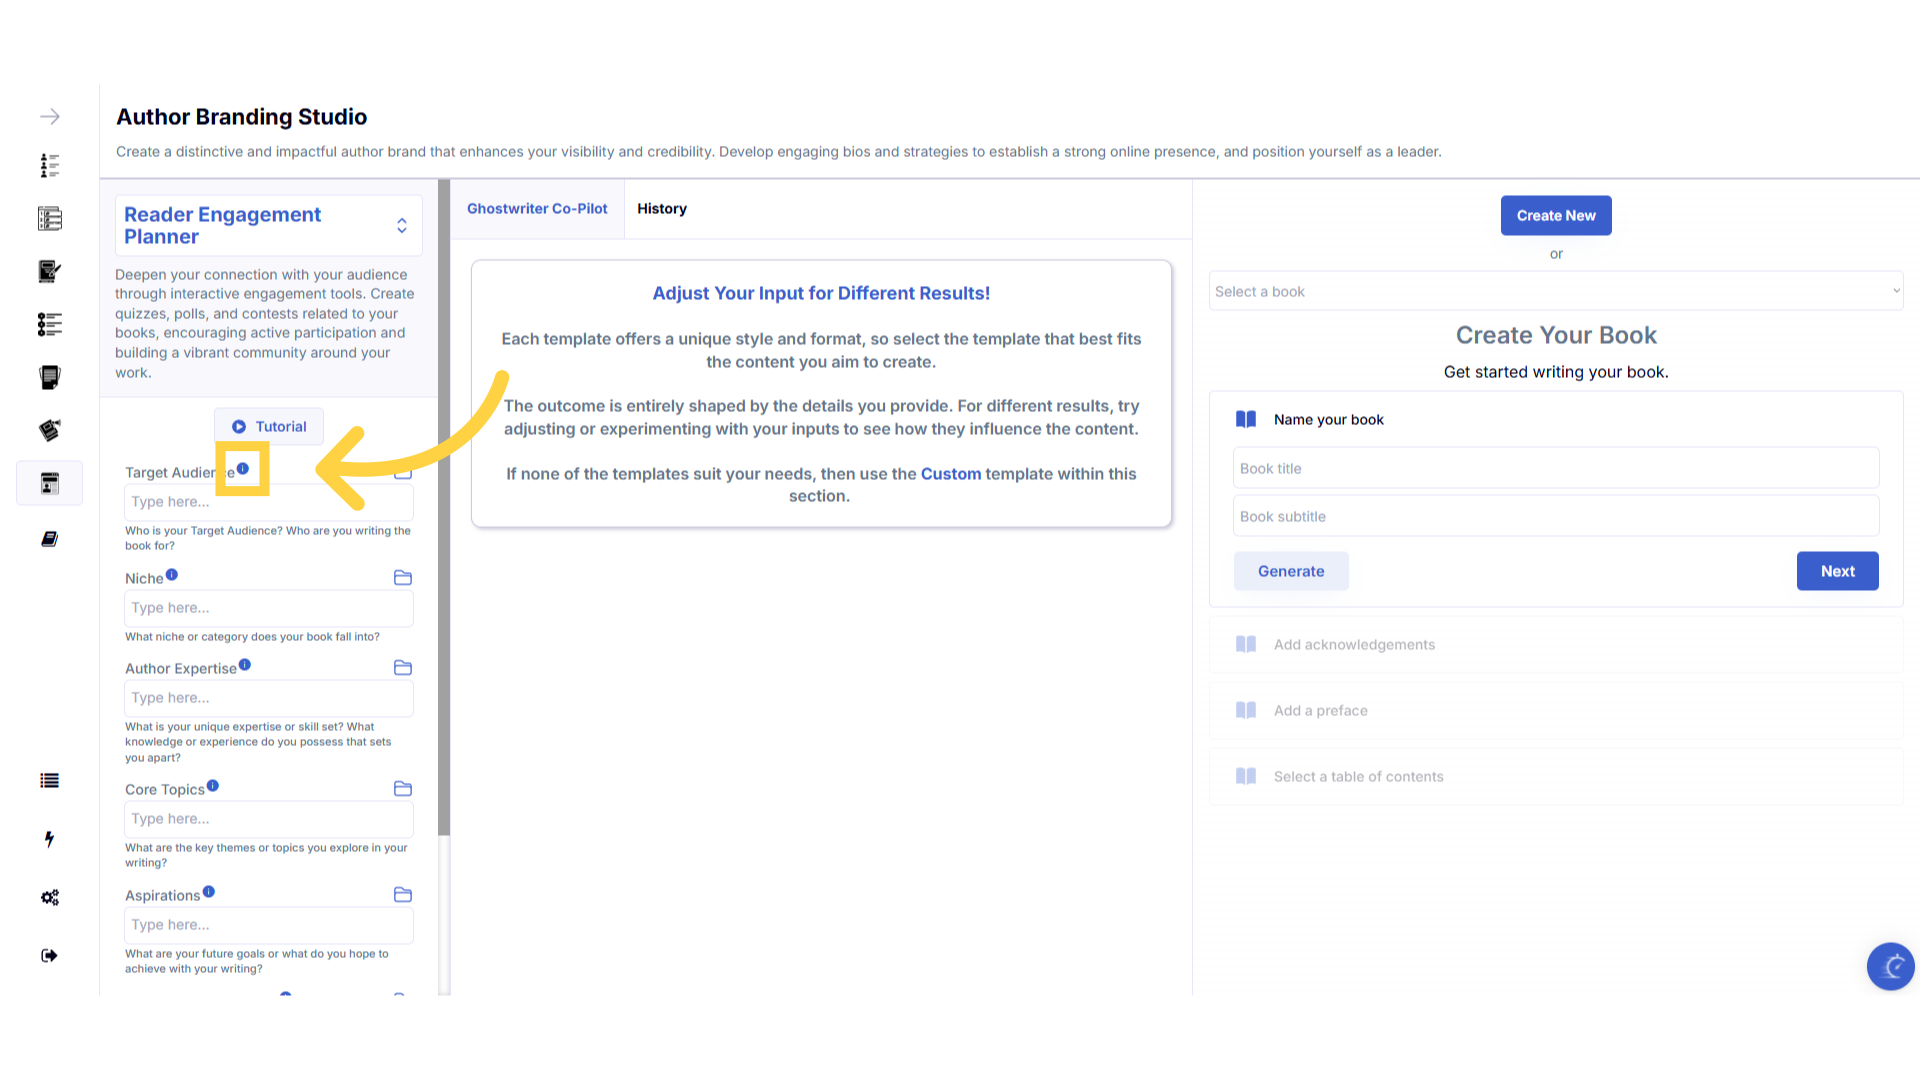
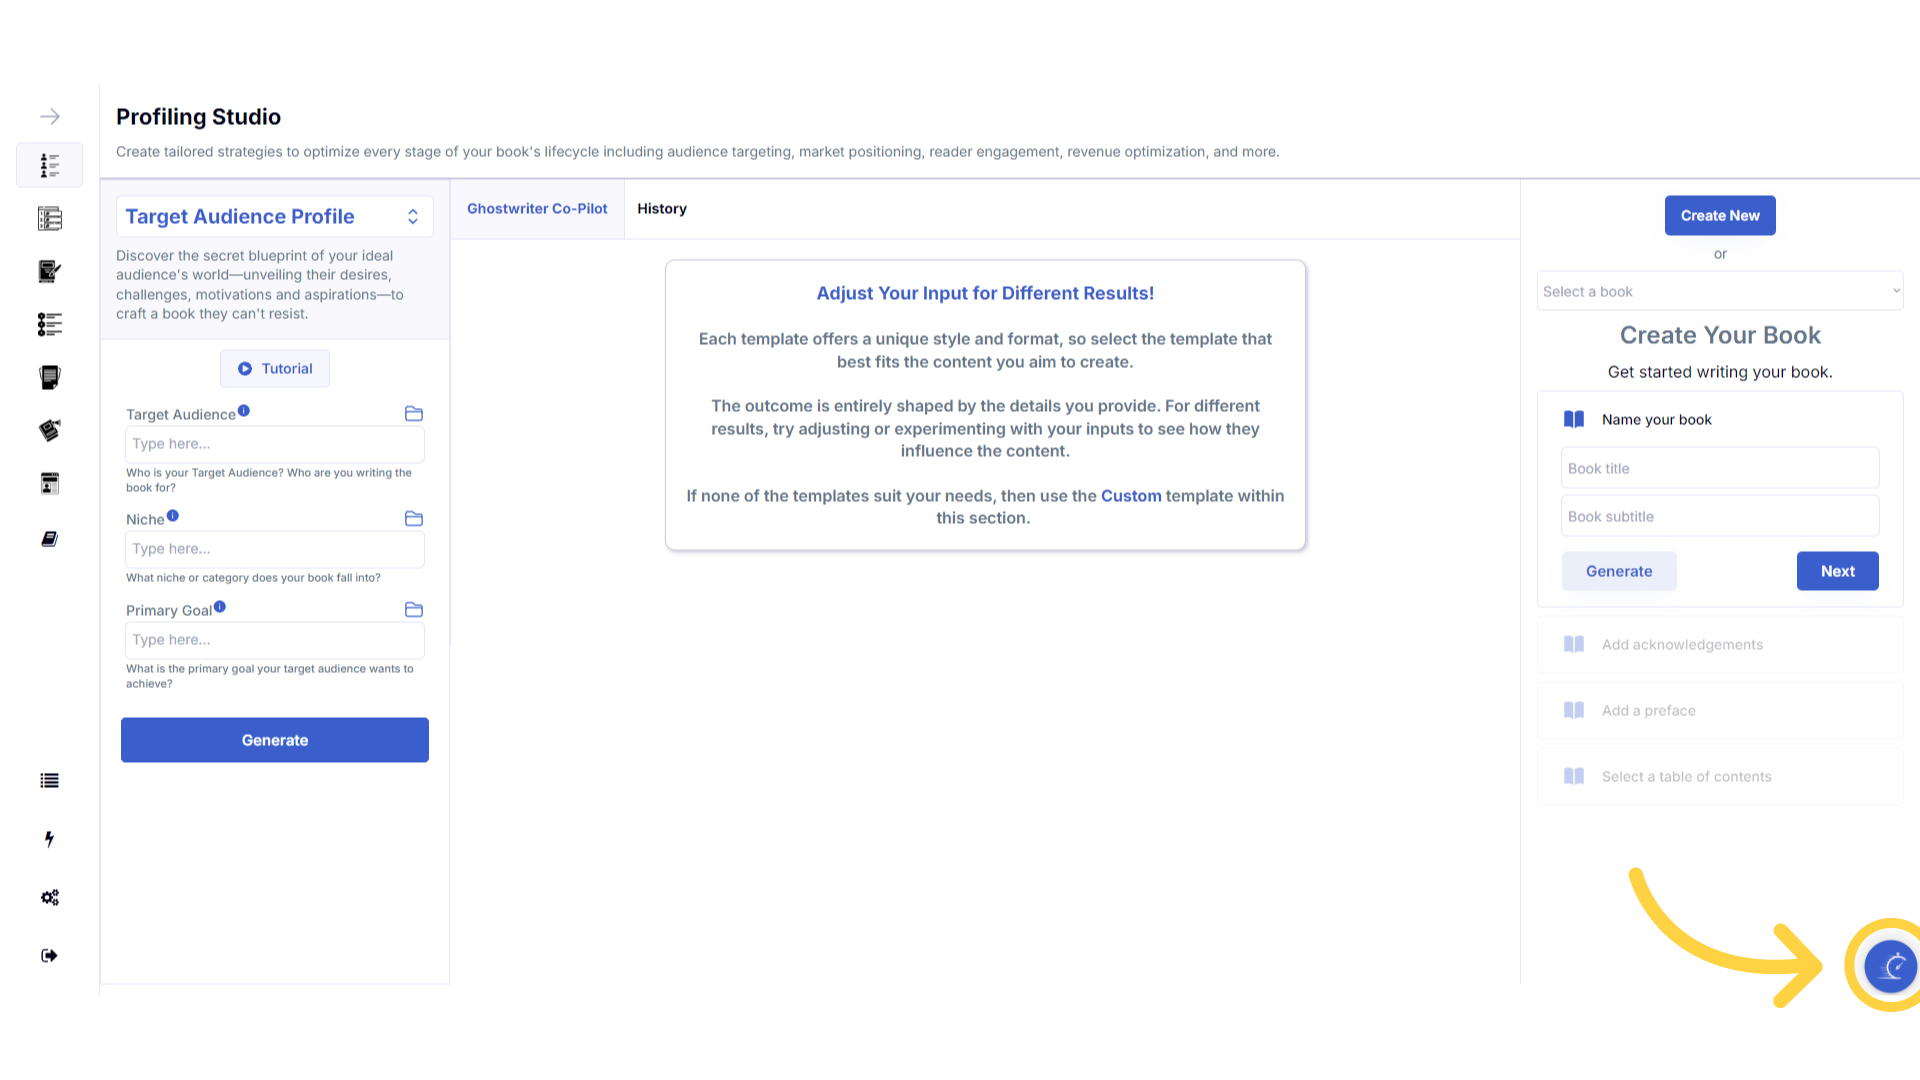
Click the blue "i" icon beside the field name, for an explanation and examples of the information you need to enter in that field.
To help you craft the perfect content, you can select the blue tooltip beside each field name. This will give you an explanation and examples of the information you need to enter in that field.
)
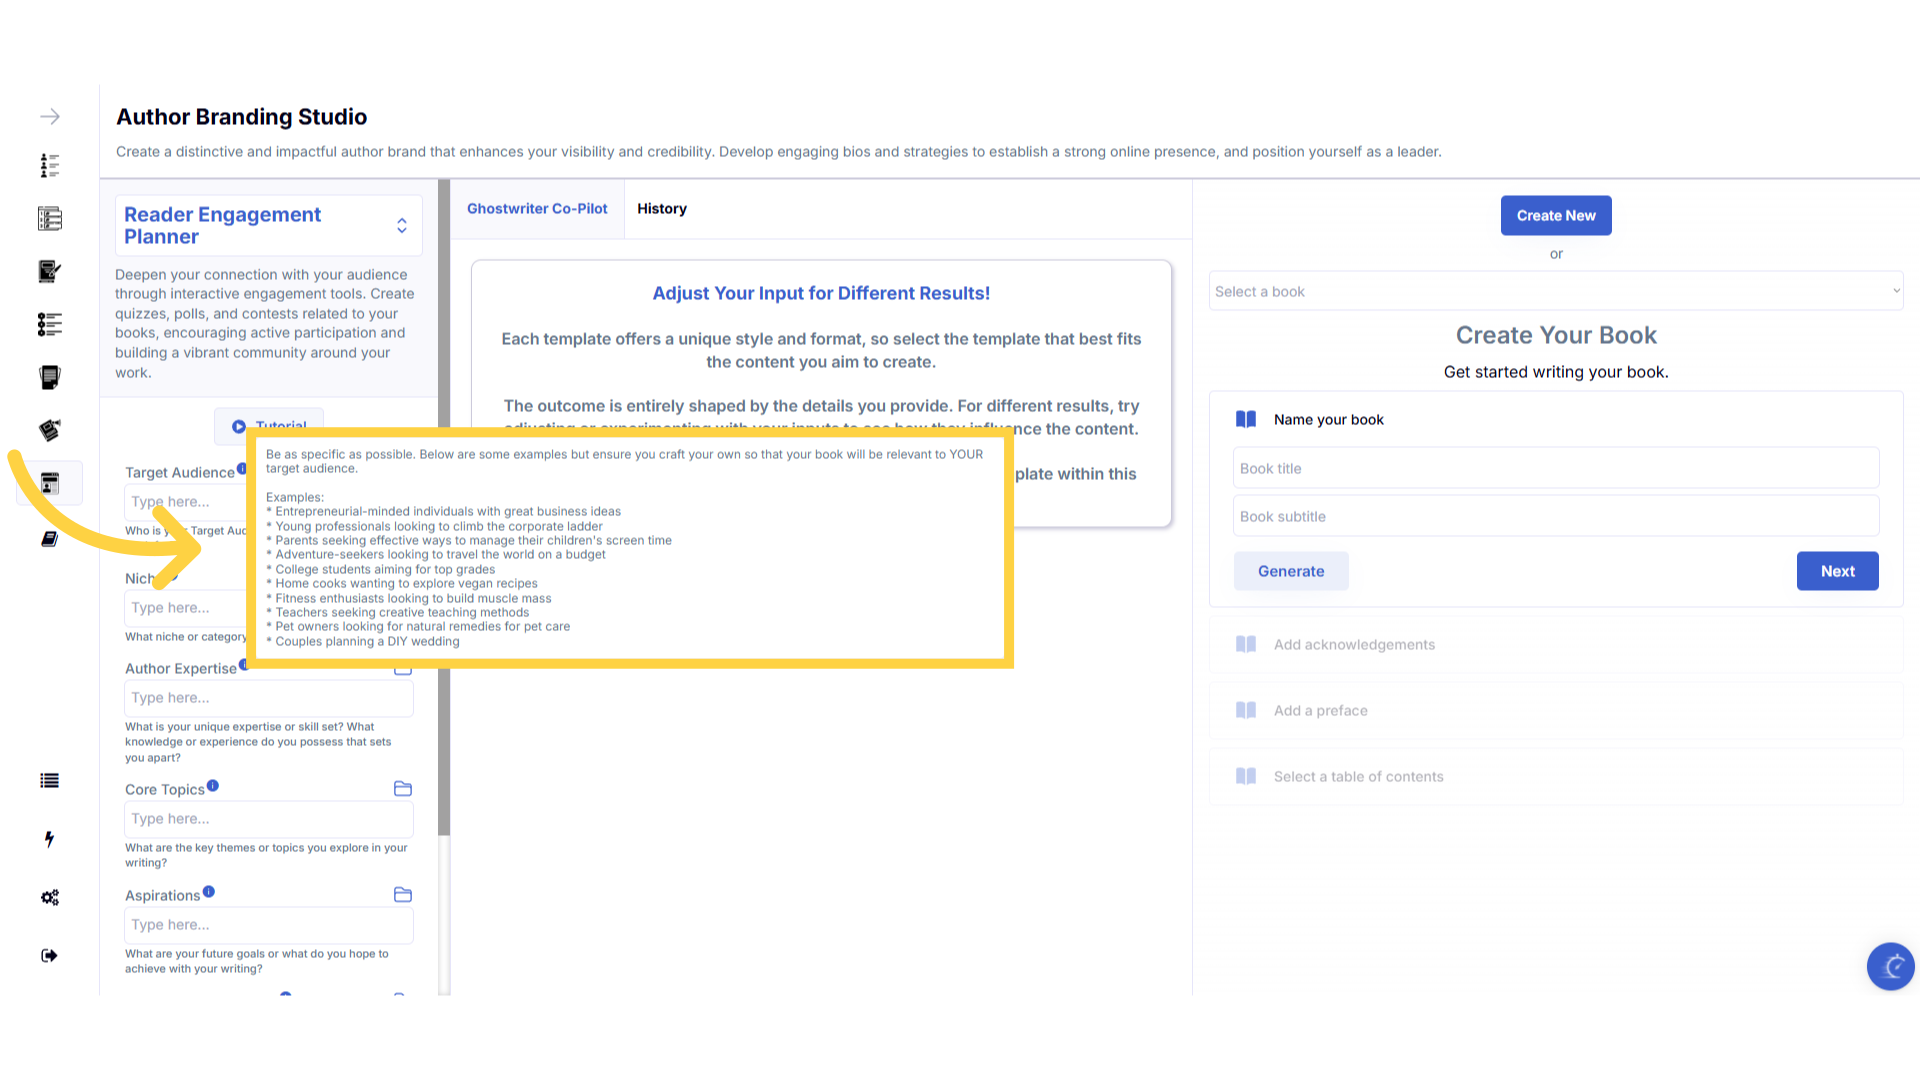
A pop up will display to help you understand what information you need to enter for that field.
A pop up will display with examples of the type of information required.
)
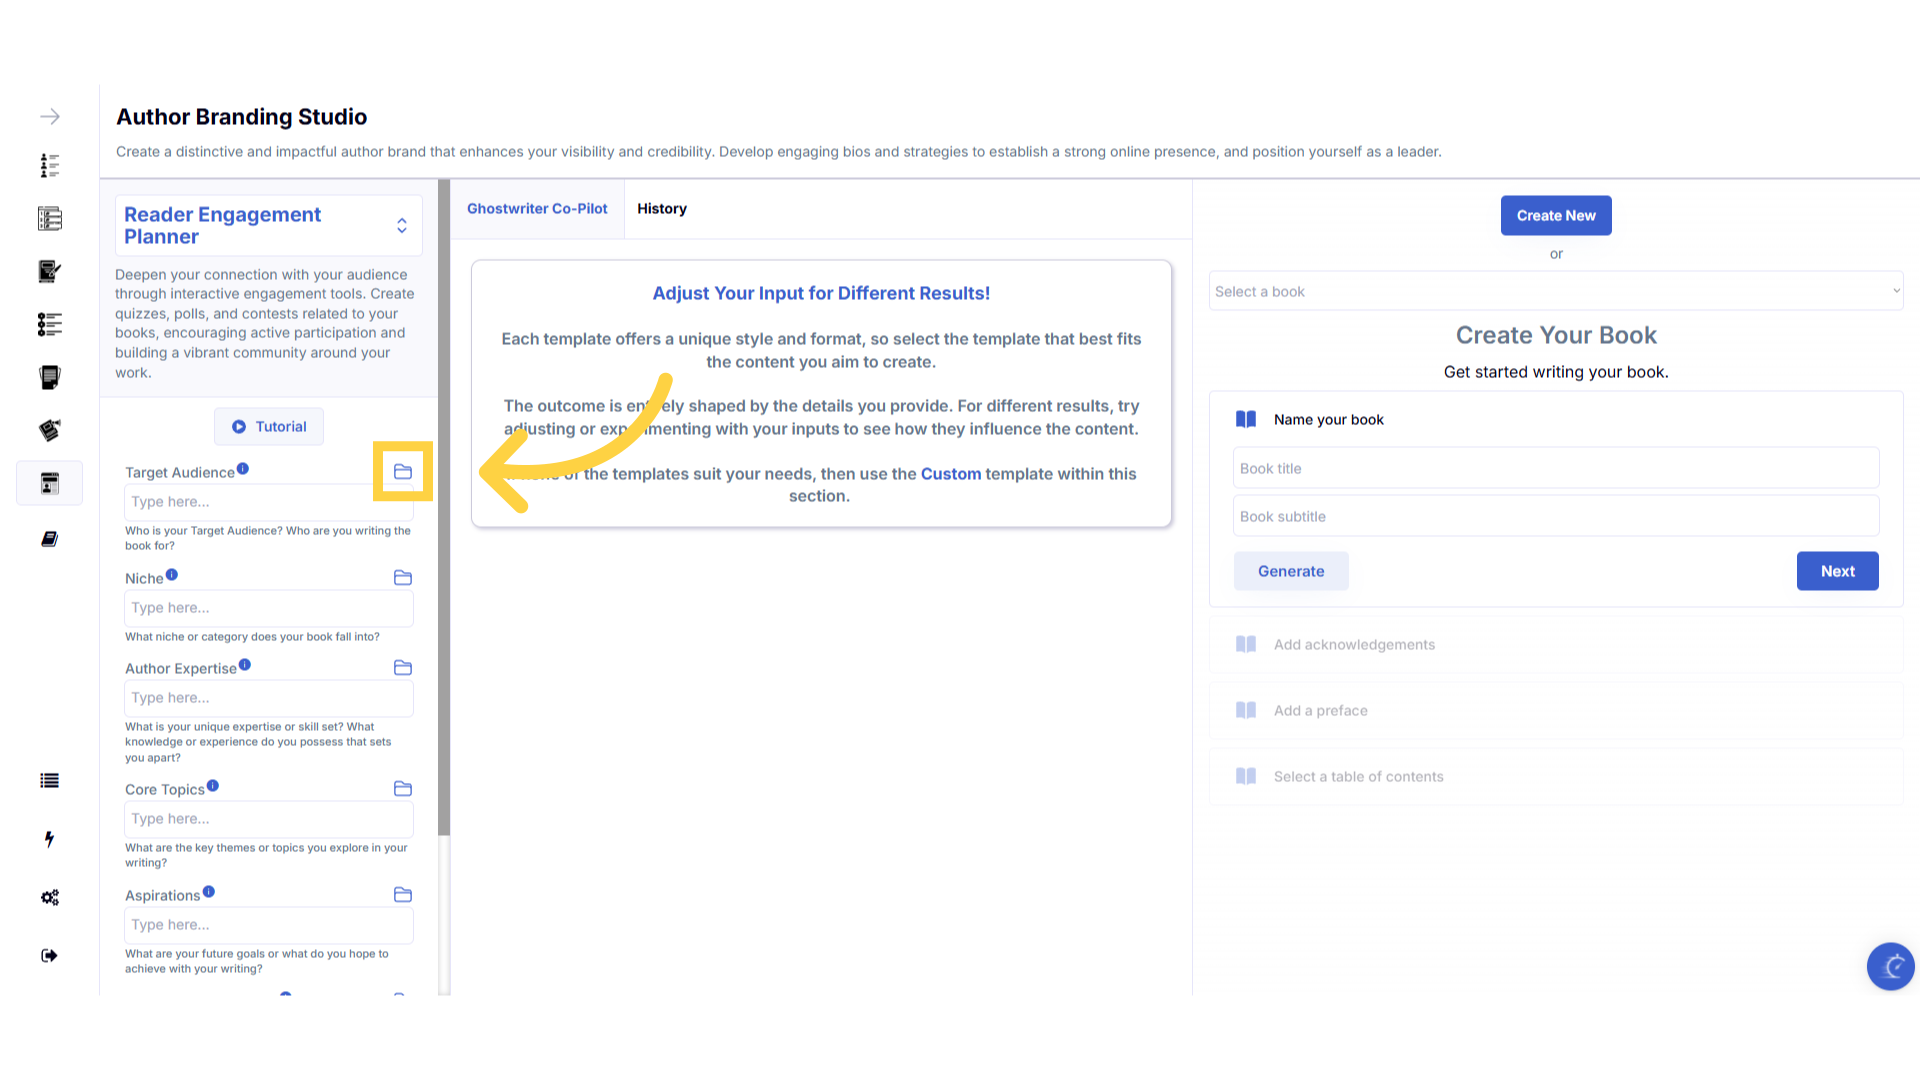
Click the "History" folder to view the last 10 entries for this field.
Once you've added information to a field, a folder will appear on the right that contains the history of the last 10 entries in this field.
)
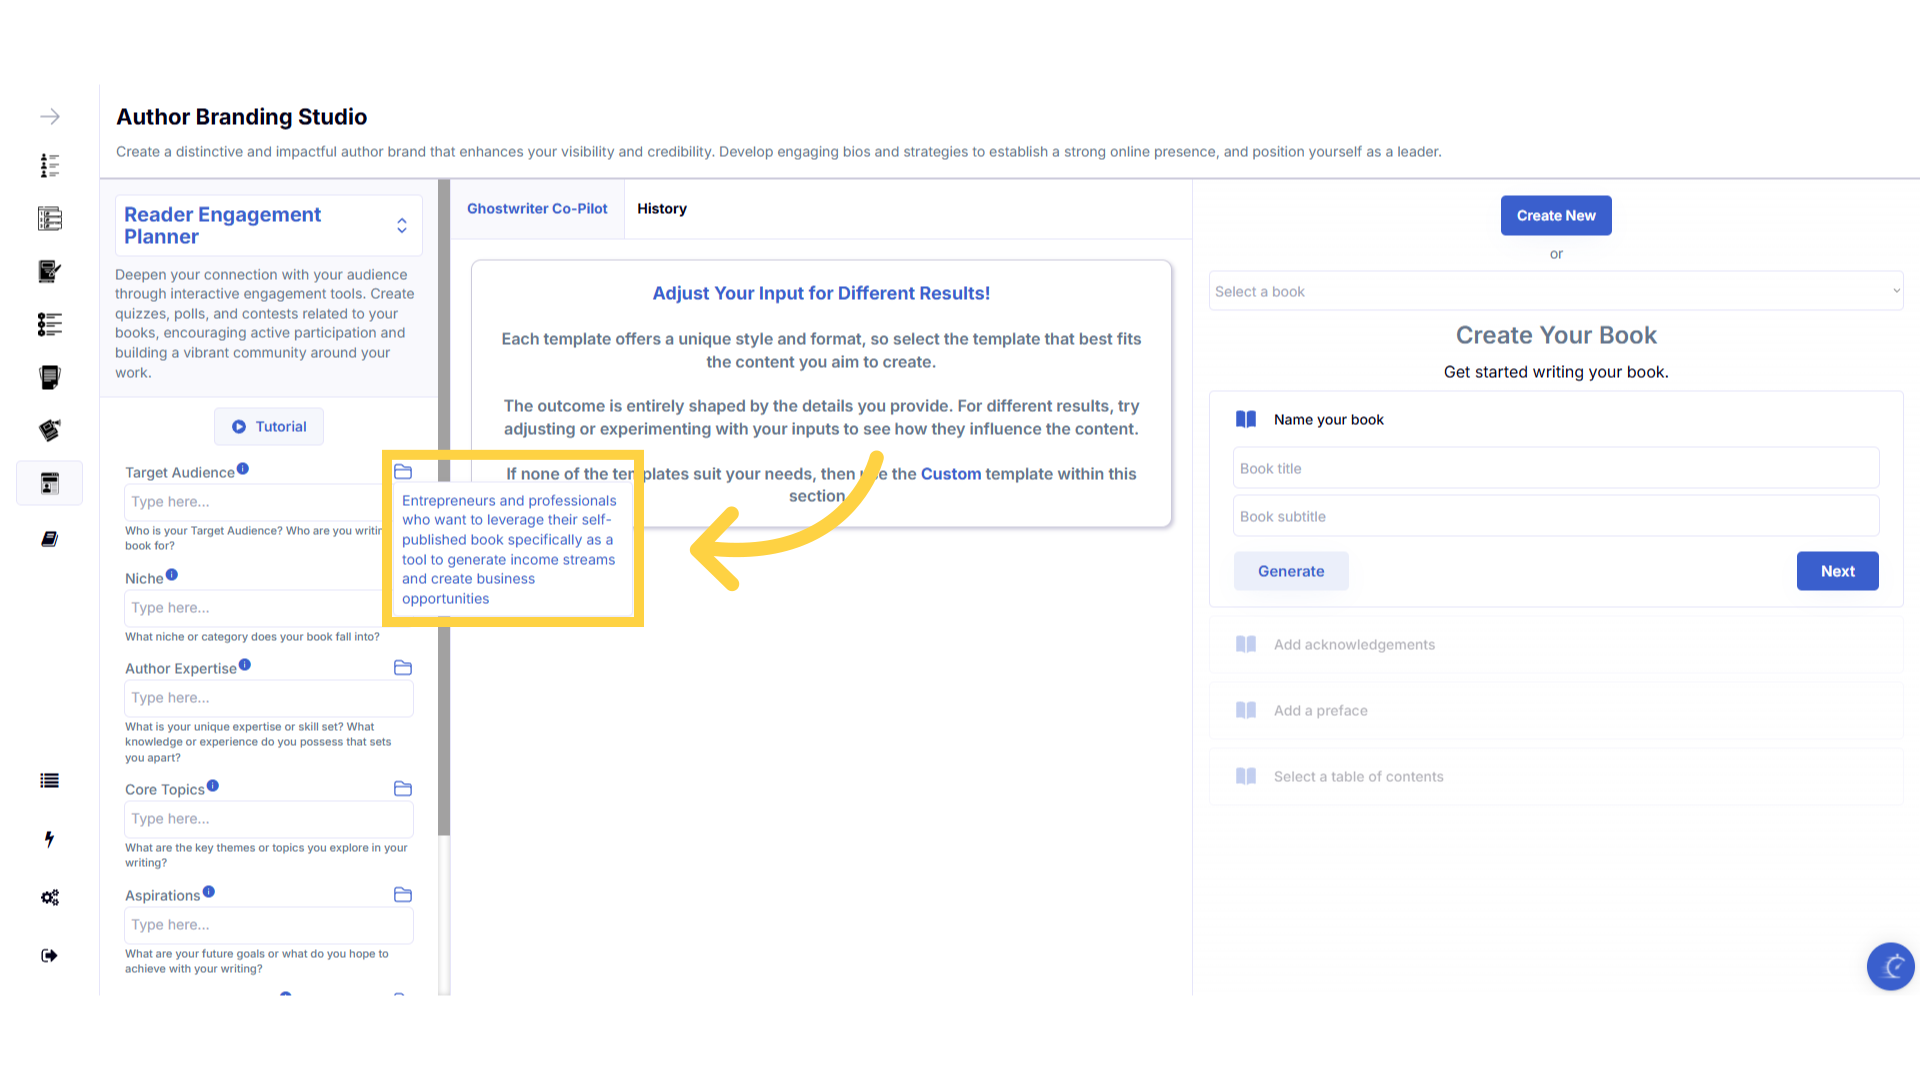
Click on the "History" folder to easily re-select information you've already entered, and add it to that field.
Click on the history folder to easily re-select information you've already entered, and add it to that field.
)
Enter the required information to generate the Content.
Enter the required information to generate the content.
)
Click "Generate" to craft the Content.
You can change the information you provide, and re-generate the output as many times as you need, to create the perfect content.
)
Click "Copy" to copy the content generated.
Click copy to copy the generated content, and paste it to an external document on your device.
)
View and copy your previous content generated in the "History" section.
The history stores all of the content you've generated. Select the history button to view and copy all of the past content you've created for this template.
)
Refresh your browser to reset the dashboard if you are having technical issues.
If you are having a technical issue, refresh the website browser and try again. This usually fixes any issues.
)
Click the blue icon at the bottom right of your screen.
You can access the help center, tutorials and support by clicking on the icon at the bottom right of your screen.
)
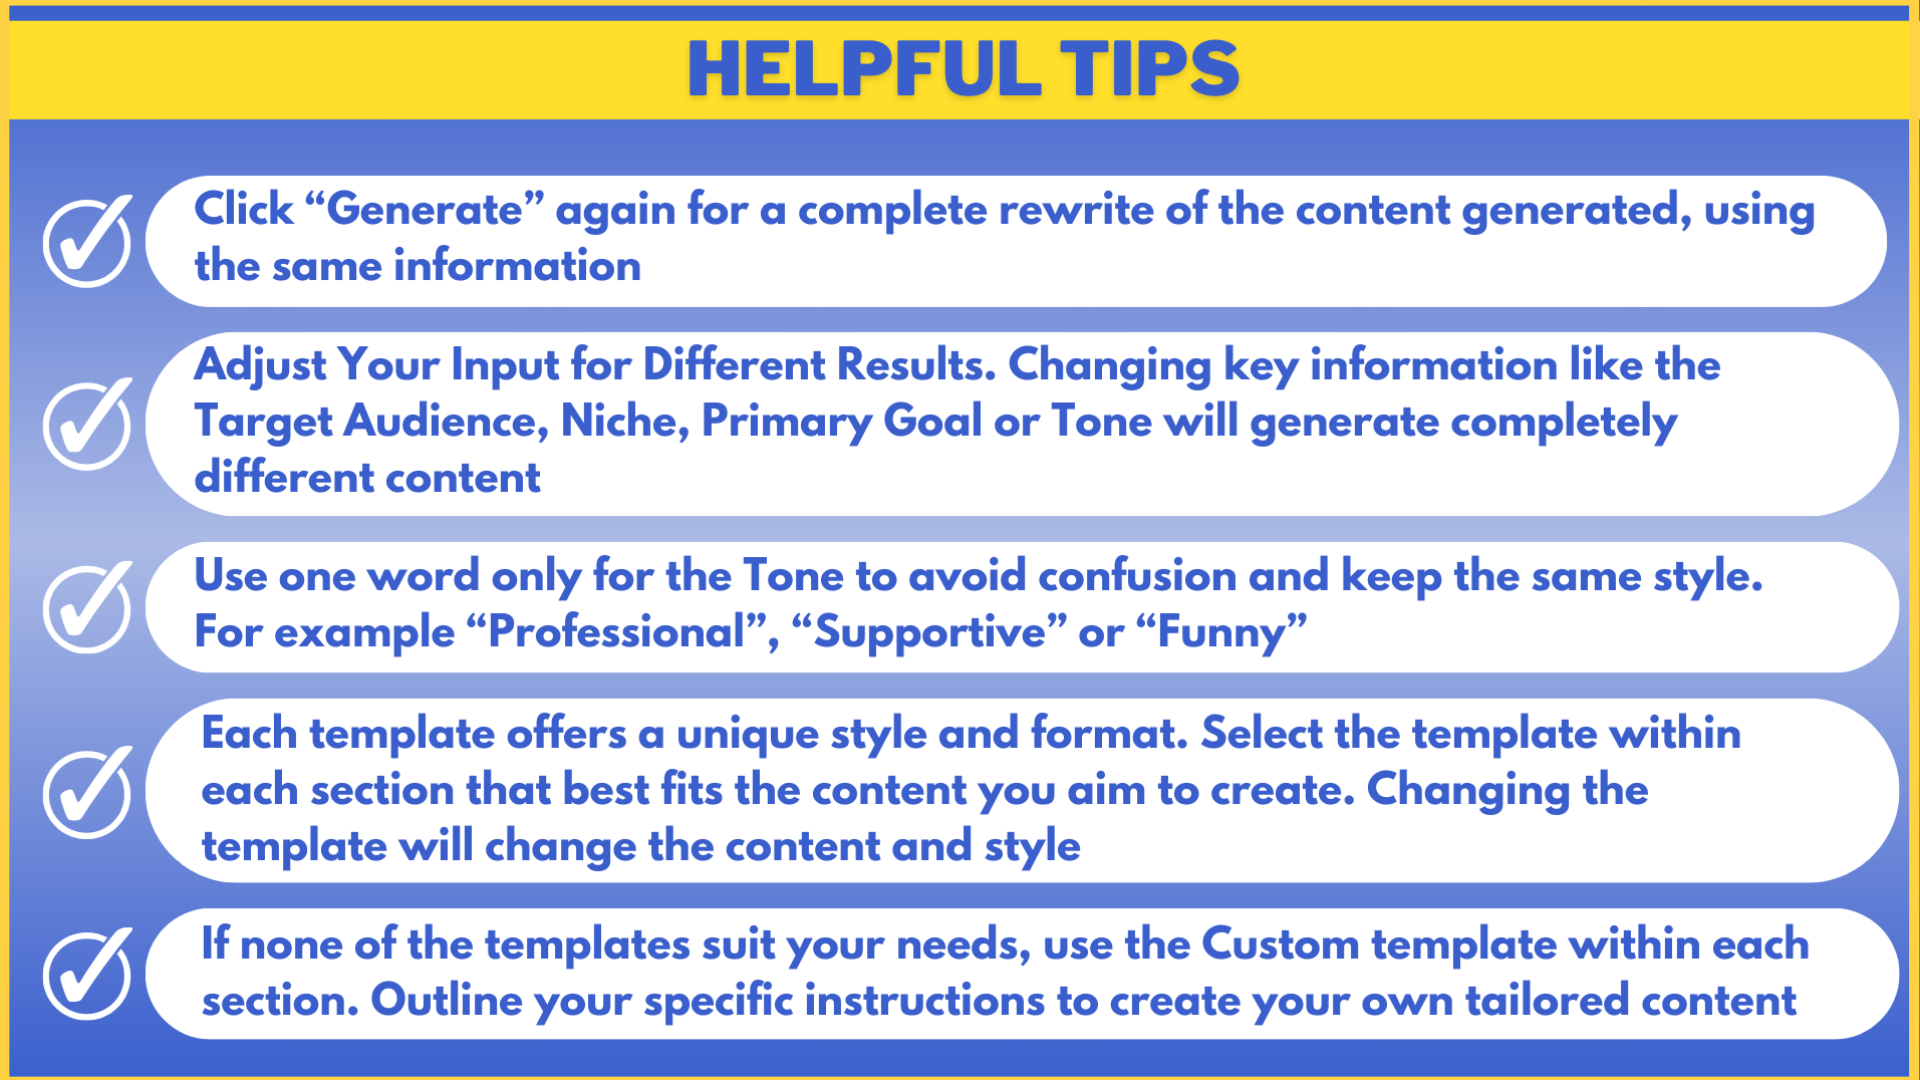
Here are some helpful tips to help you craft your book.
Here are some helpful tips. You can experiment with different information to craft perfectly aligned content.
)