The Interactive Chapter template encourages reader participation through in-chapter activities, questions, or reflection zones. This format is designed to enhance comprehension and deepen the reader's connection to the material by actively involving them in the learning process. Each interactive element is crafted to engage the target audience, making the subject matter more memorable and impactful. By incorporating these interactive components, the chapter transforms from a passive read into an engaging experience, facilitating better retention and understanding of the concepts presented.
Craft high quality, non fiction chapters for your book.
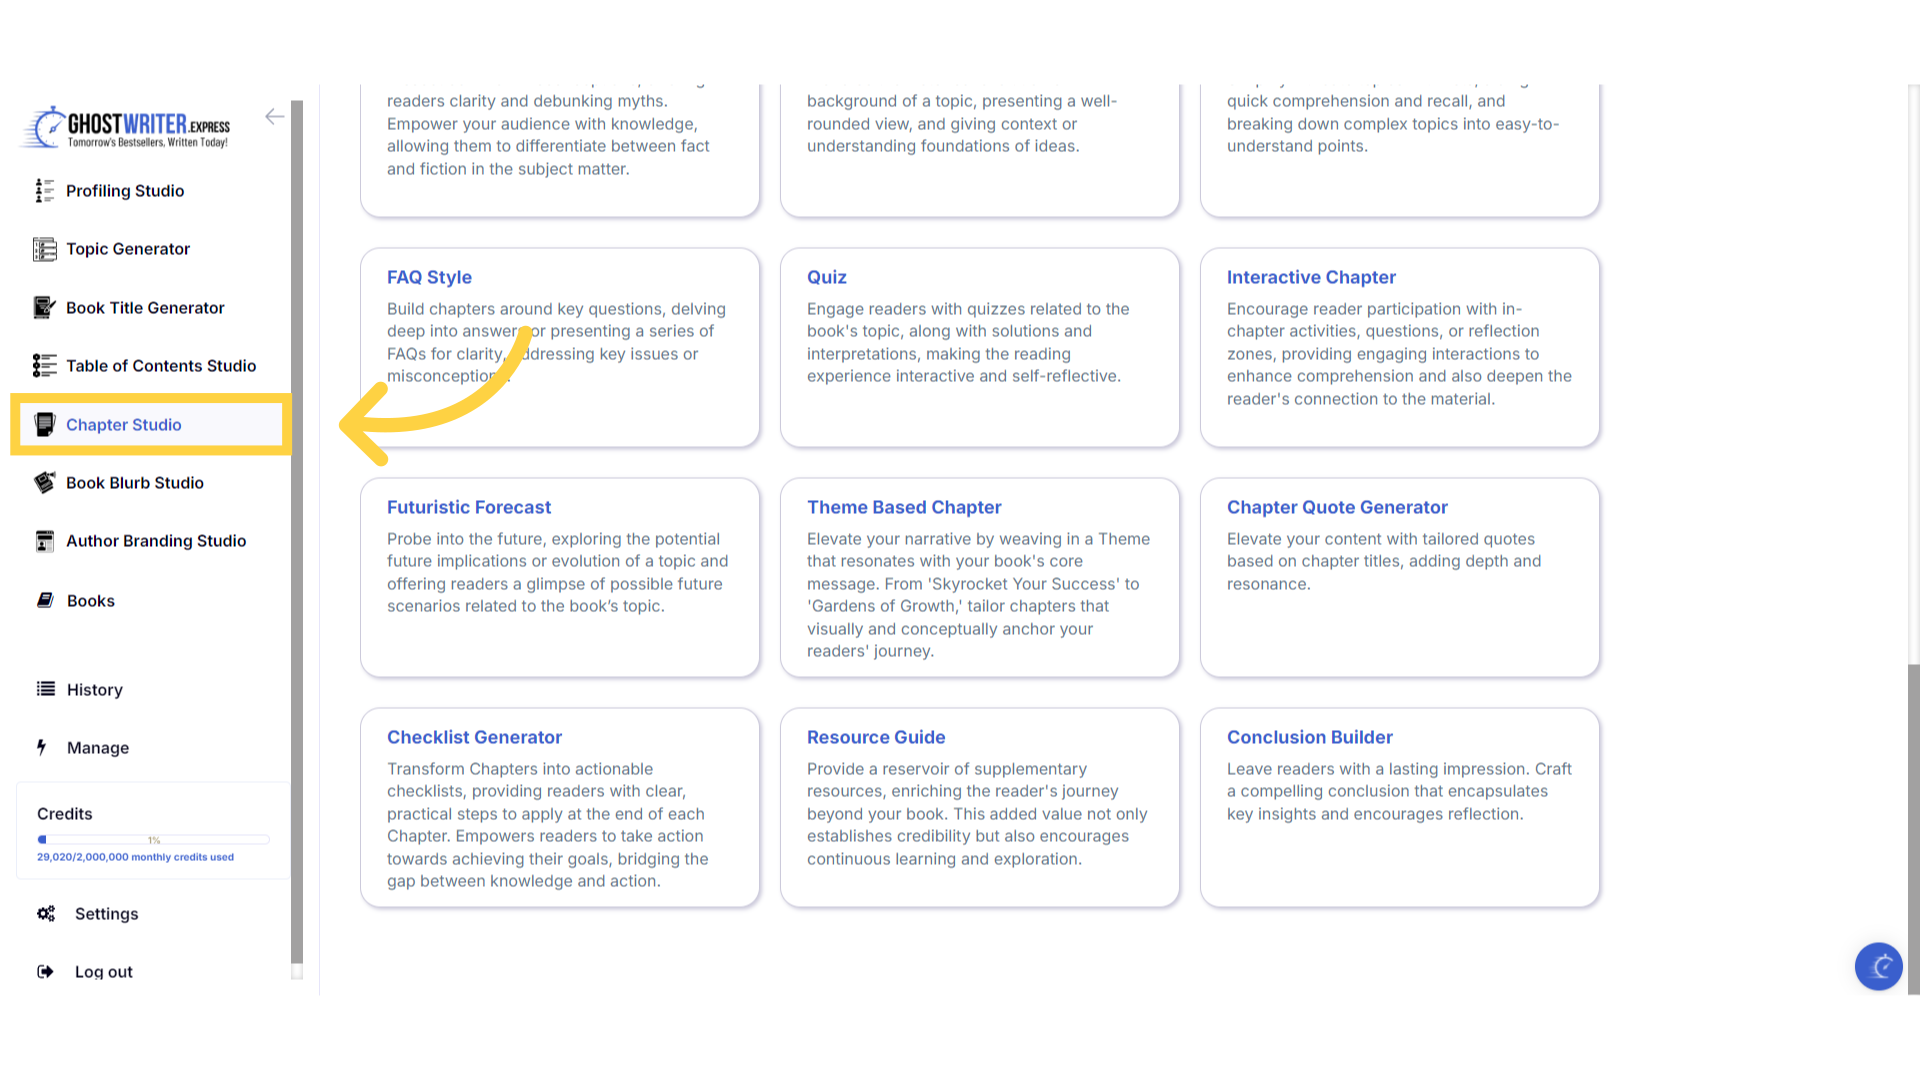
Click "Chapter Studio"
Welcome to the Chapter Studio, your ultimate A-I tool for crafting compelling chapters for your book.
)
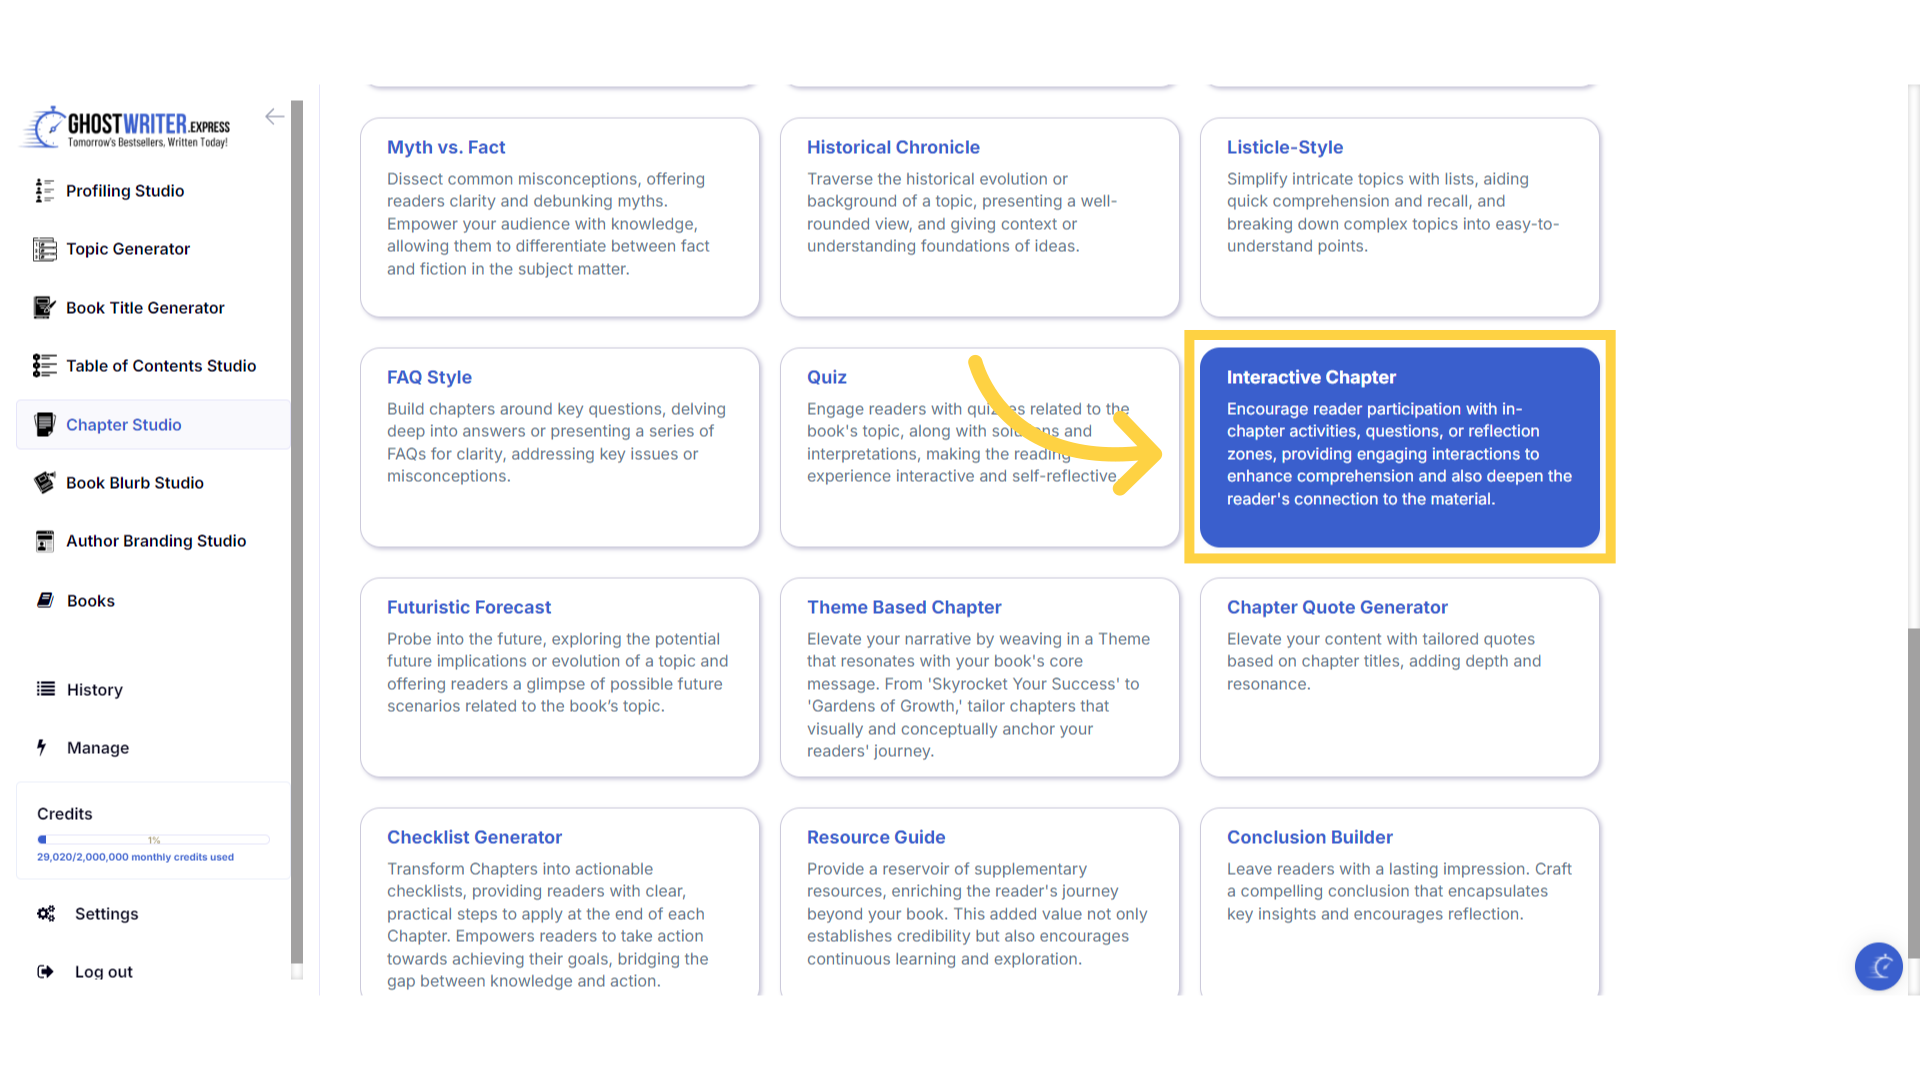
Select "Interactive Chapter"
The interactive chapter template encourages reader participation through in chapter activities, questions, or reflection zones. This format is designed to enhance comprehension and deepen the reader's connection to the material by actively involving them in the learning process. Each interactive element is crafted to engage the target audience, making the subject matter more memorable and impactful. By incorporating these interactive components, the chapter transforms from a passive read into an engaging experience, facilitating better retention and understanding of the concepts presented.
)
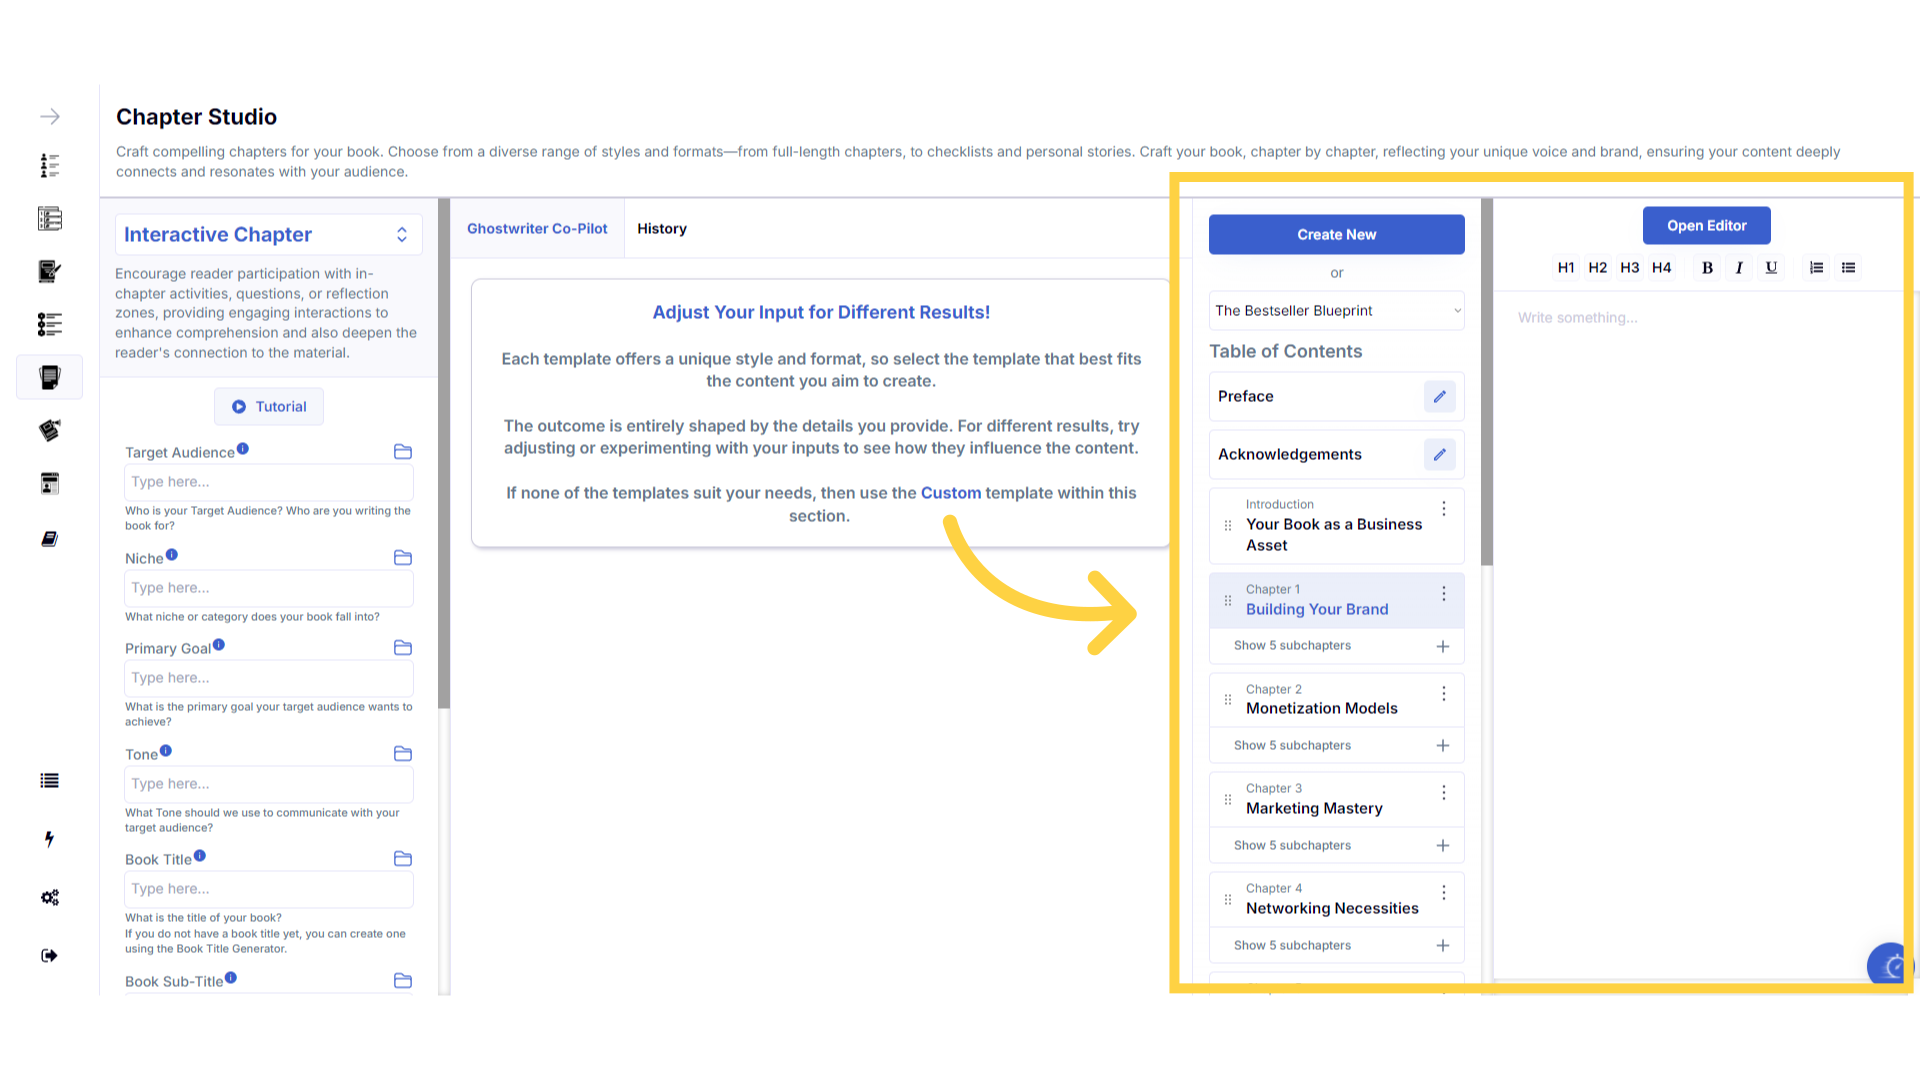
Your book is ready for you to add content.
After you have created your book, your table of contents will display on the right whenever your book is selected, and you are able to craft and add content to your chapters and subchapters.
)
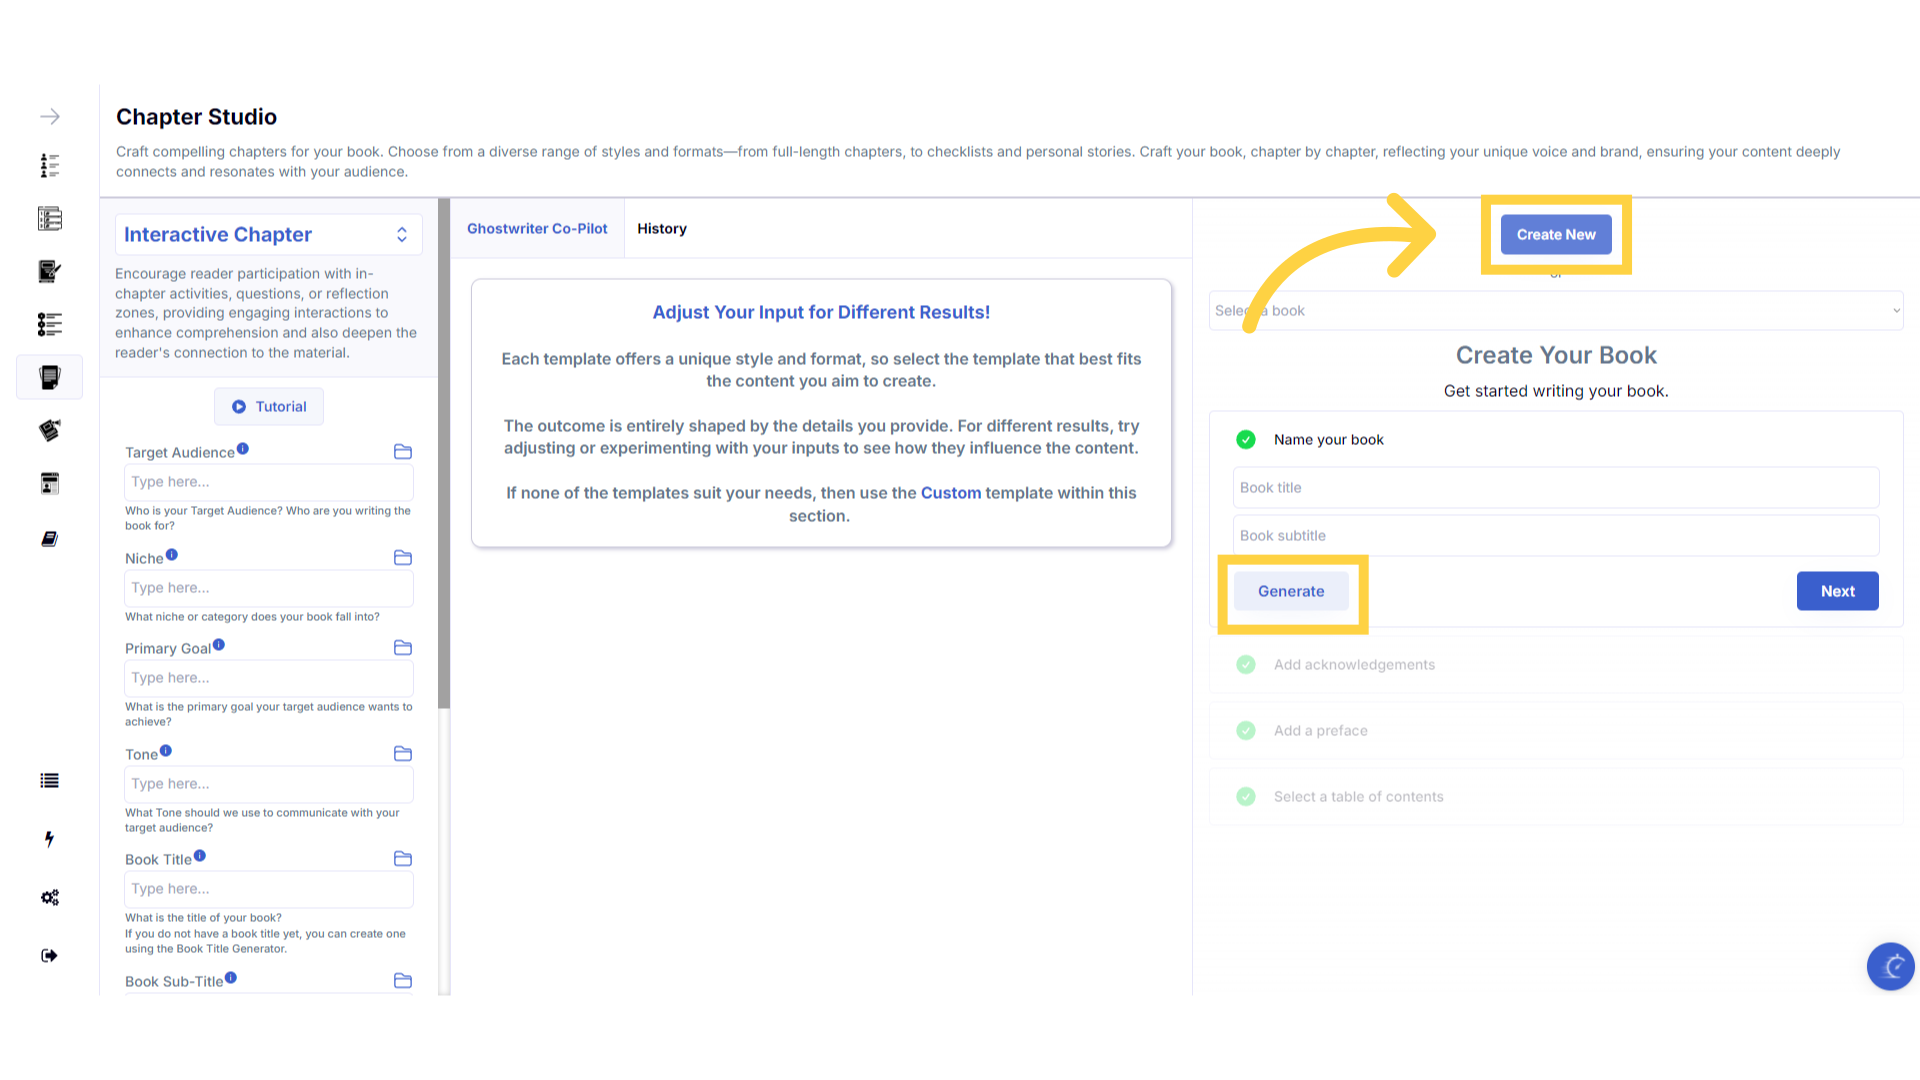
Click "Create New" to create your book if you haven't already.
If you haven't started your book yet, click the create new button in the book builder, then click generate, to be taken to the book title generator to craft and add titles. After you have added your titles, follow the steps in the book builder, until you have created and added the table of contents, and are re-directed back to the chapter studio ready to start adding content to your chapters.
)
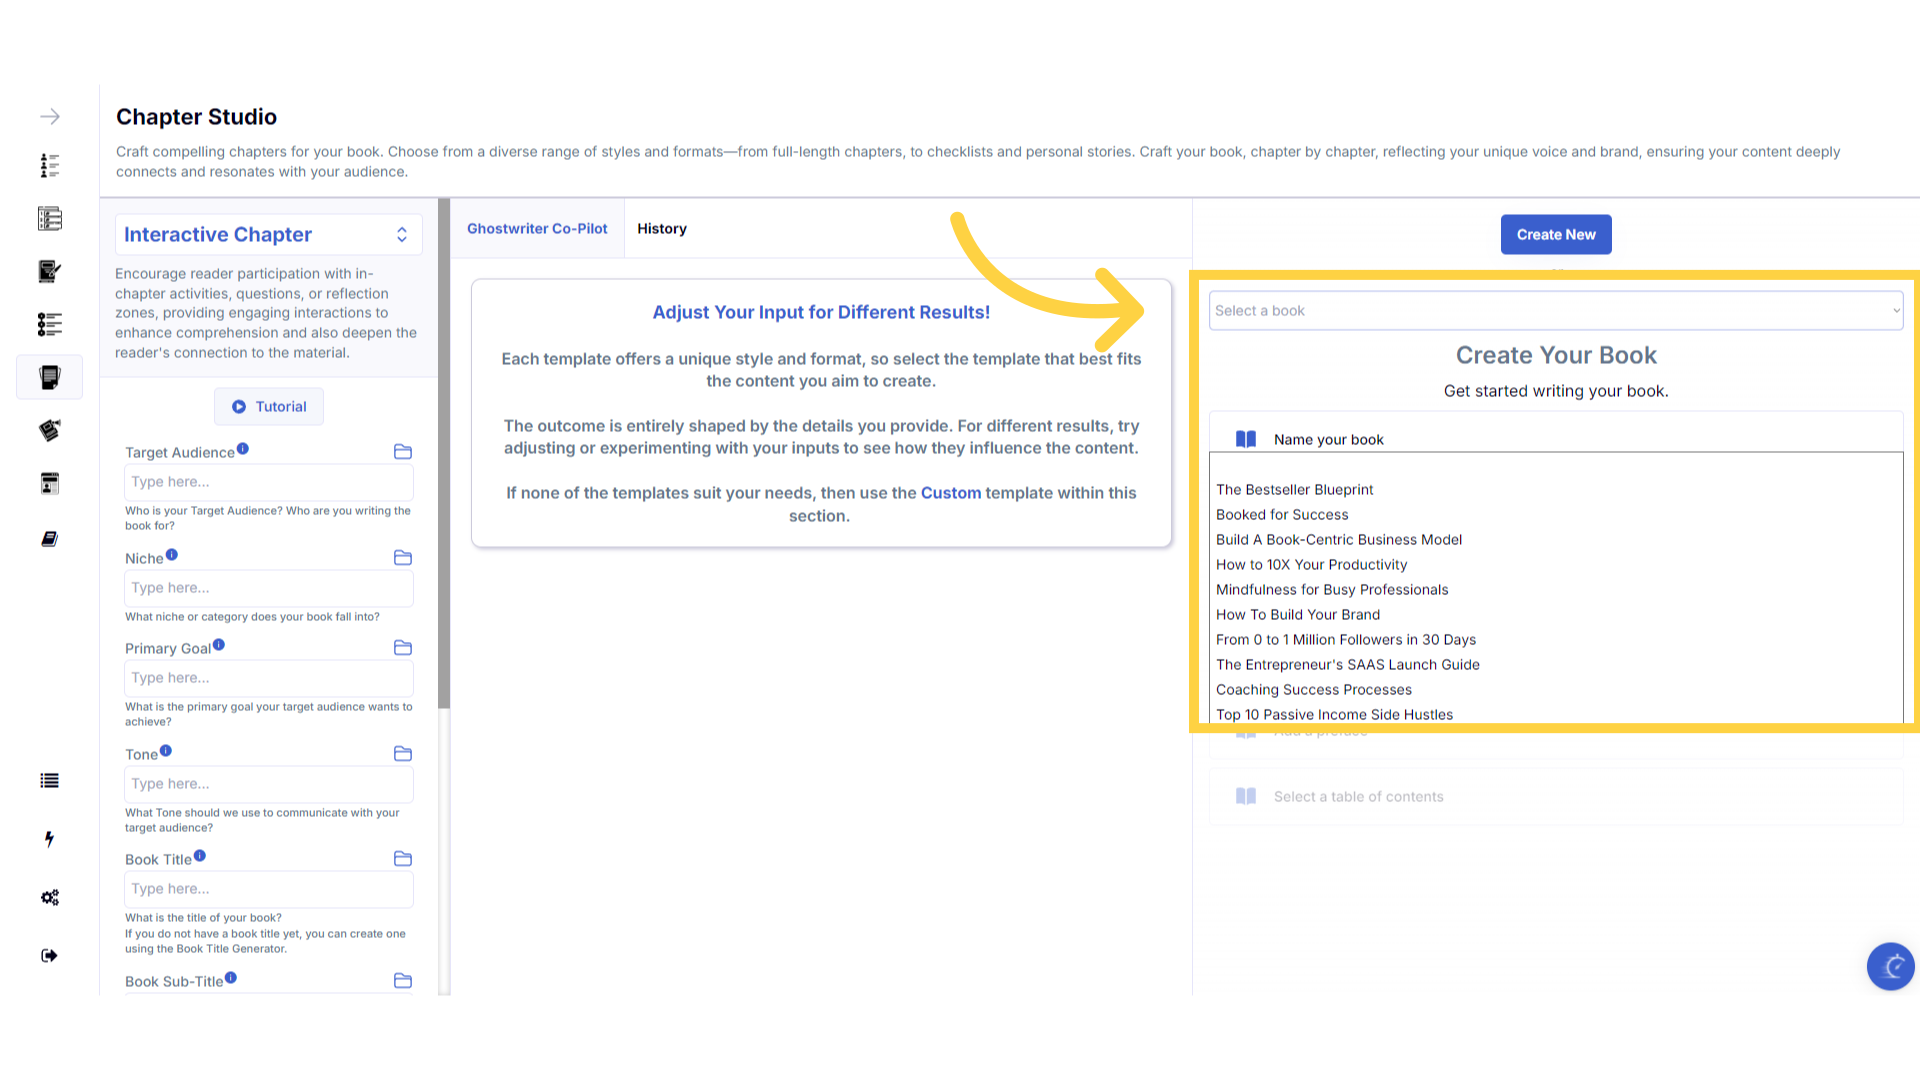
If you have already started your book, select it from the dropdown menu.
Alternatively, if you have already created a book and generated the table of contents, you can select your book from the dropdown menu to continue, and craft your chapters.
)
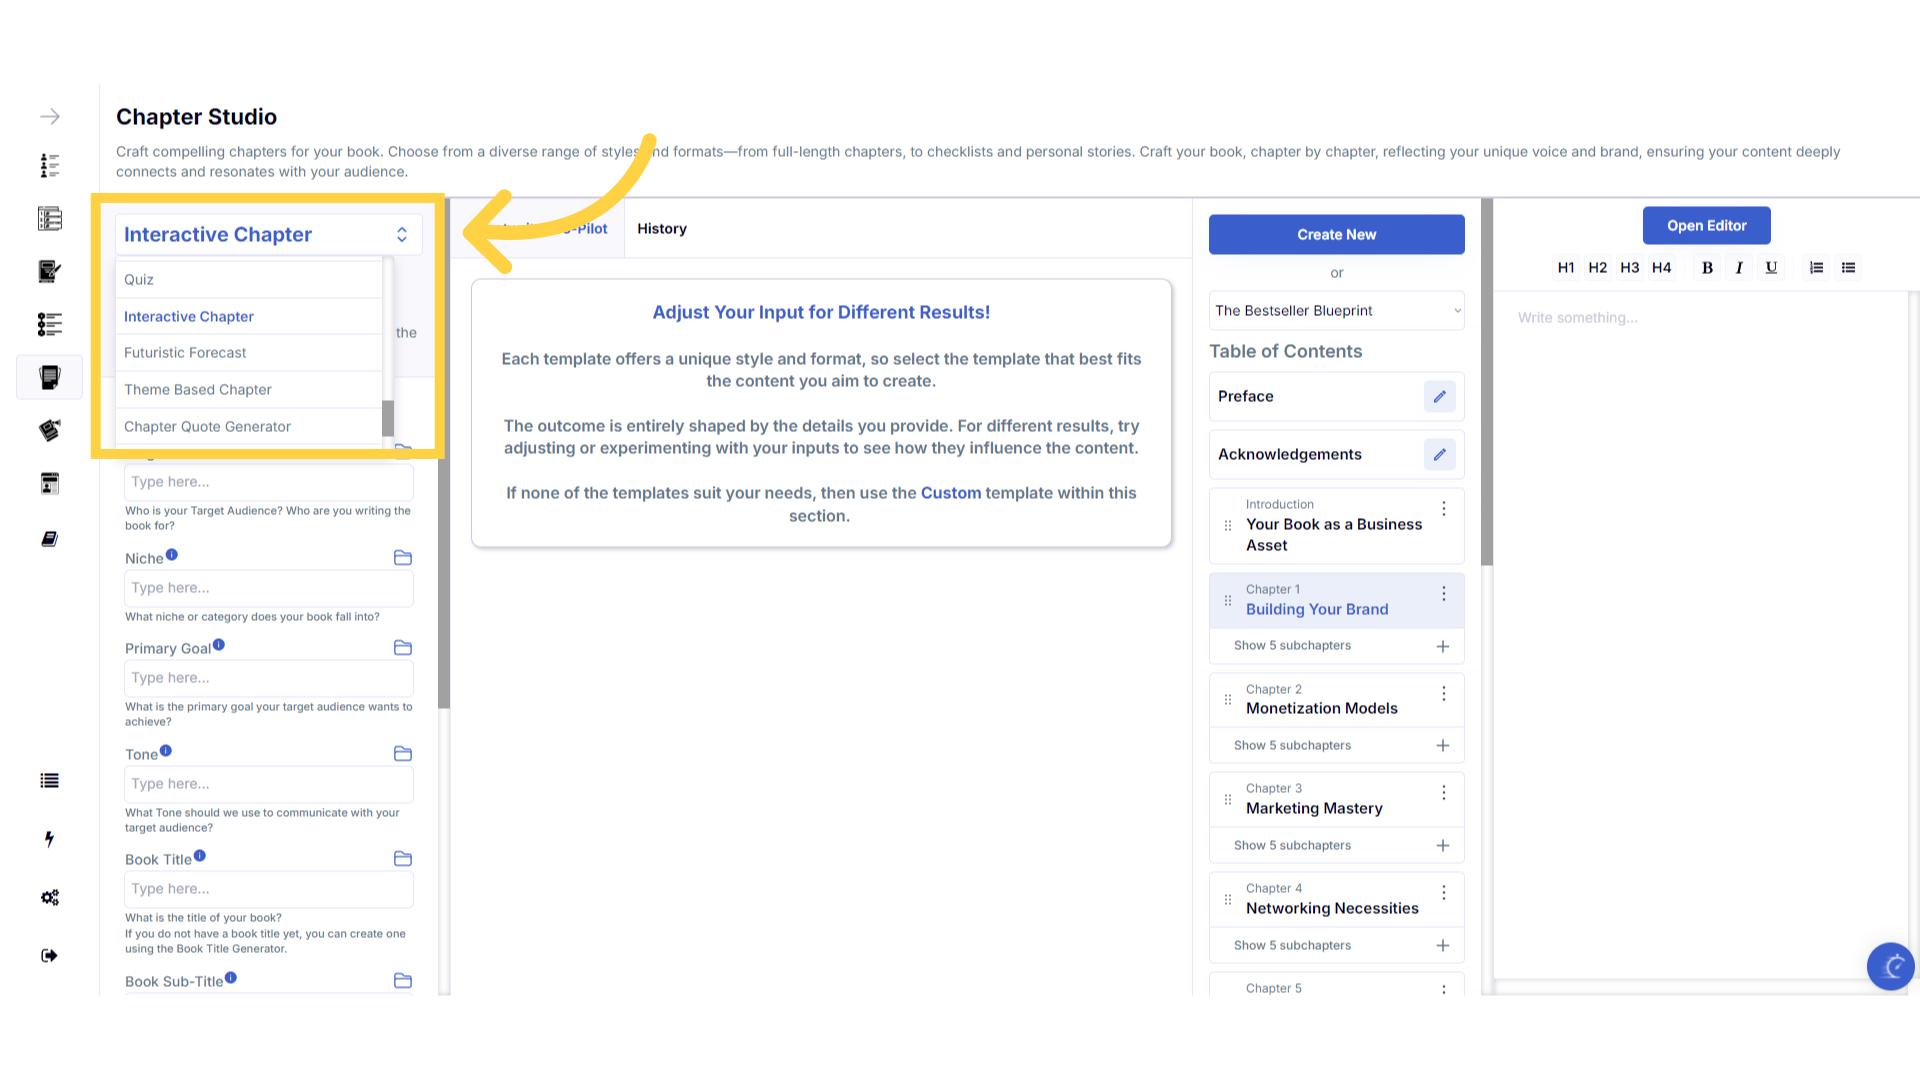
Click "Template Name" in the dropdown menu to change between the templates.
Click on the template name to open the dropdown menu, to select and change between the templates within the chapter studio.
)
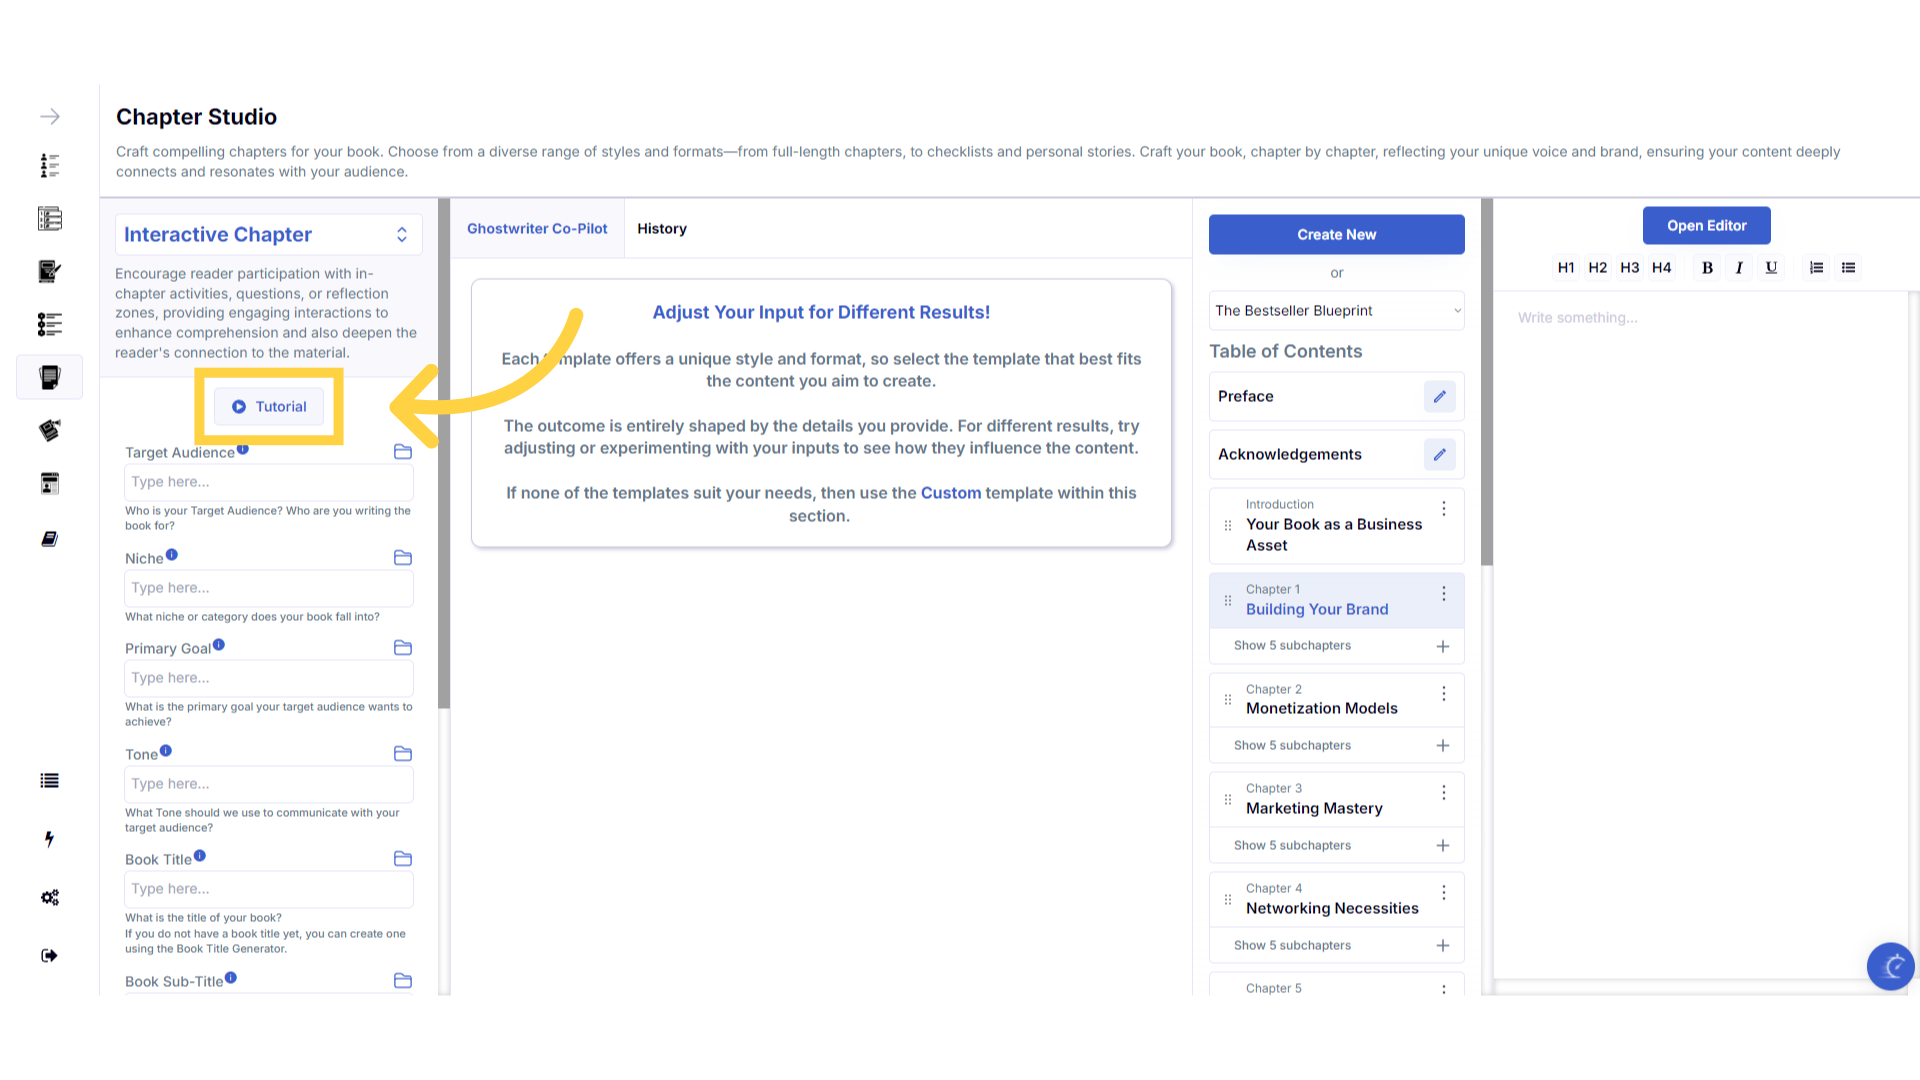
Click the "Tutorial" button to learn more about how to use the template.
If you need help at any time you can watch the tutorial.
)
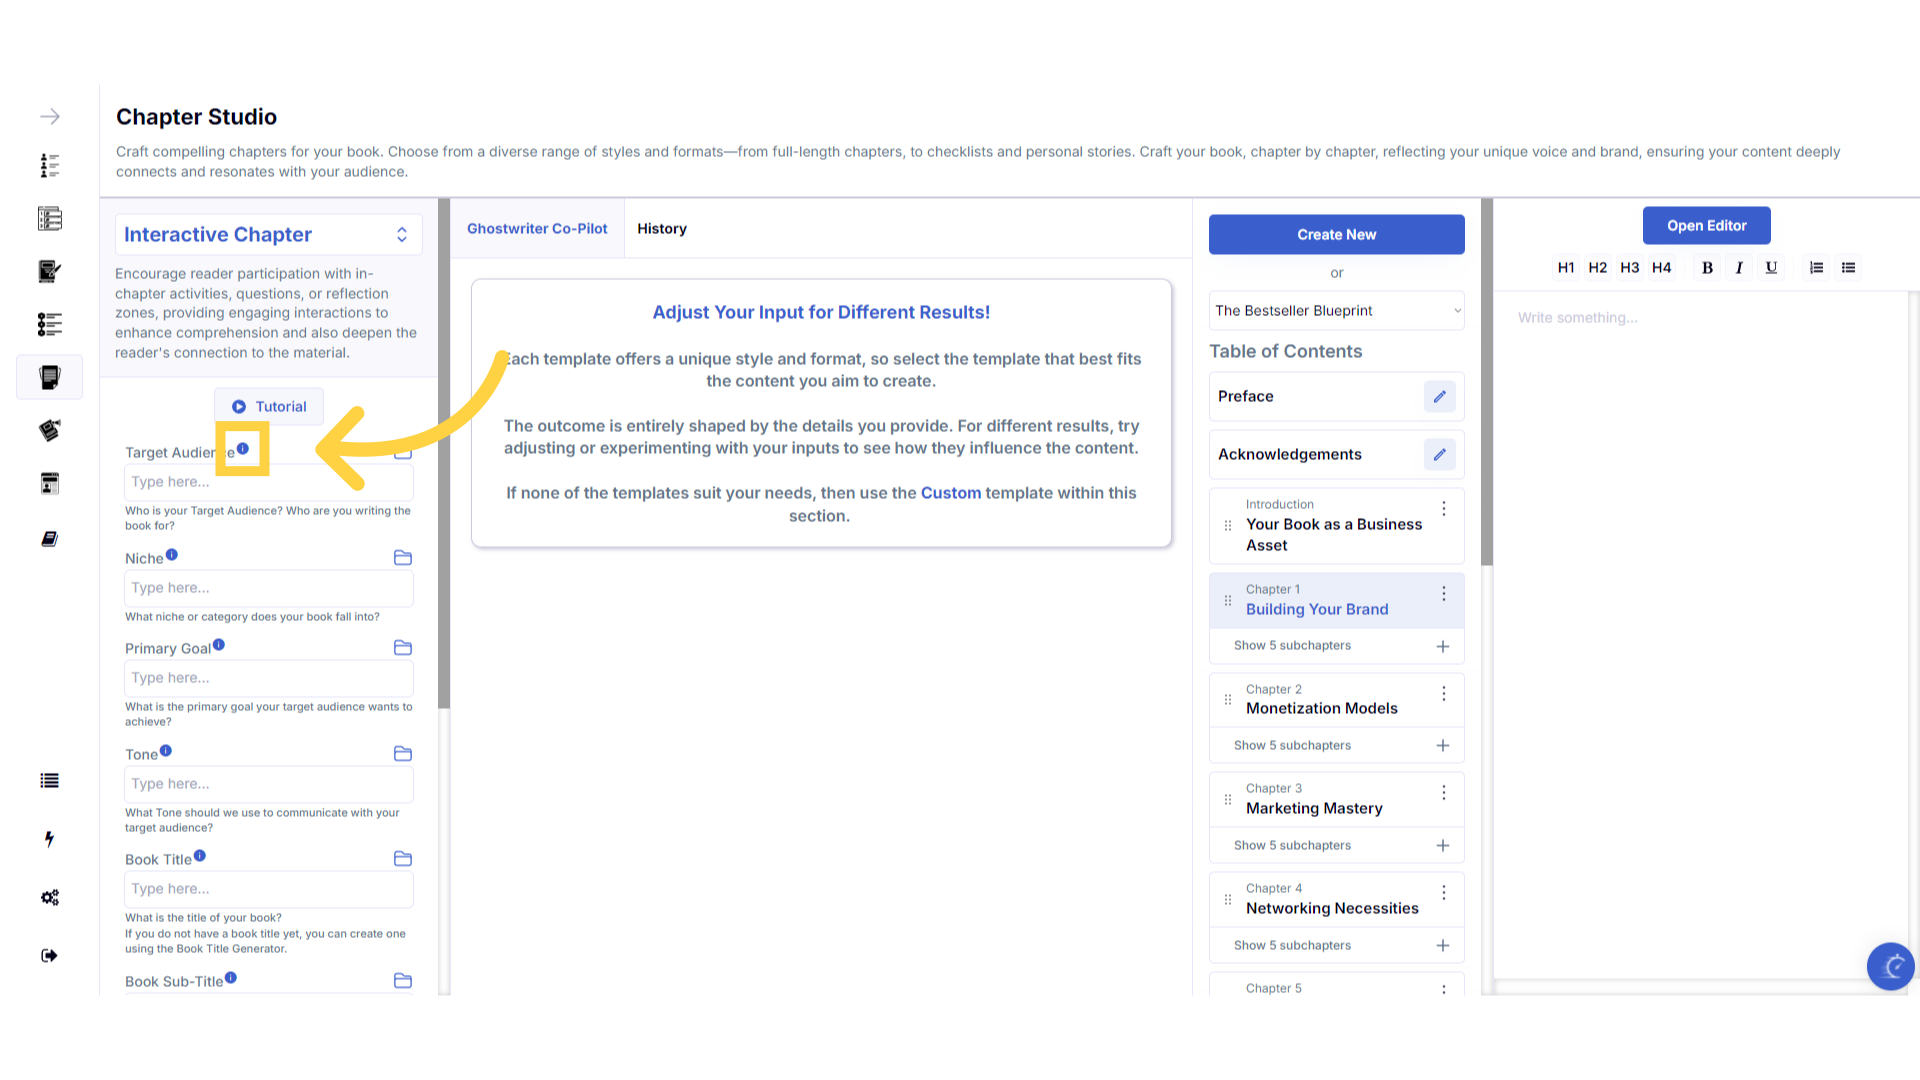
Click the blue "i" icon beside the field name, for an explanation and examples of the information you need to enter in that field.
To help you craft the perfect content, you can select the blue tooltip beside each field name. This will give you an explanation and examples of the information you need to enter in that field.
)
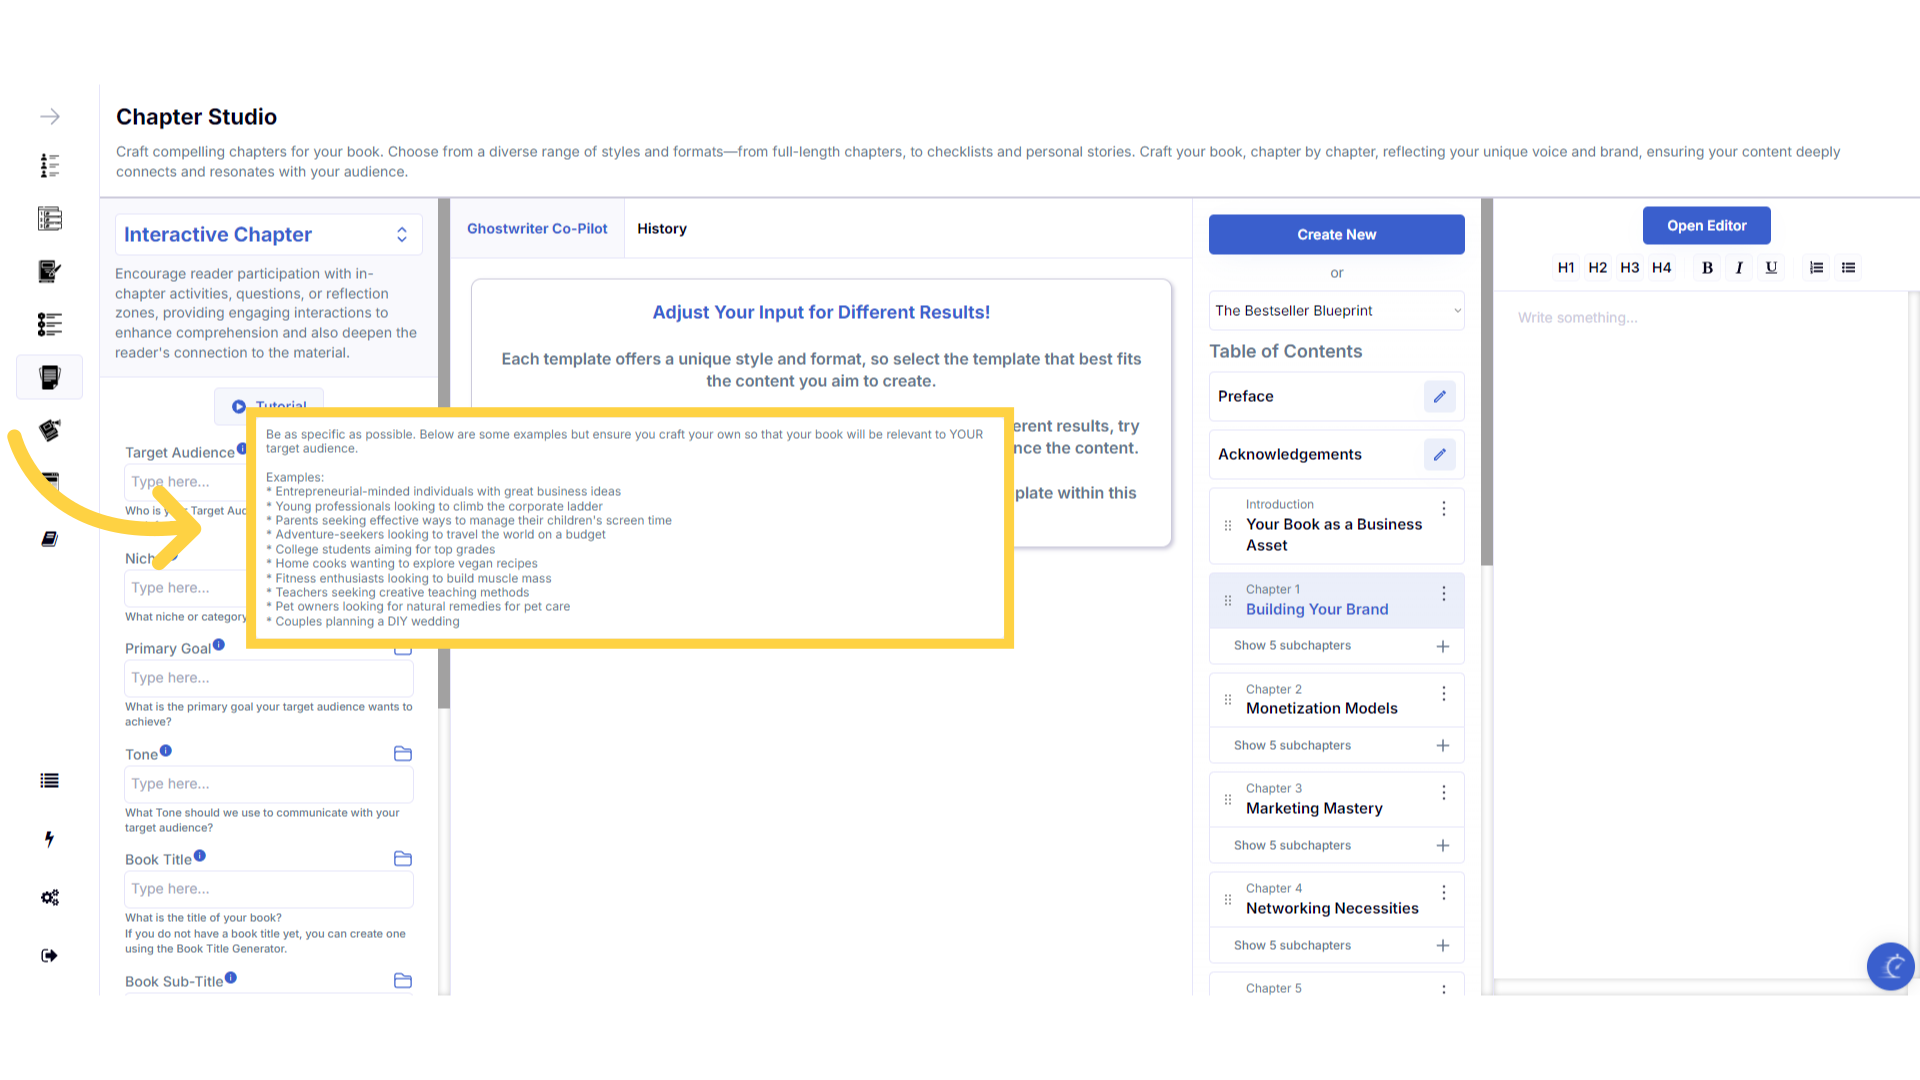
A pop up will display to help you understand what information you need to enter for that field.
A pop up will display with examples of the type of information required.
)
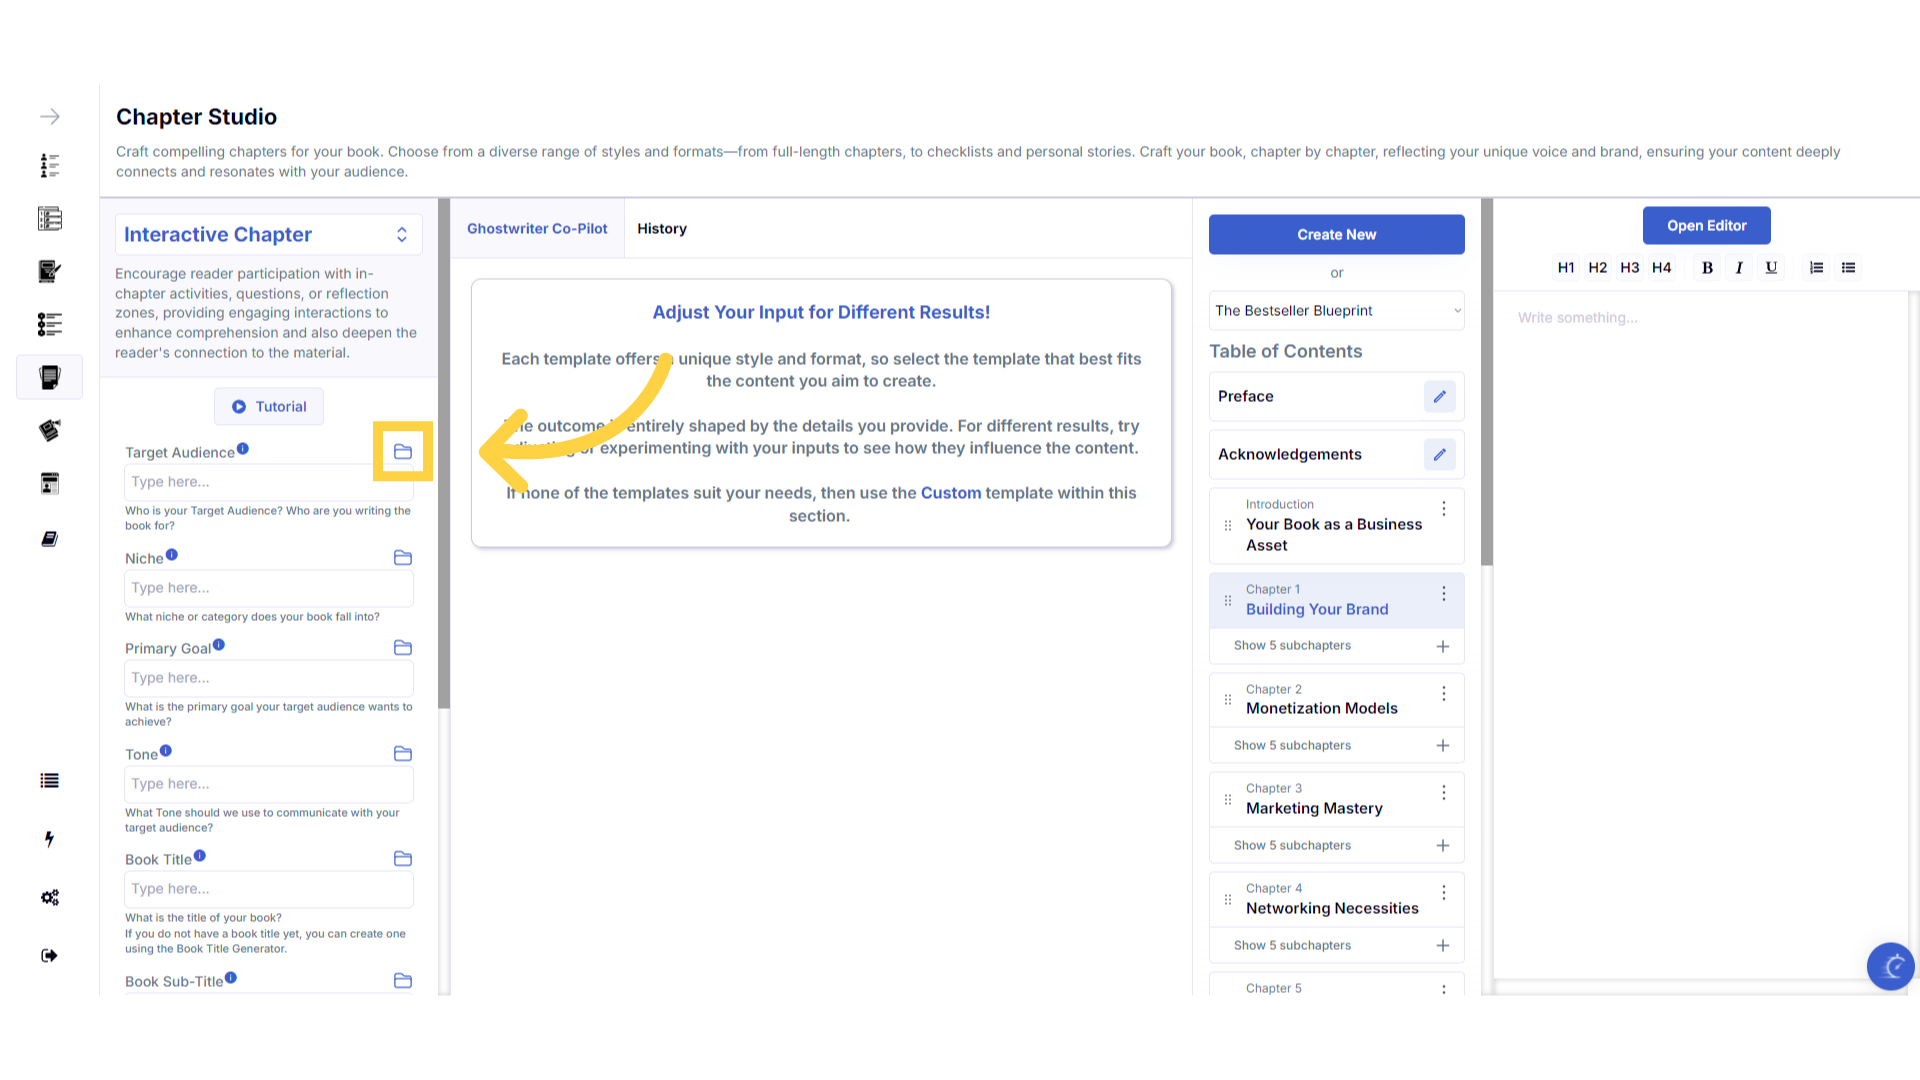
Click the "History" folder to view the last 10 entries for this field.
Once you've added information to a field, a folder will appear on the right that contains the history of the last 10 entries in this field.
)
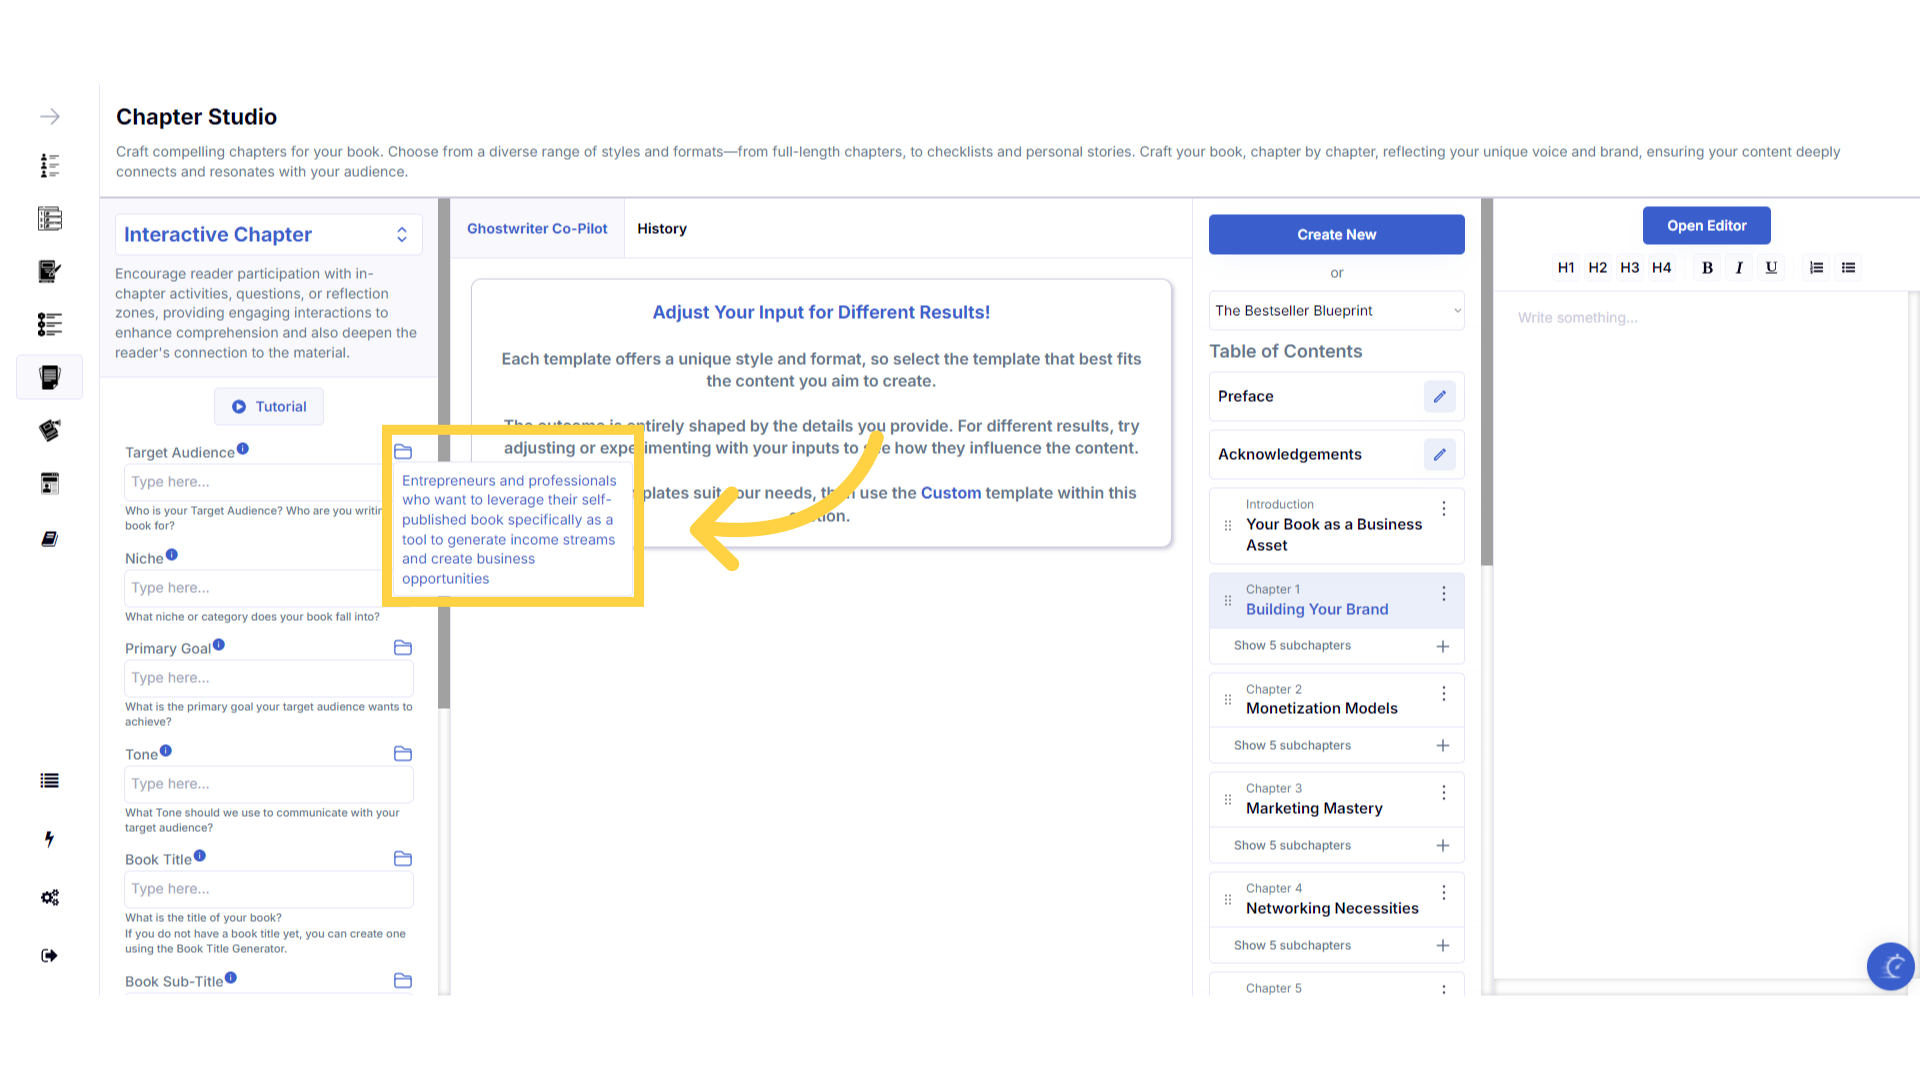
Click on the "History" folder to easily re-select information you've already entered, and add it to that field.
Click on the history folder to easily re-select information you've already entered, and add it to that field.
)
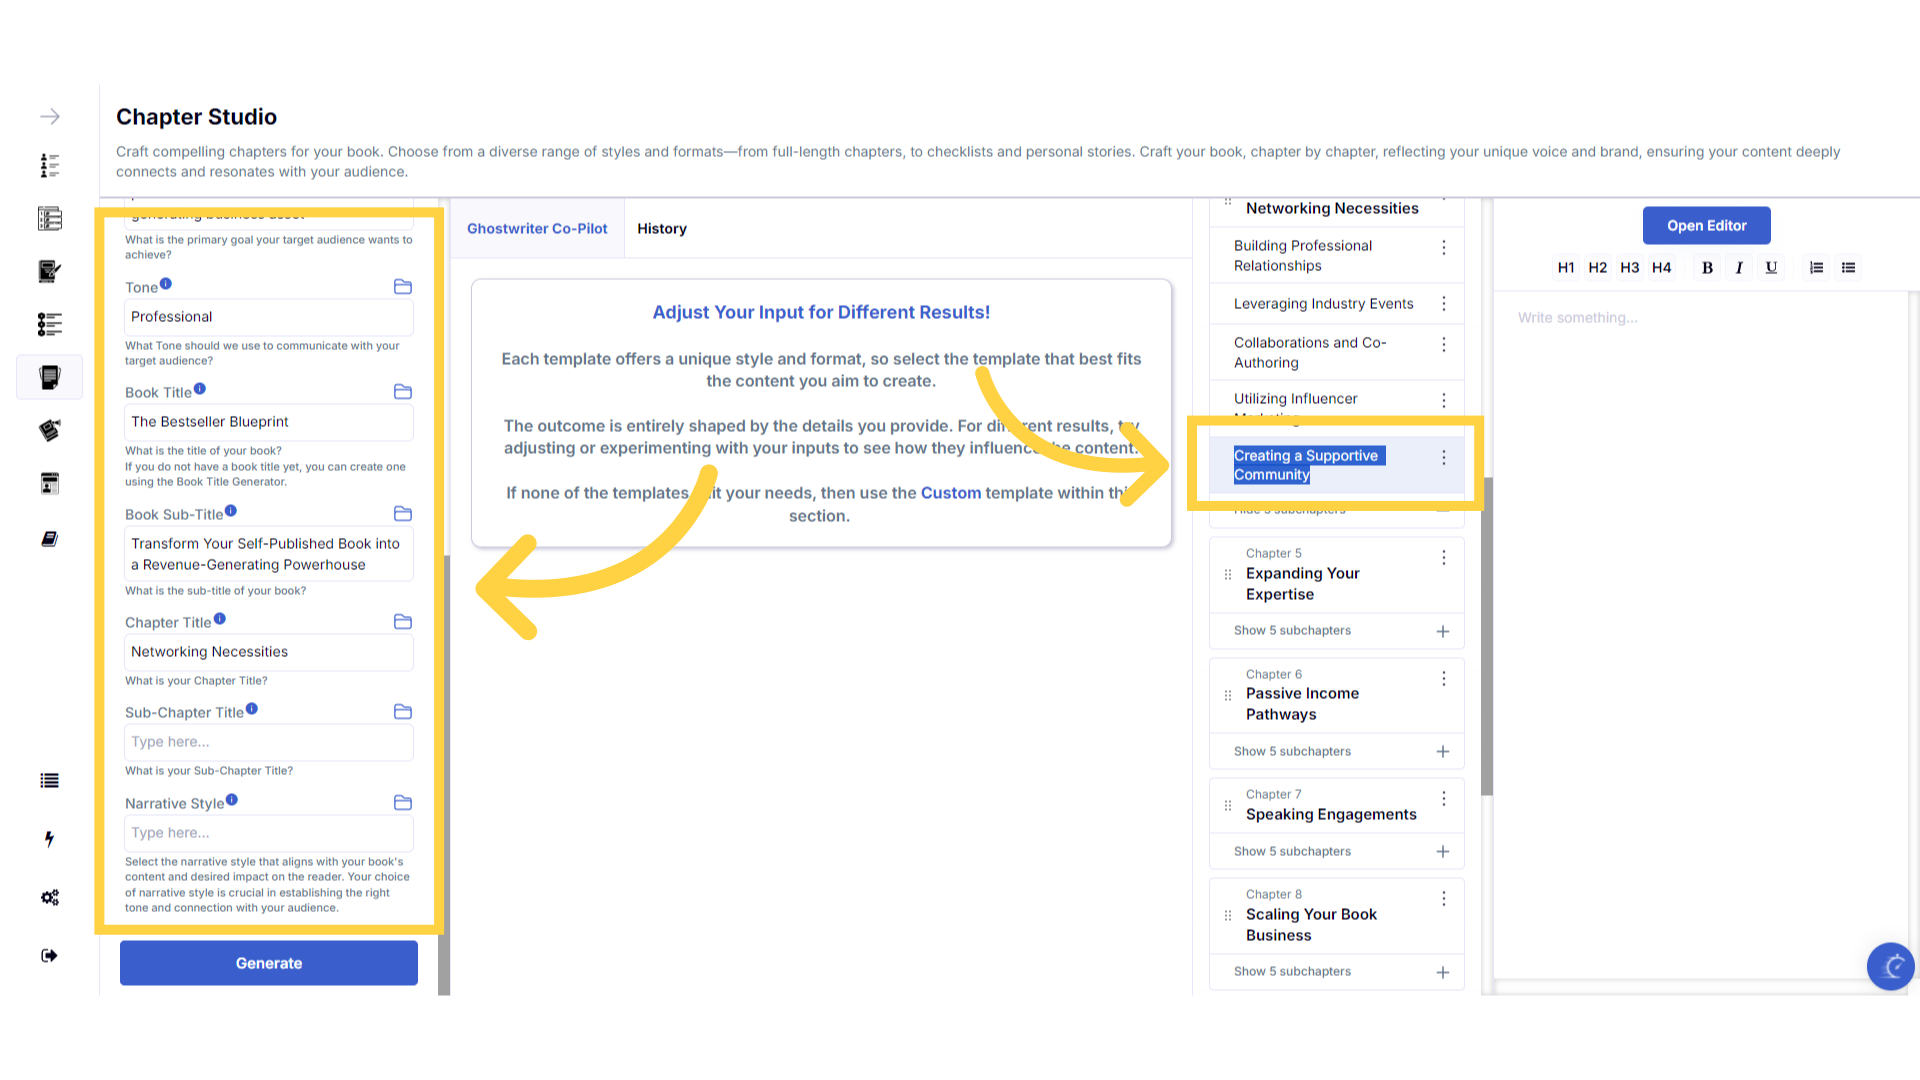
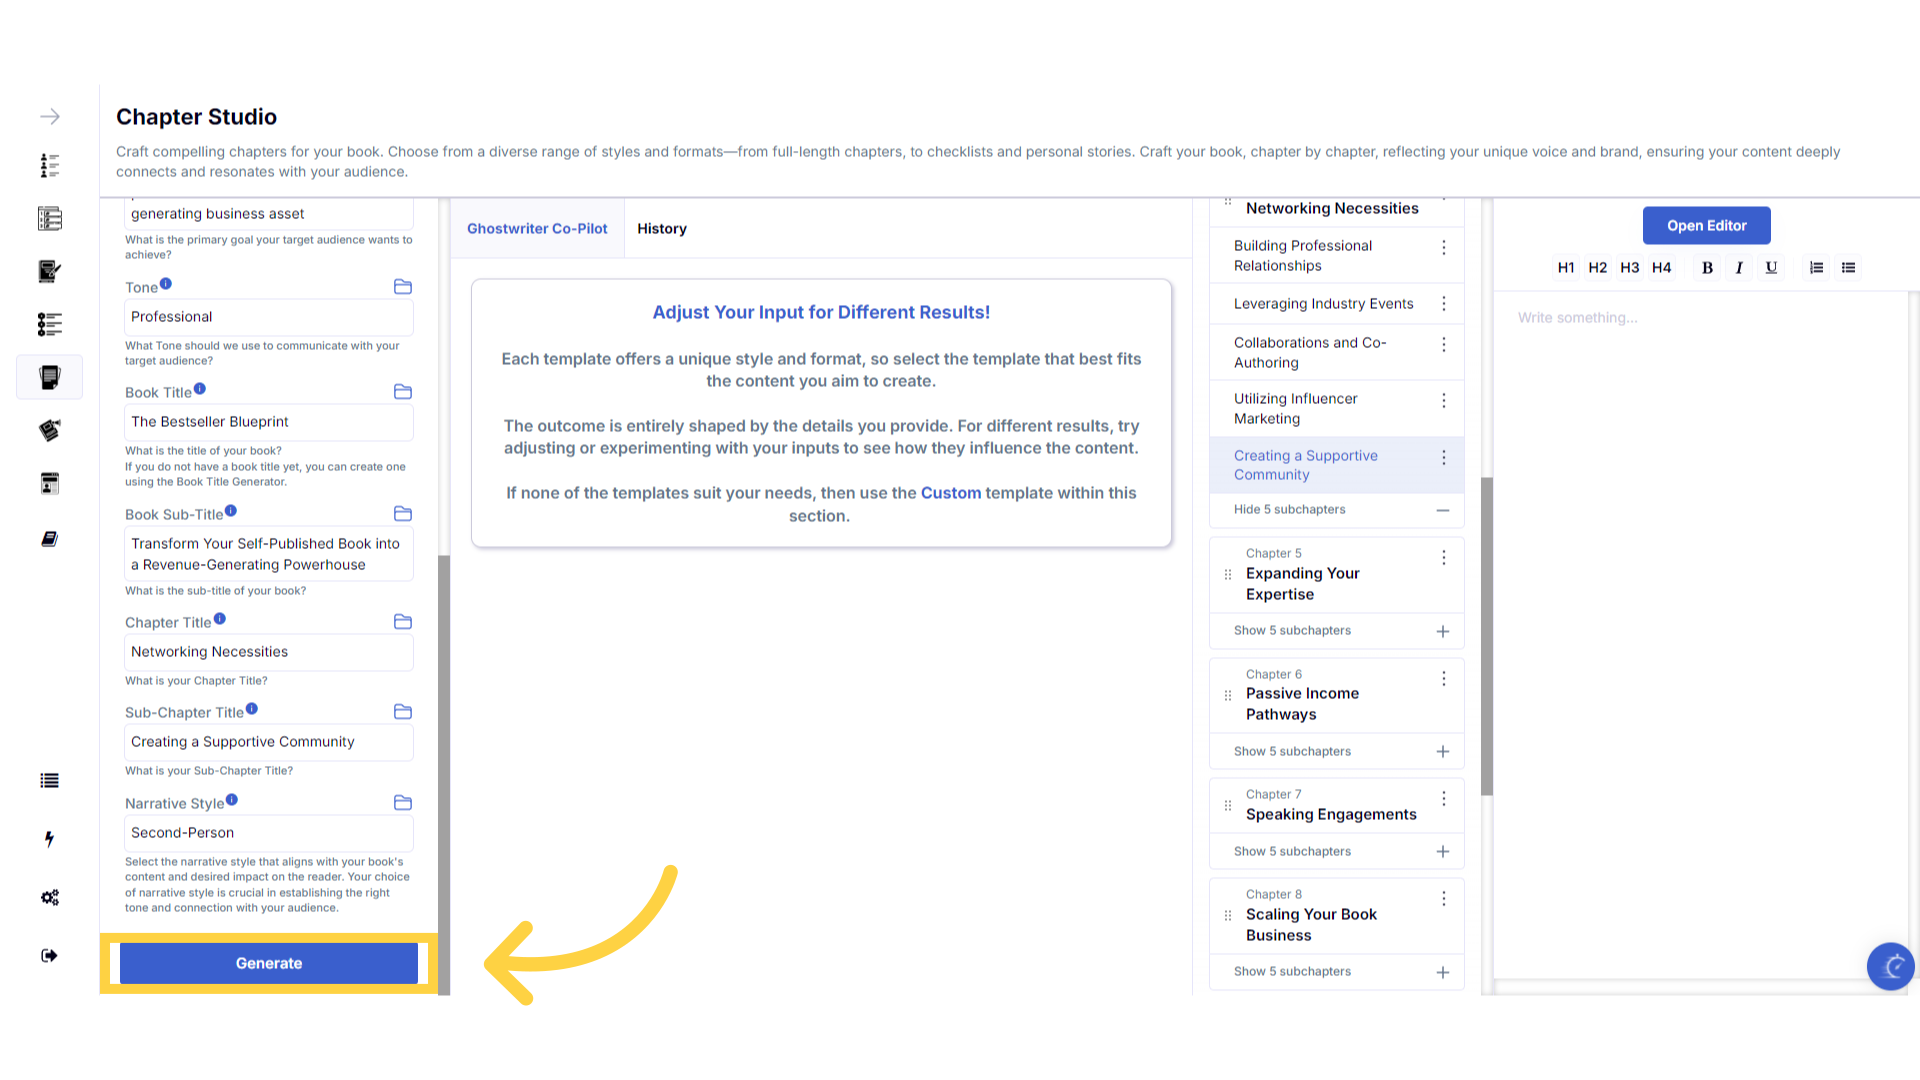
Enter the required information to generate the Chapter.
Enter the required information to generate the content. You can highlight and copy the chapter and subchapter title from the table of contents on the right, to paste it into the corresponding fields on the left, to generate the content.
)
Click "Generate" to craft the Chapter.
You can change the information you provide, and re-generate as many times as you need, to craft the perfect content for your book.
)
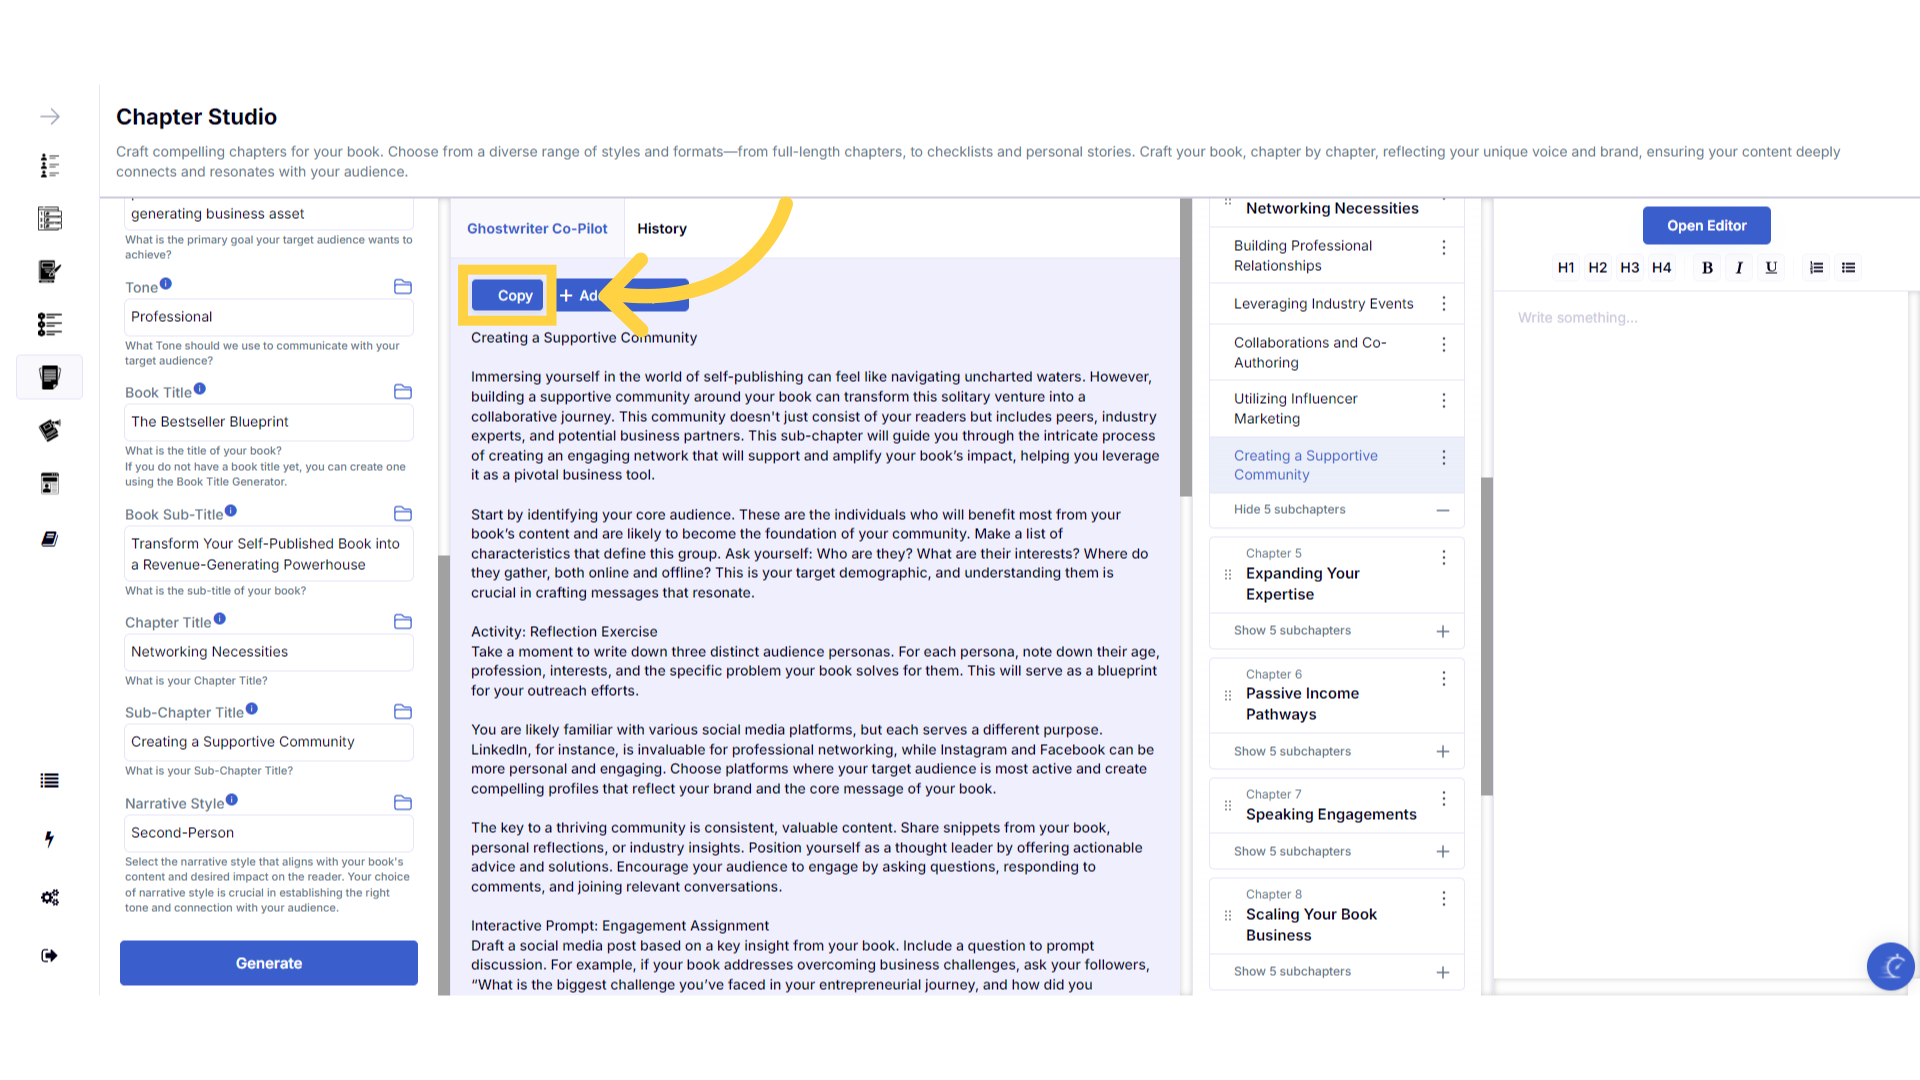
Click "Copy" to paste the generated content externally.
Click copy to duplicate the generated content. You can then paste it into a document on your device. If you reach your monthly book export limit, this option lets you continue generating content, and manually add updates to an already exported book, or any other document on your device.
)
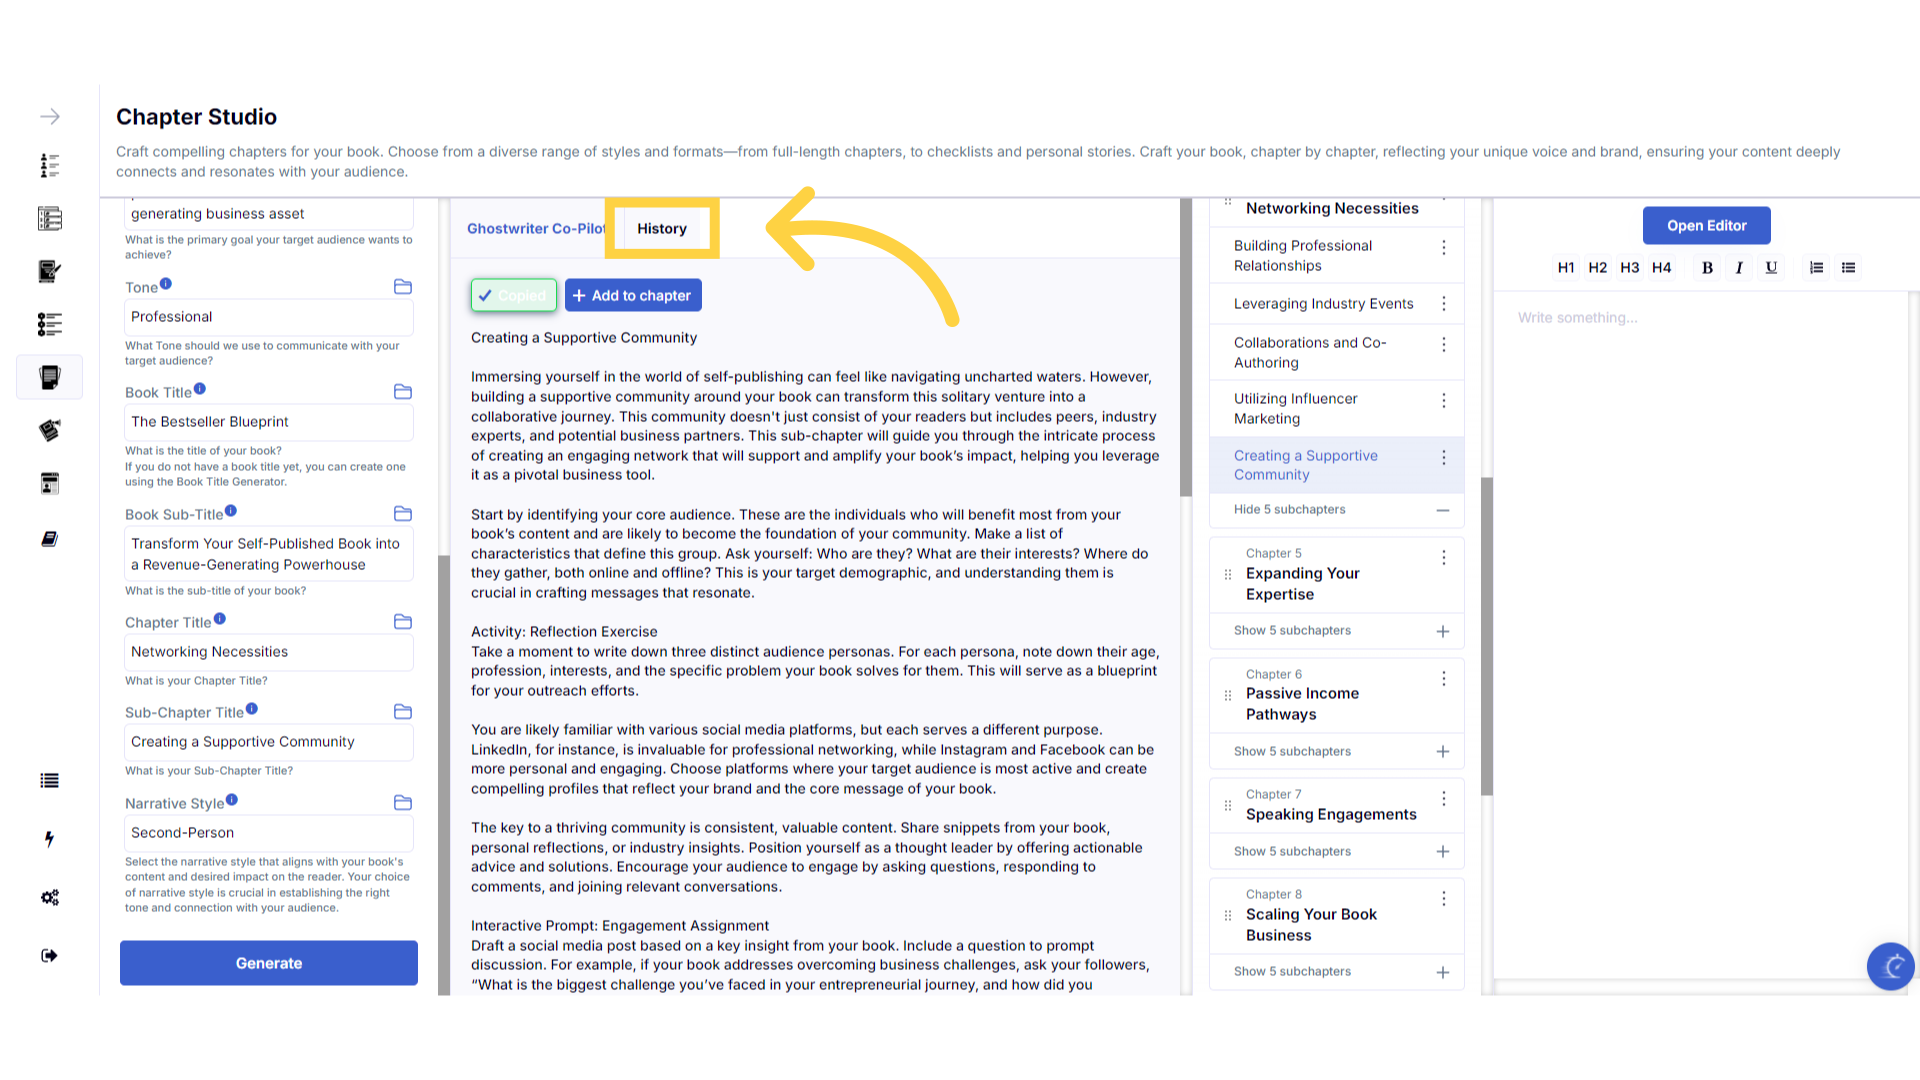
View or use your previous content generated in the "History" section.
The history stores all of the content you've generated. Select the history button to view or use any of the past content you've created with this template.
)
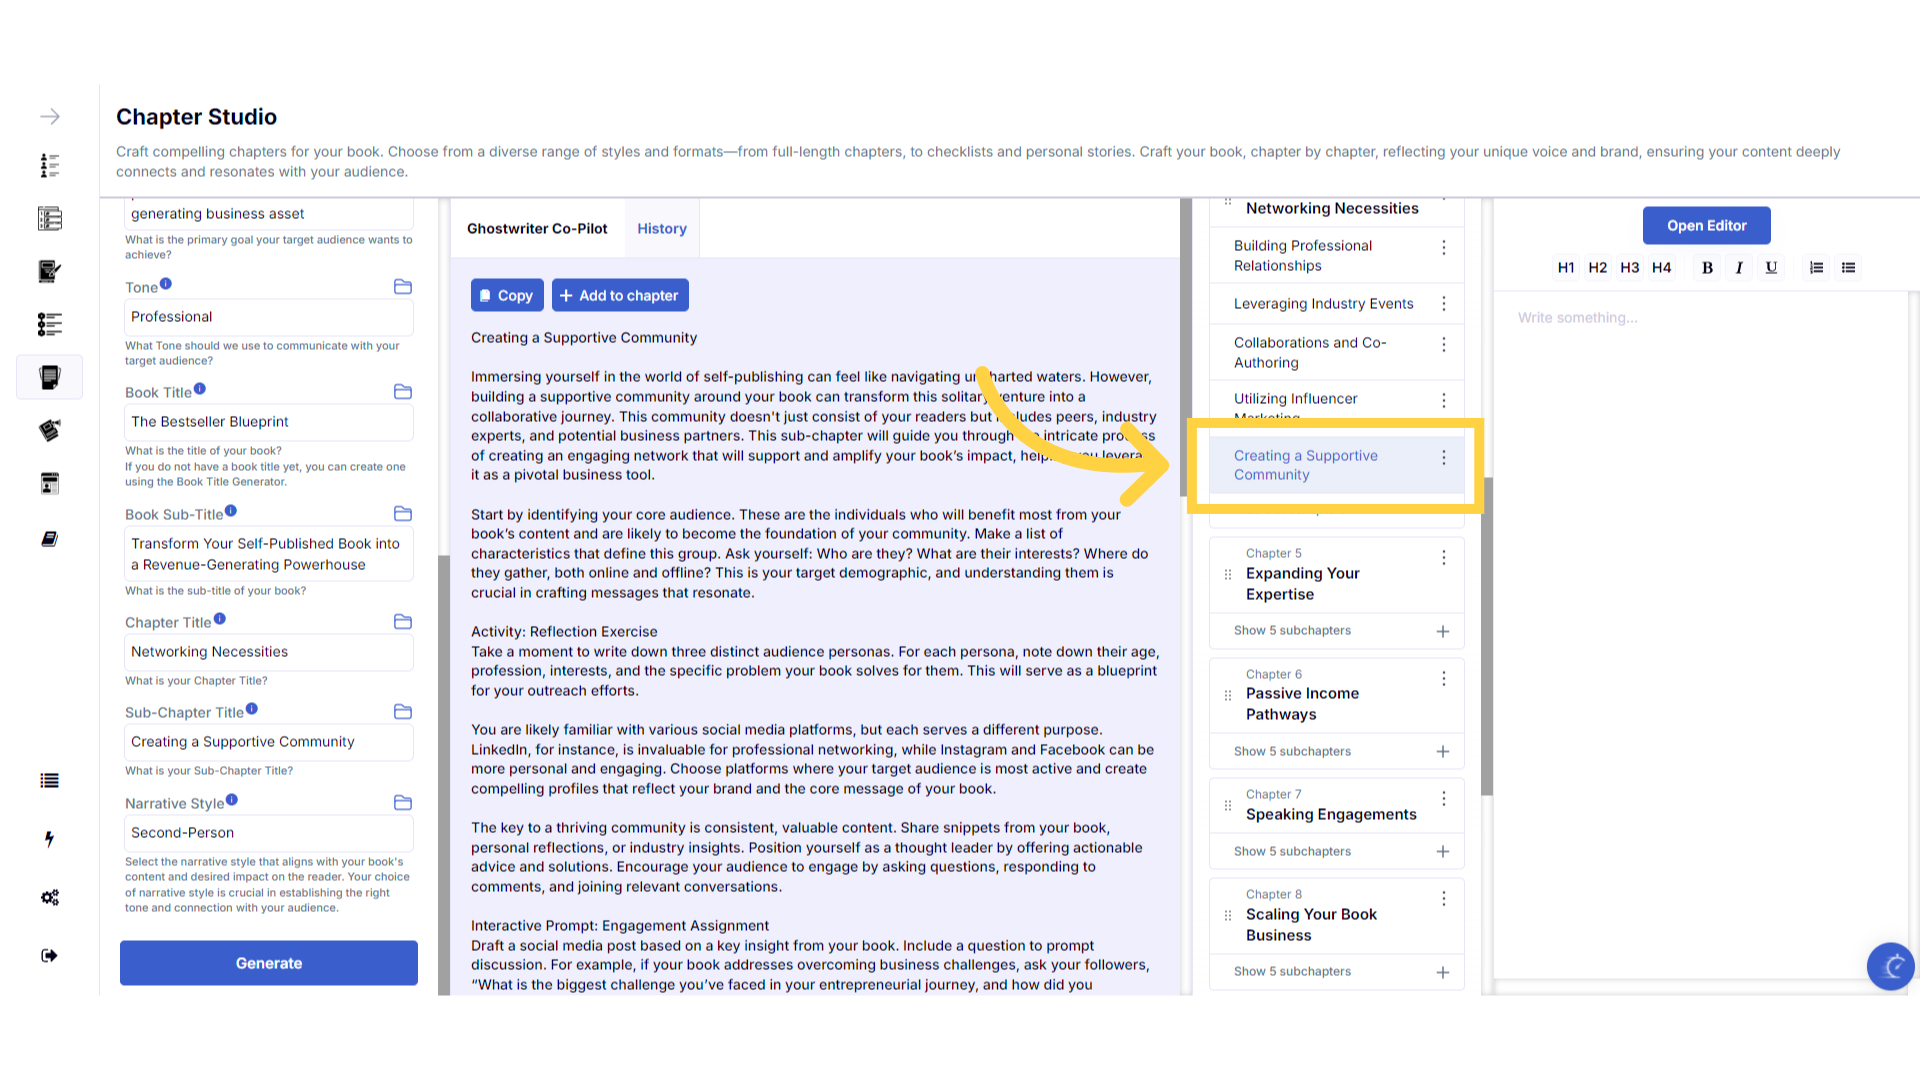
Click on the Chapter title to highlight it ready to add content.
To add content to the chapter, simply highlight the chapter or subchapter title by clicking on it.
)
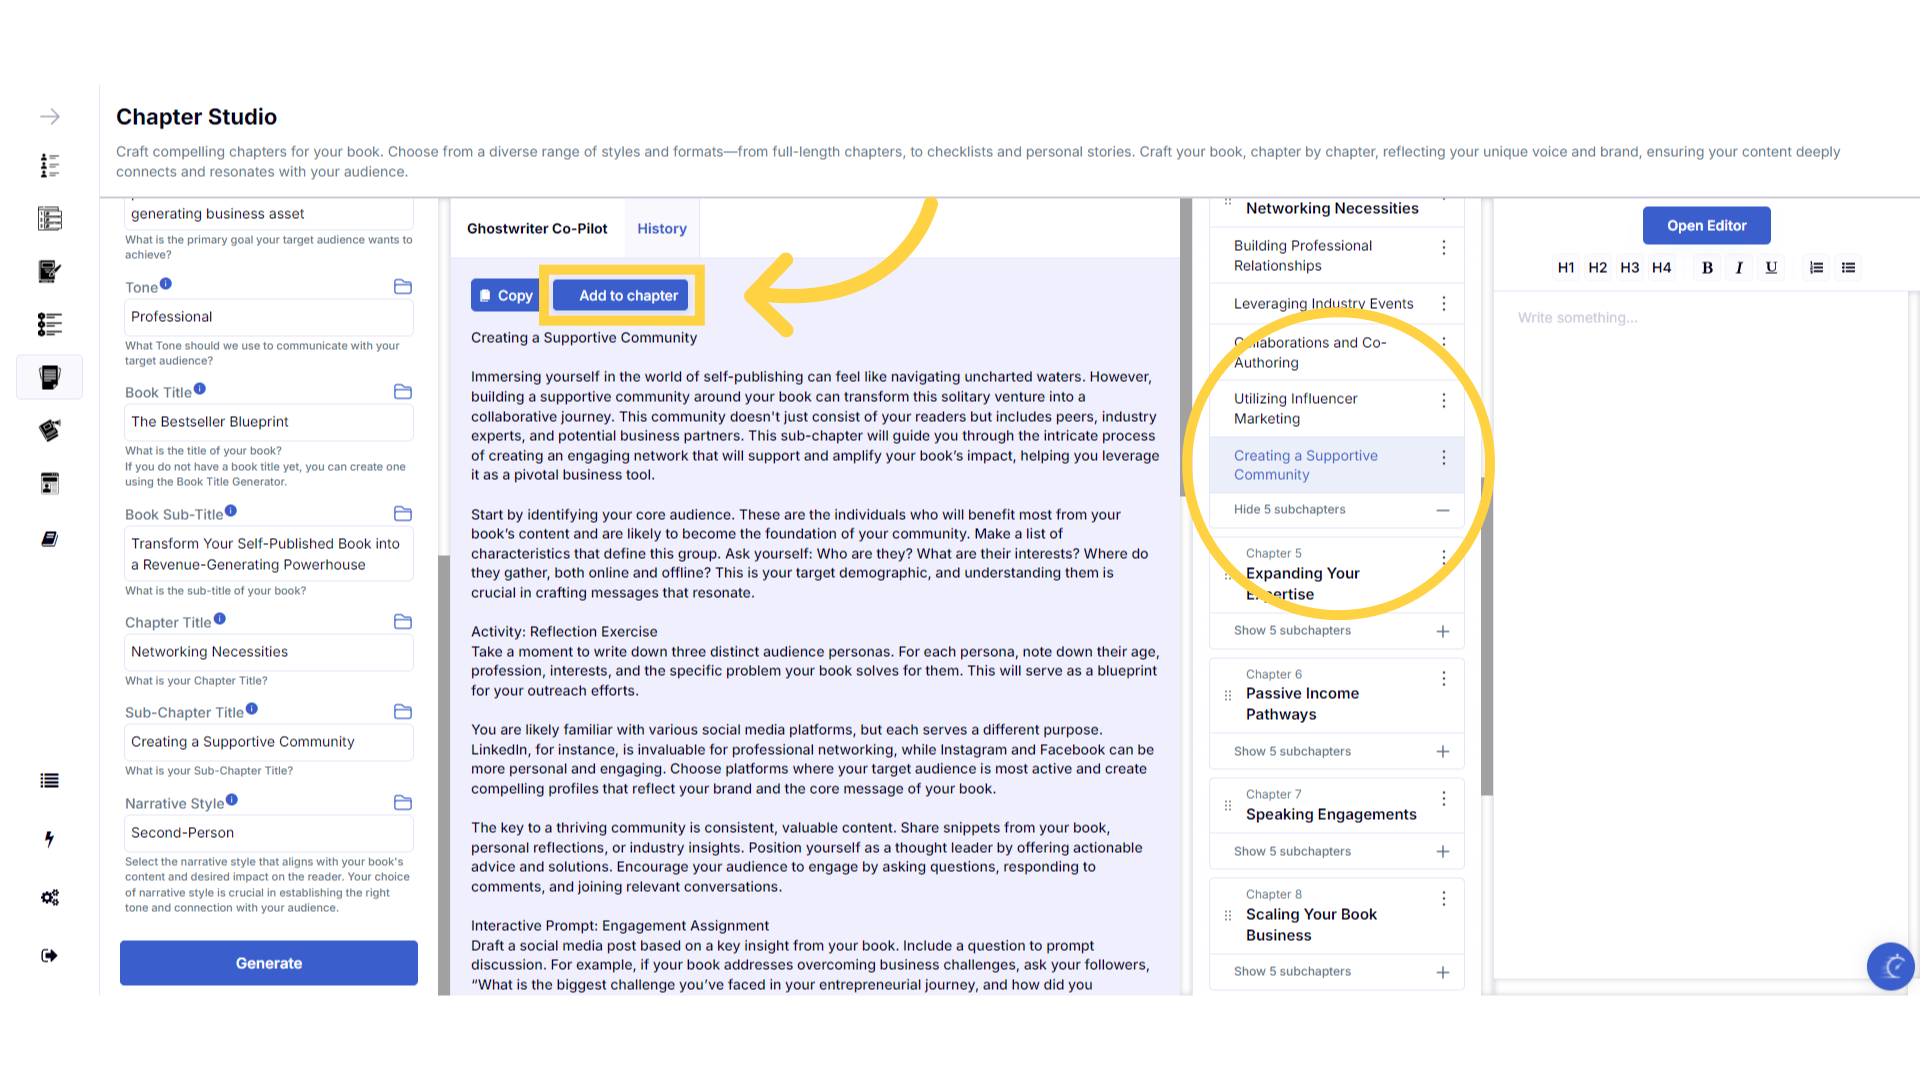
Click "Add to Chapter" to add the content to your book.
Remember to make sure the chapter or subchapter title is highlighted in the table of contents on the right, by clicking on it. Then click add to chapter, to add the generated content to the chapter of your book. Allow a few seconds without clicking away for the content to transfer.
)
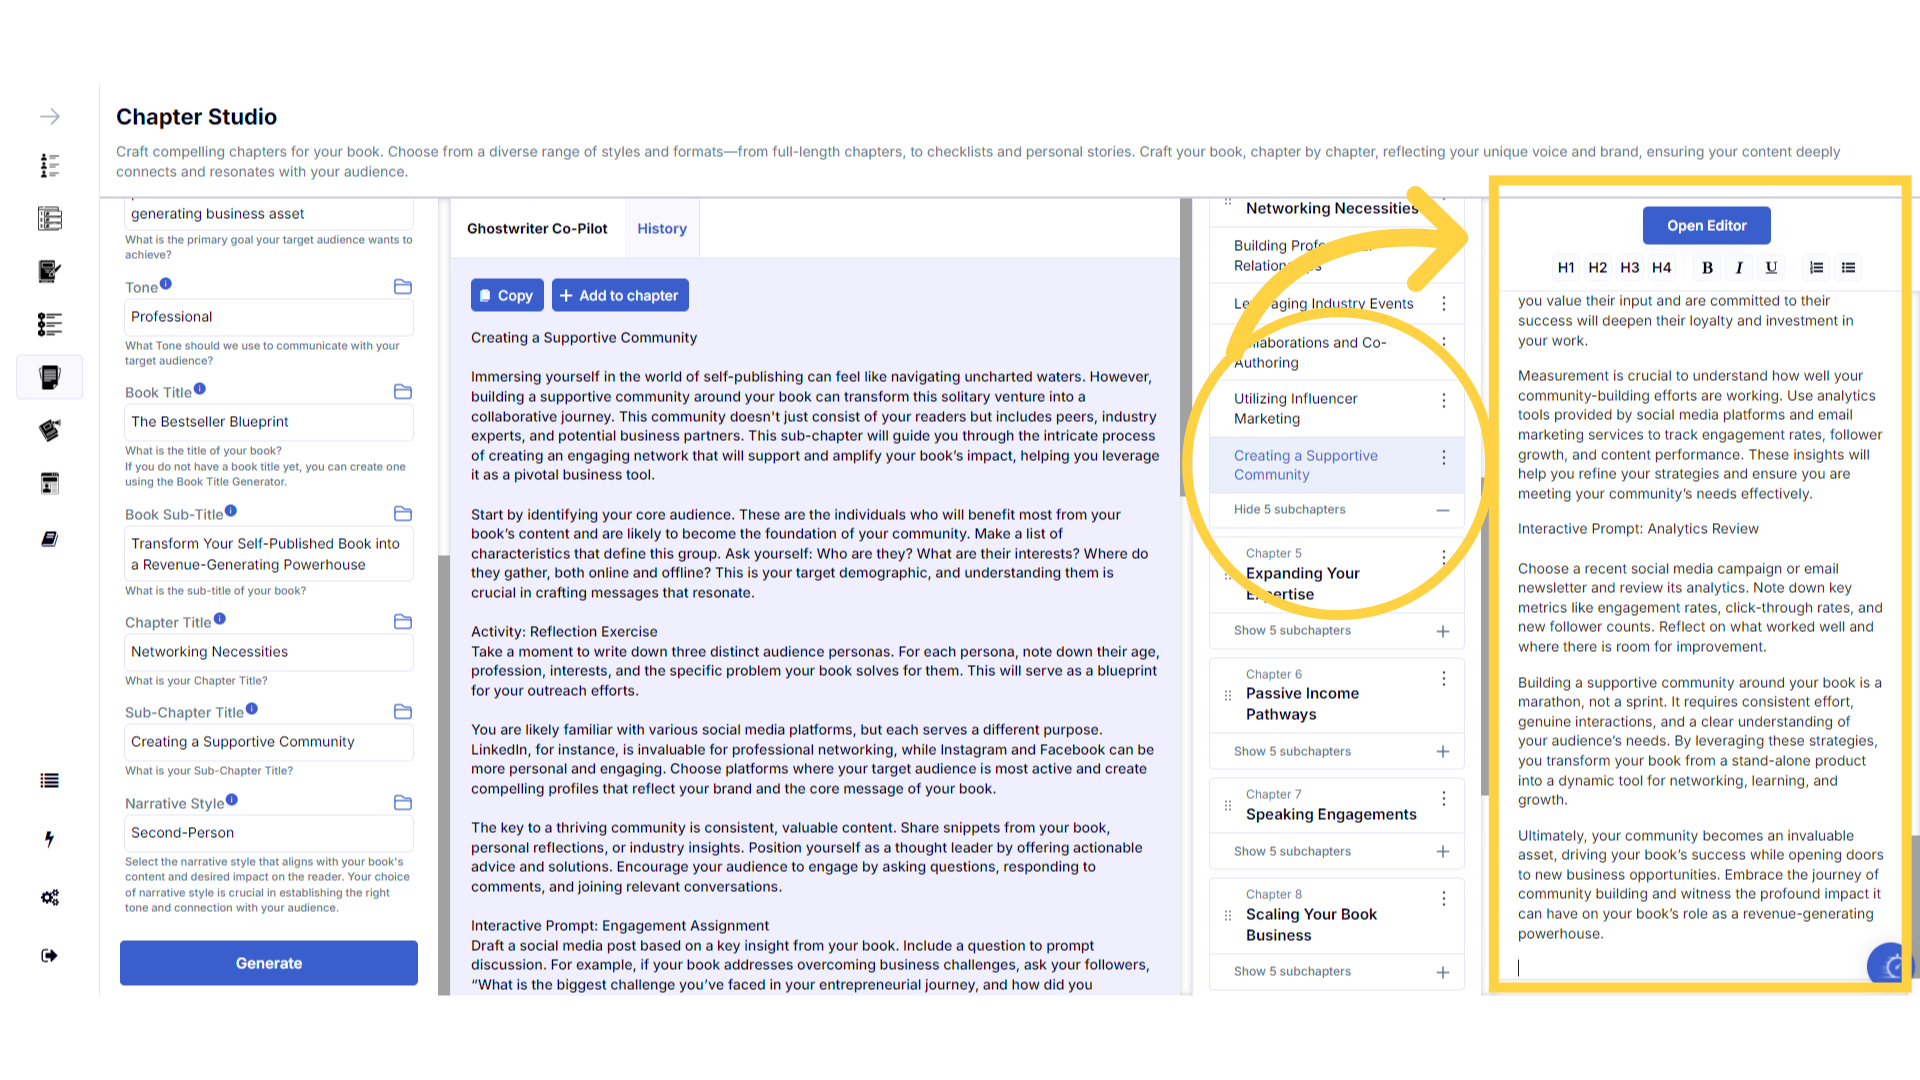
The chapter is now added into your book.
The content is now added into your chapter. You can click into the chapter editor on the far right to edit it, or open the book editor for full screen editing mode.
)
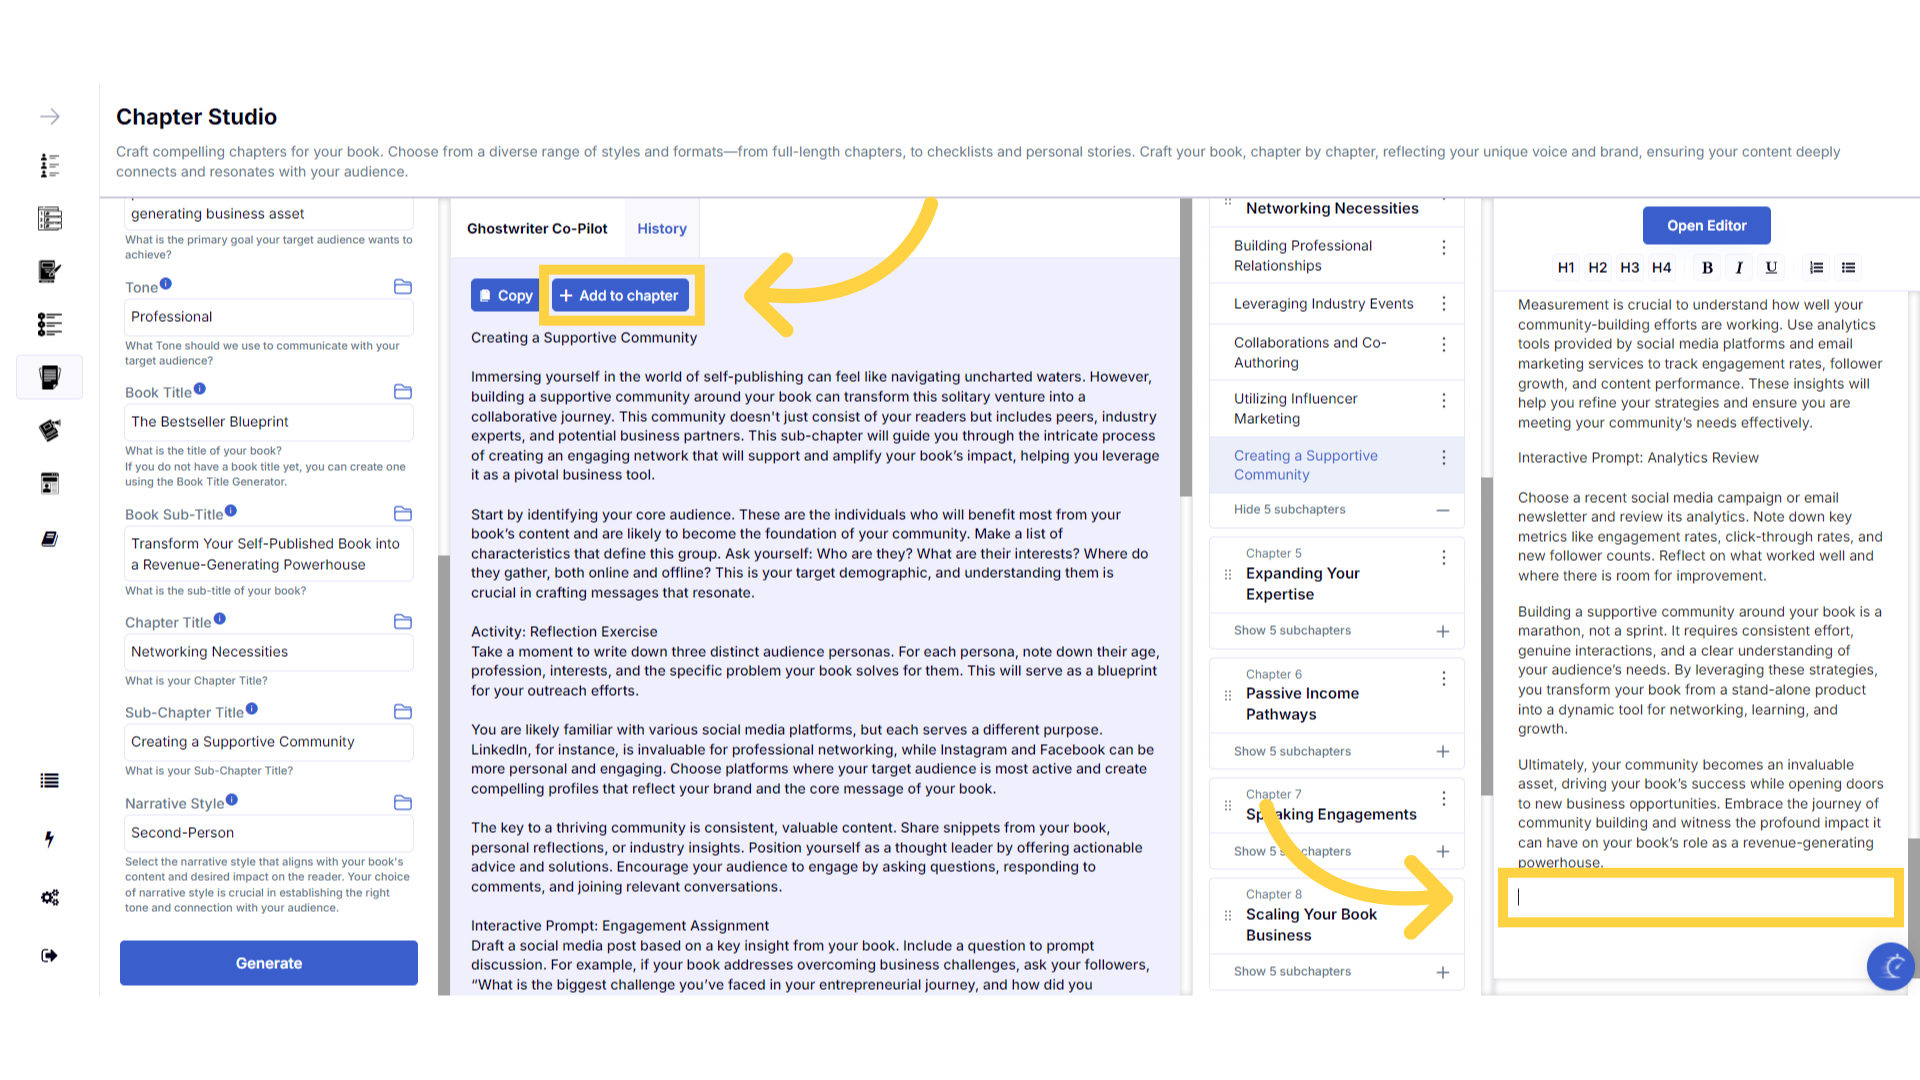
Expanding Your Chapters and Sub-Chapters.
To ensure high-quality relevant content, each generation has a fixed wordcount. If you want longer chapters, you have two options. You can add additional subchapters to each main chapter when crafting your table of contents. Or, you can generate additional content for the same chapter. To do this, scroll to the bottom of the text you have already added to the chapter in the book builder on the right. Click at the end of the text, or wherever you want the additional content added. Then click add to chapter to add the content, and include multiple generations within the same chapter or sub-chapter. Consider adding titles to this additional content to organize the chapter or subchapter into clear sections.
)
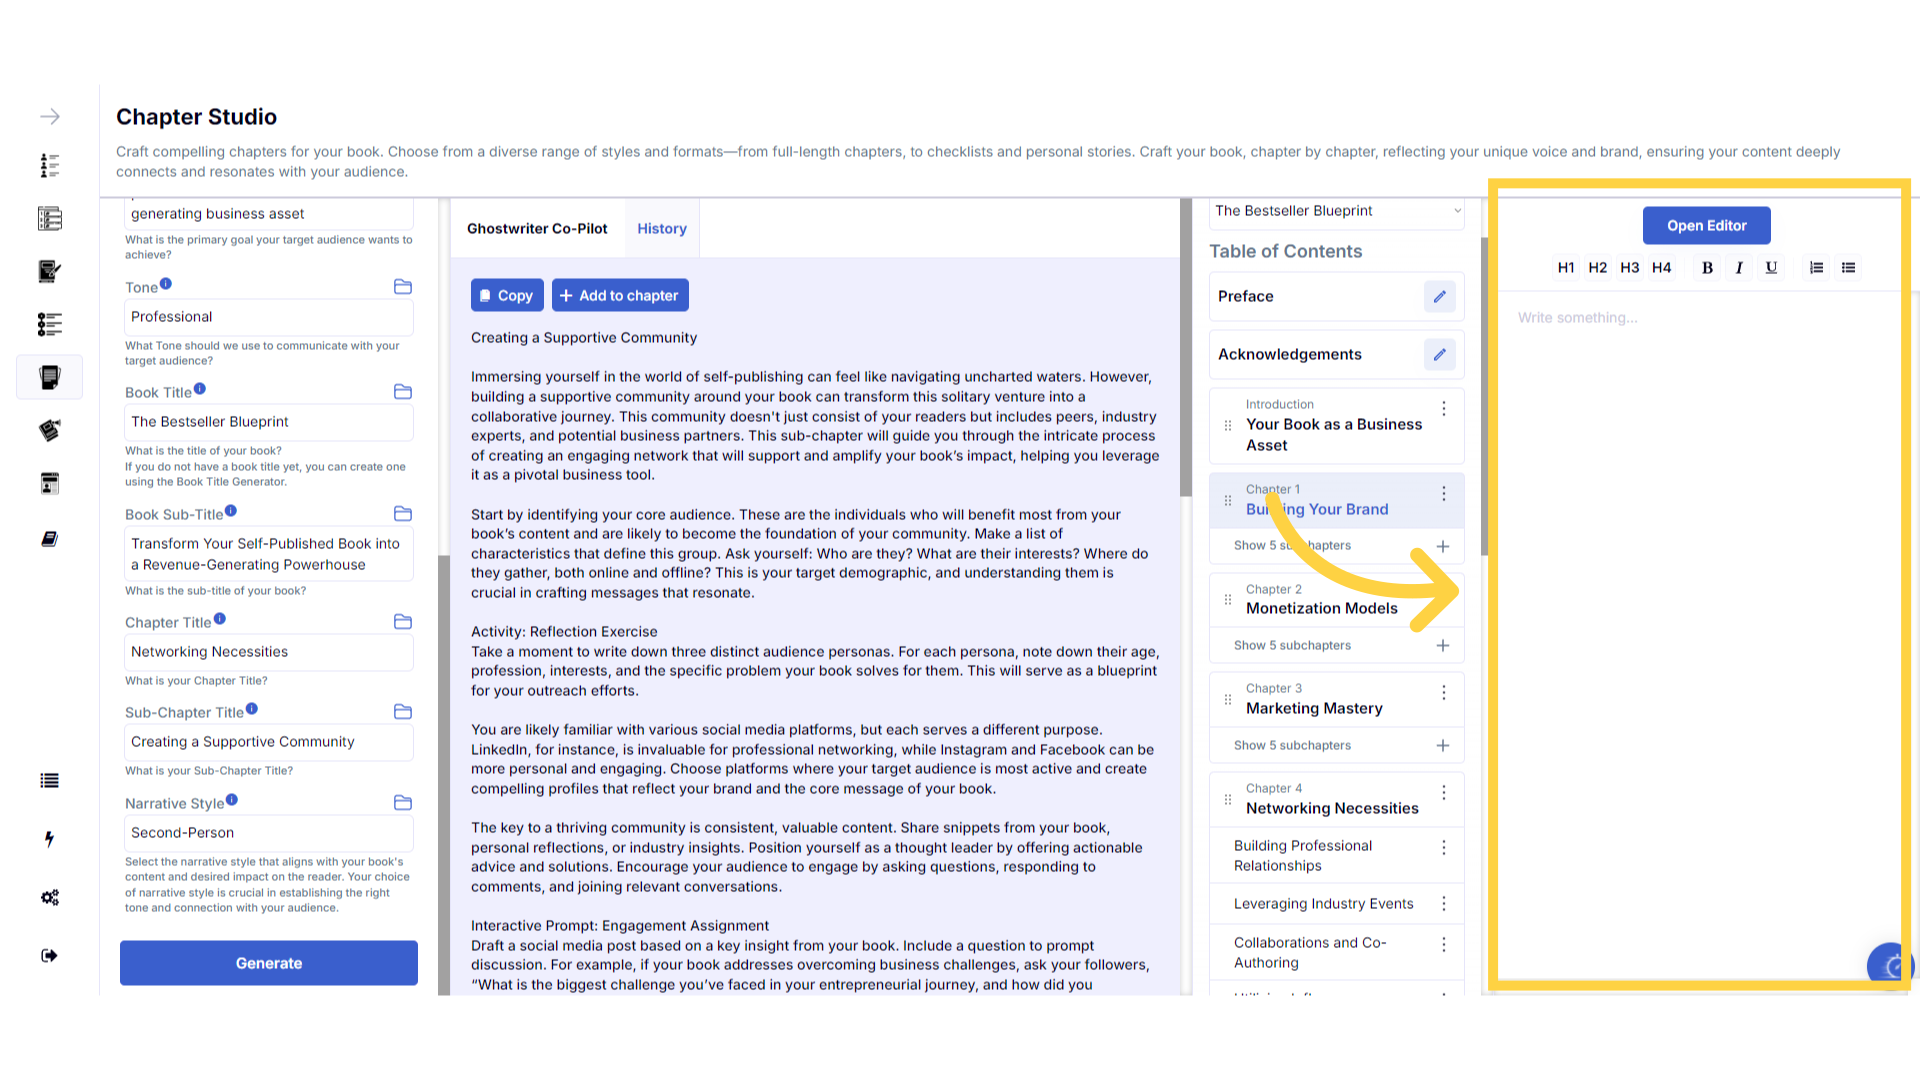
Click in the editing box to write your own content.
If you would like to write your own content for any chapters, highlight the chapter title and click in the chapter editor on the right and start typing. You can also click open editor to write in full screen mode.
)
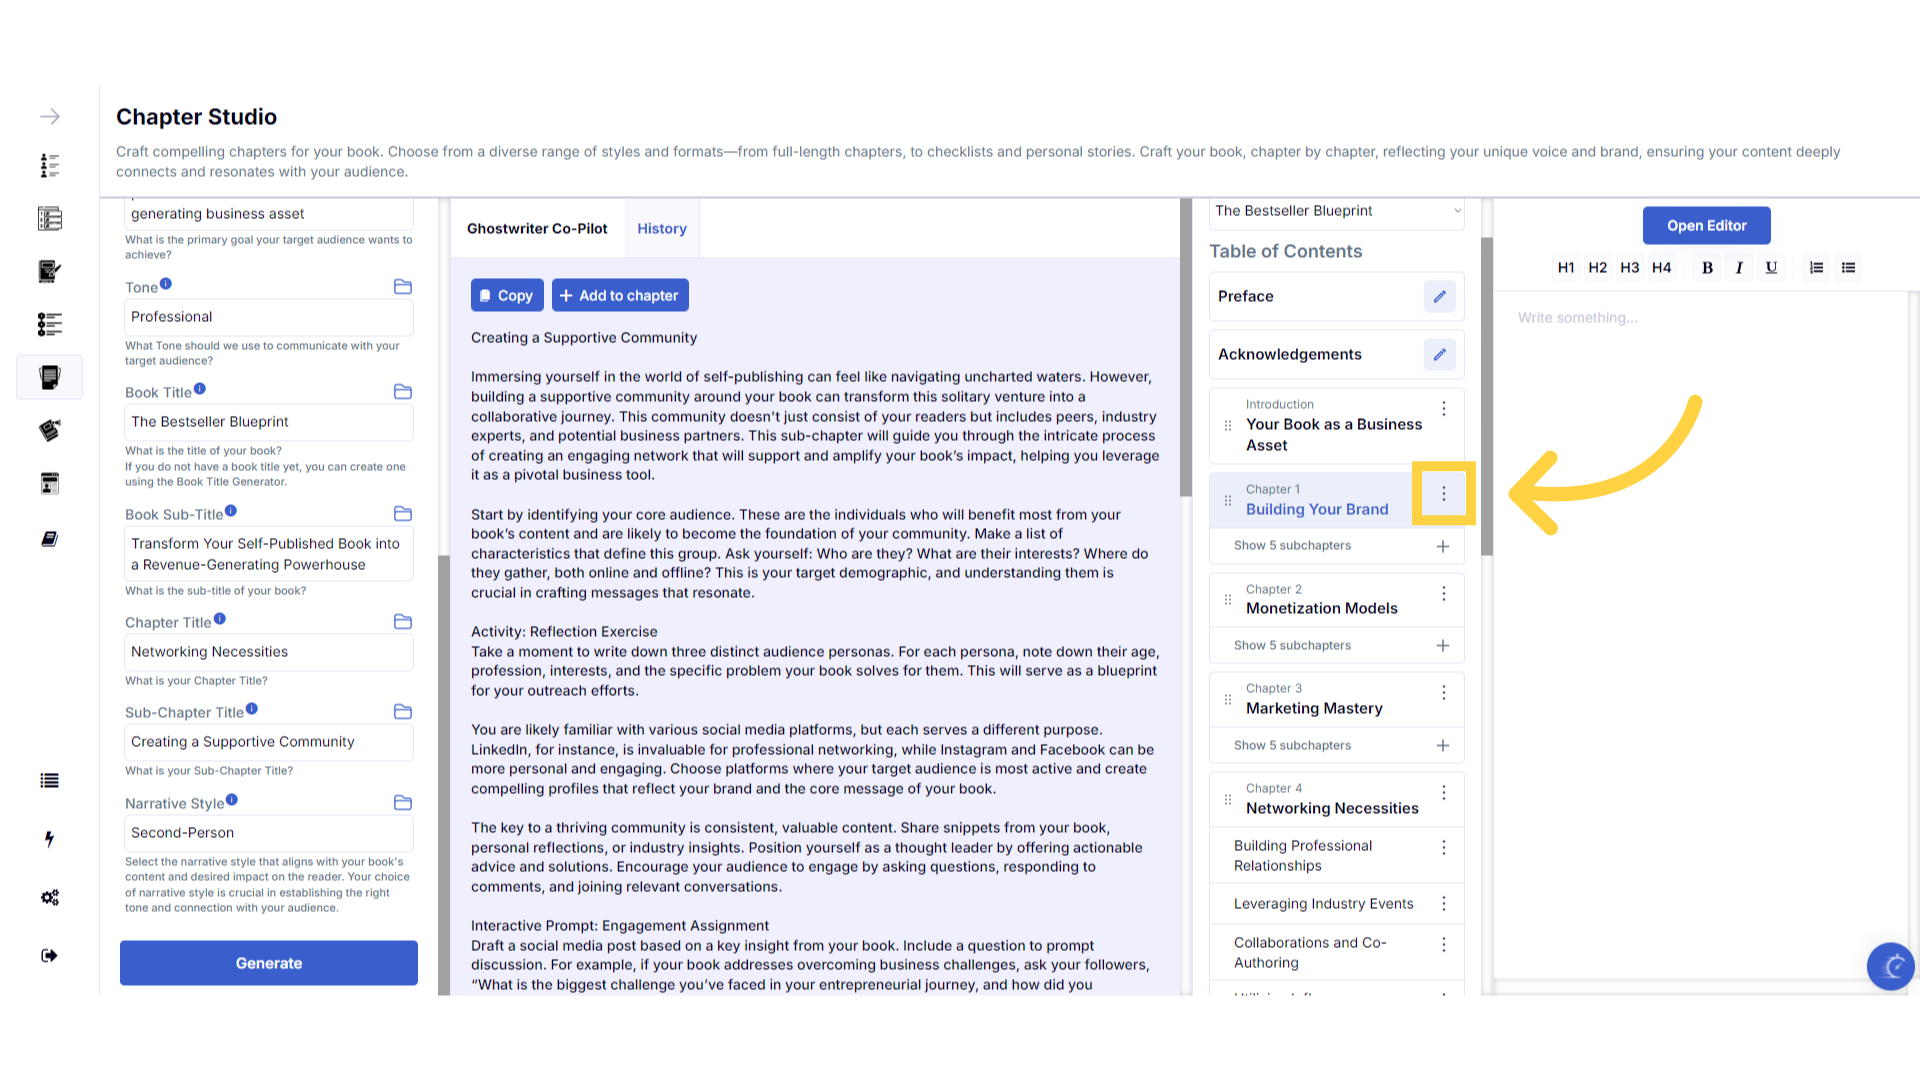
Rename or Delete the chapter.
You can re-name or delete your chapter, by clicking on the three dots to the right of the title. Remember, you can't add new chapters once your table of contents is created, so be sure you don't need the chapter before deleting it.
)
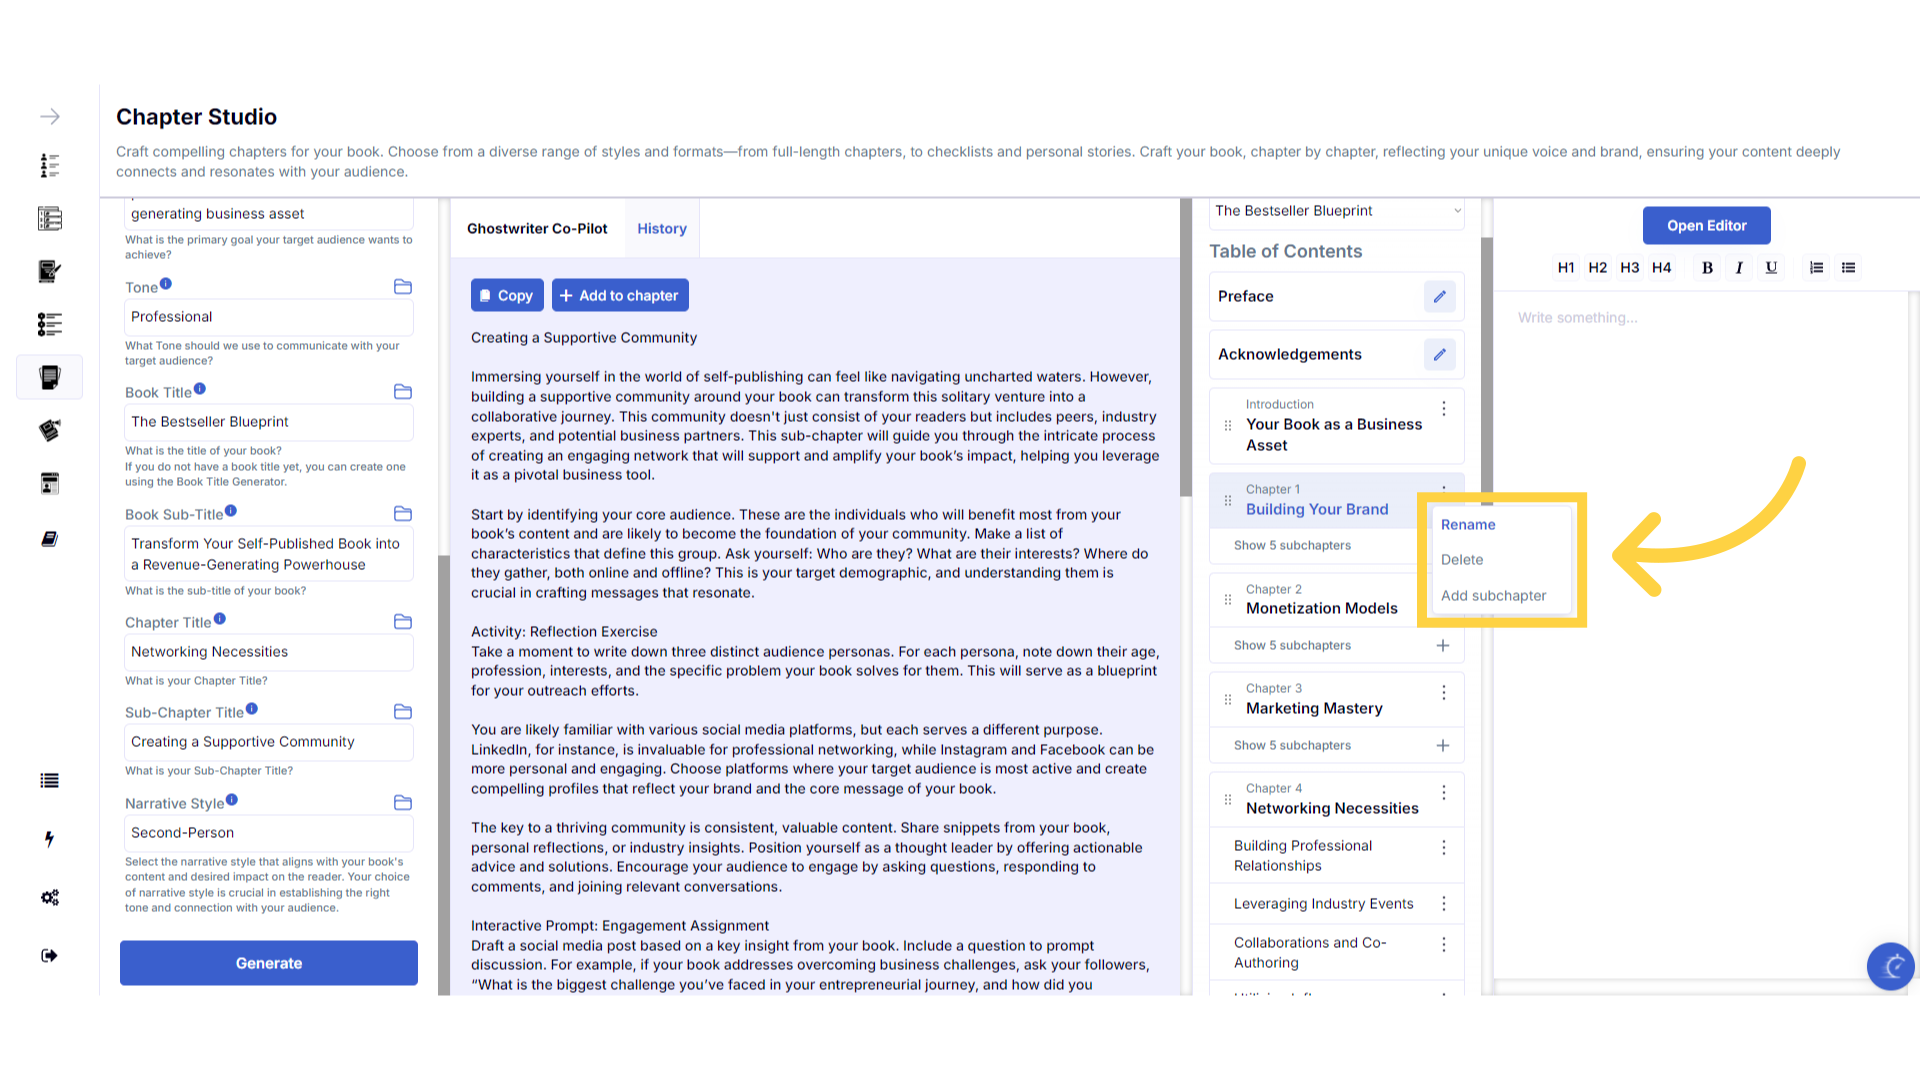
Select an option to make changes to the Chapter.
You can also add additional sections to your chapter by clicking add subchapter.
)
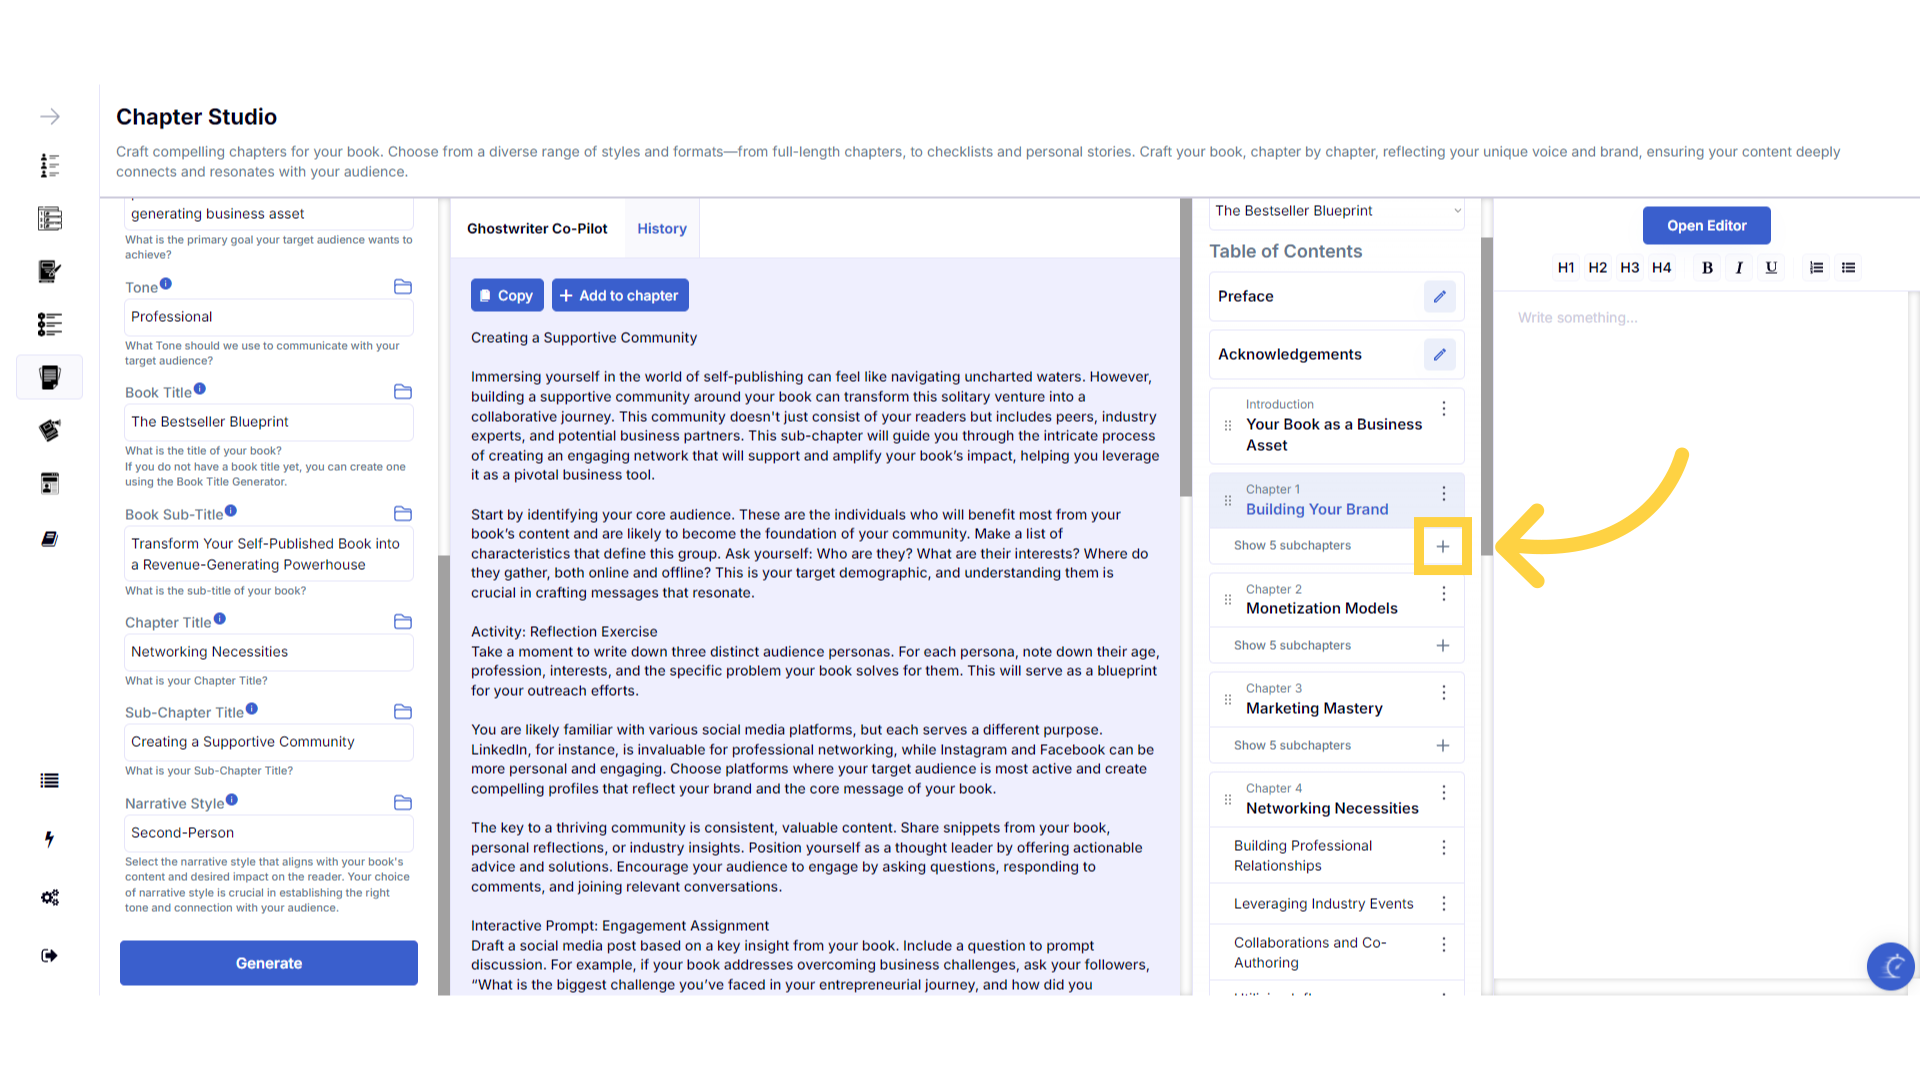
Click the plus symbol below the Chapter Title to open your subchapters and add content.
To add content to a subchapter, click the plus symbol below the chapter title. This will expand the chapter content to display the subchapters.
)
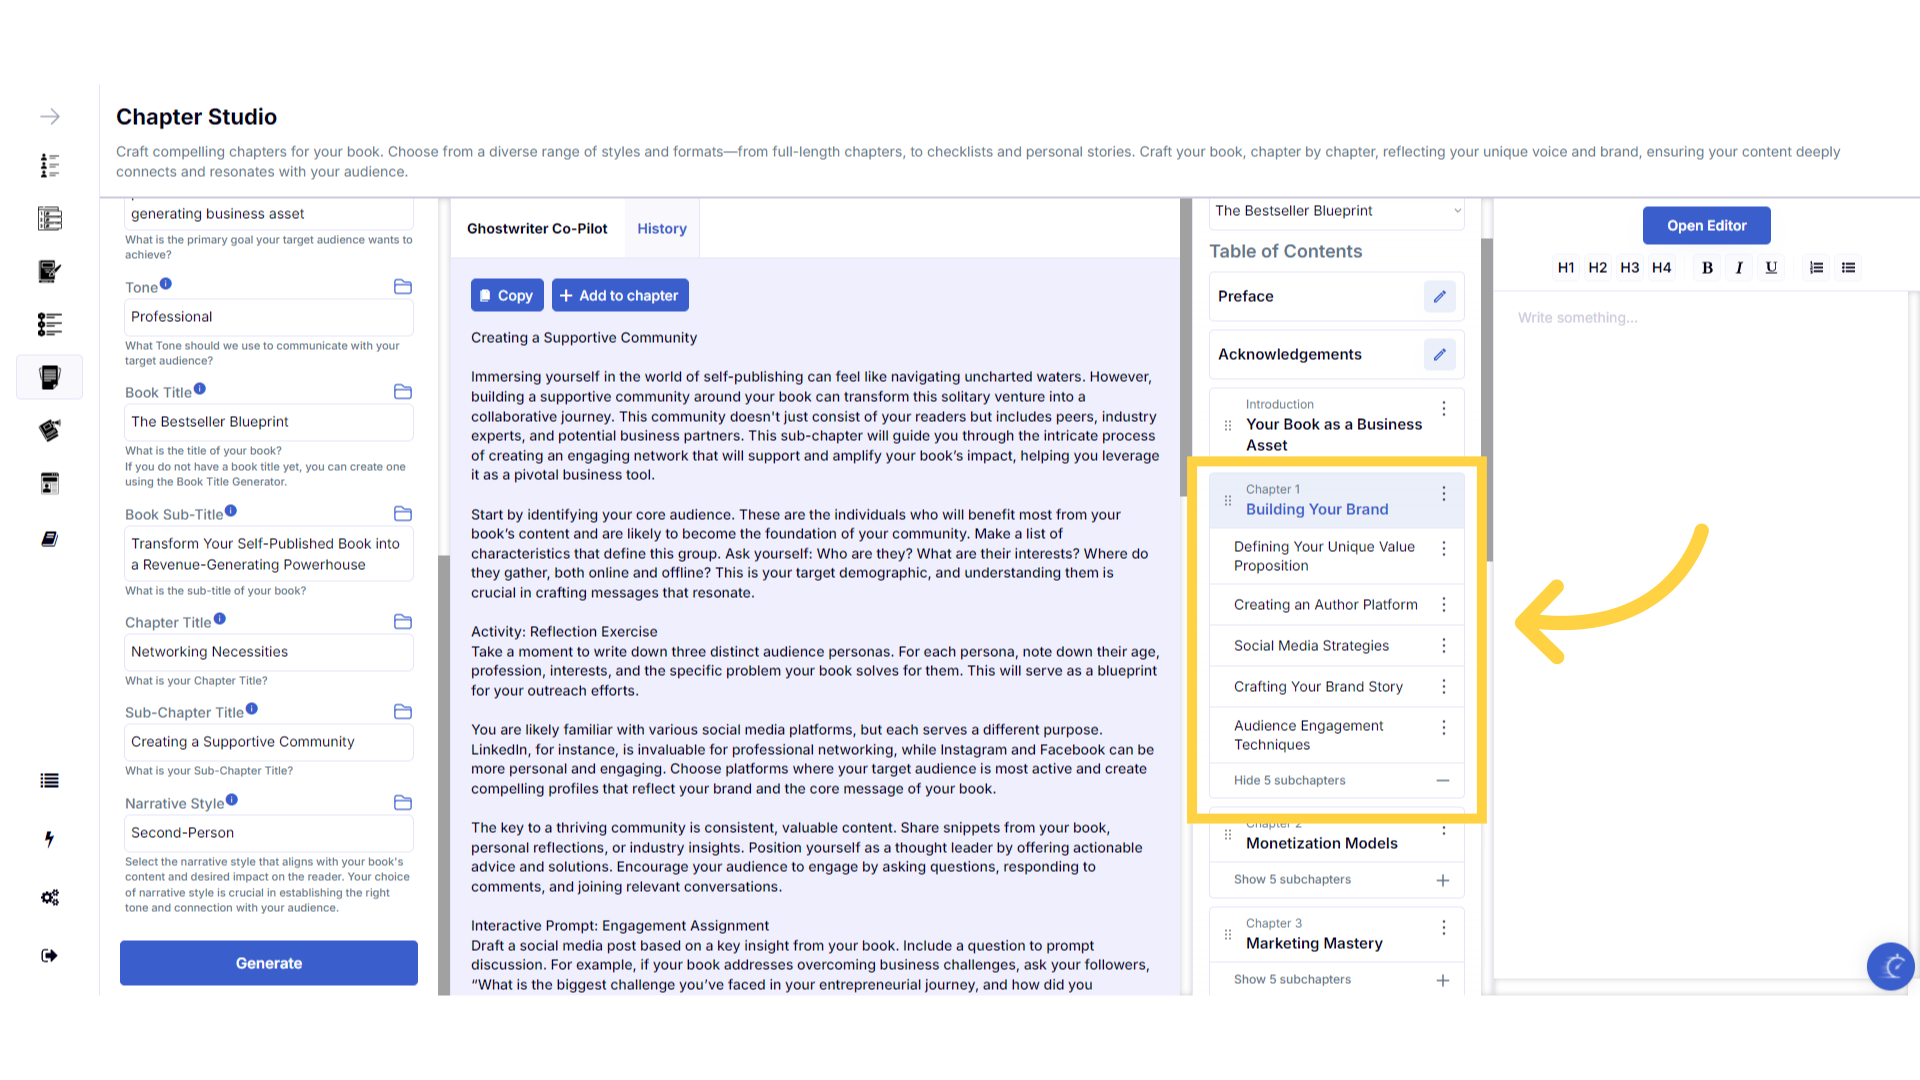
Click the subchapter title to highlight it.
Then click on the subchapter title to highlight it, ready to add content.
)
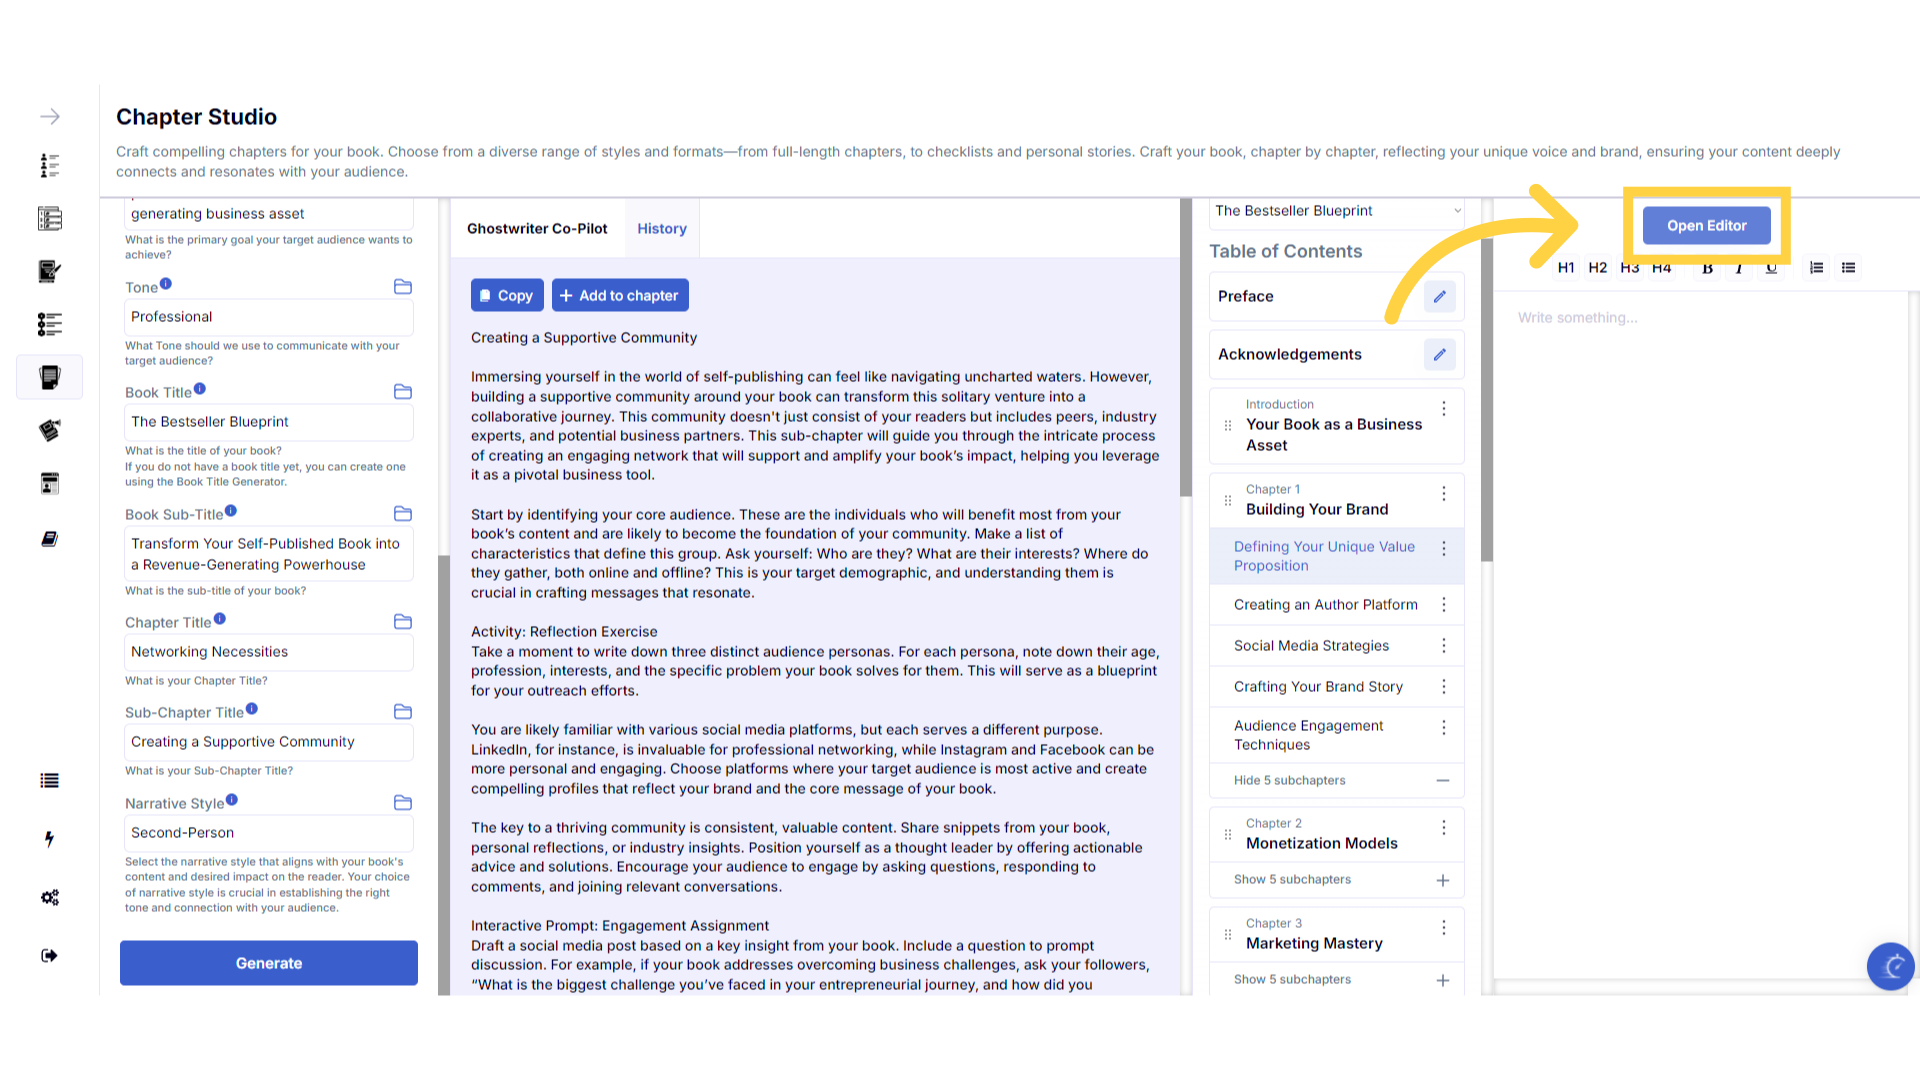
Click "Open Editor" to access your full book in editing mode to make changes or to export your book.
Click open editor to access your book in full screen editing mode and make changes. This is also where you will be able to export your formatted book.
)
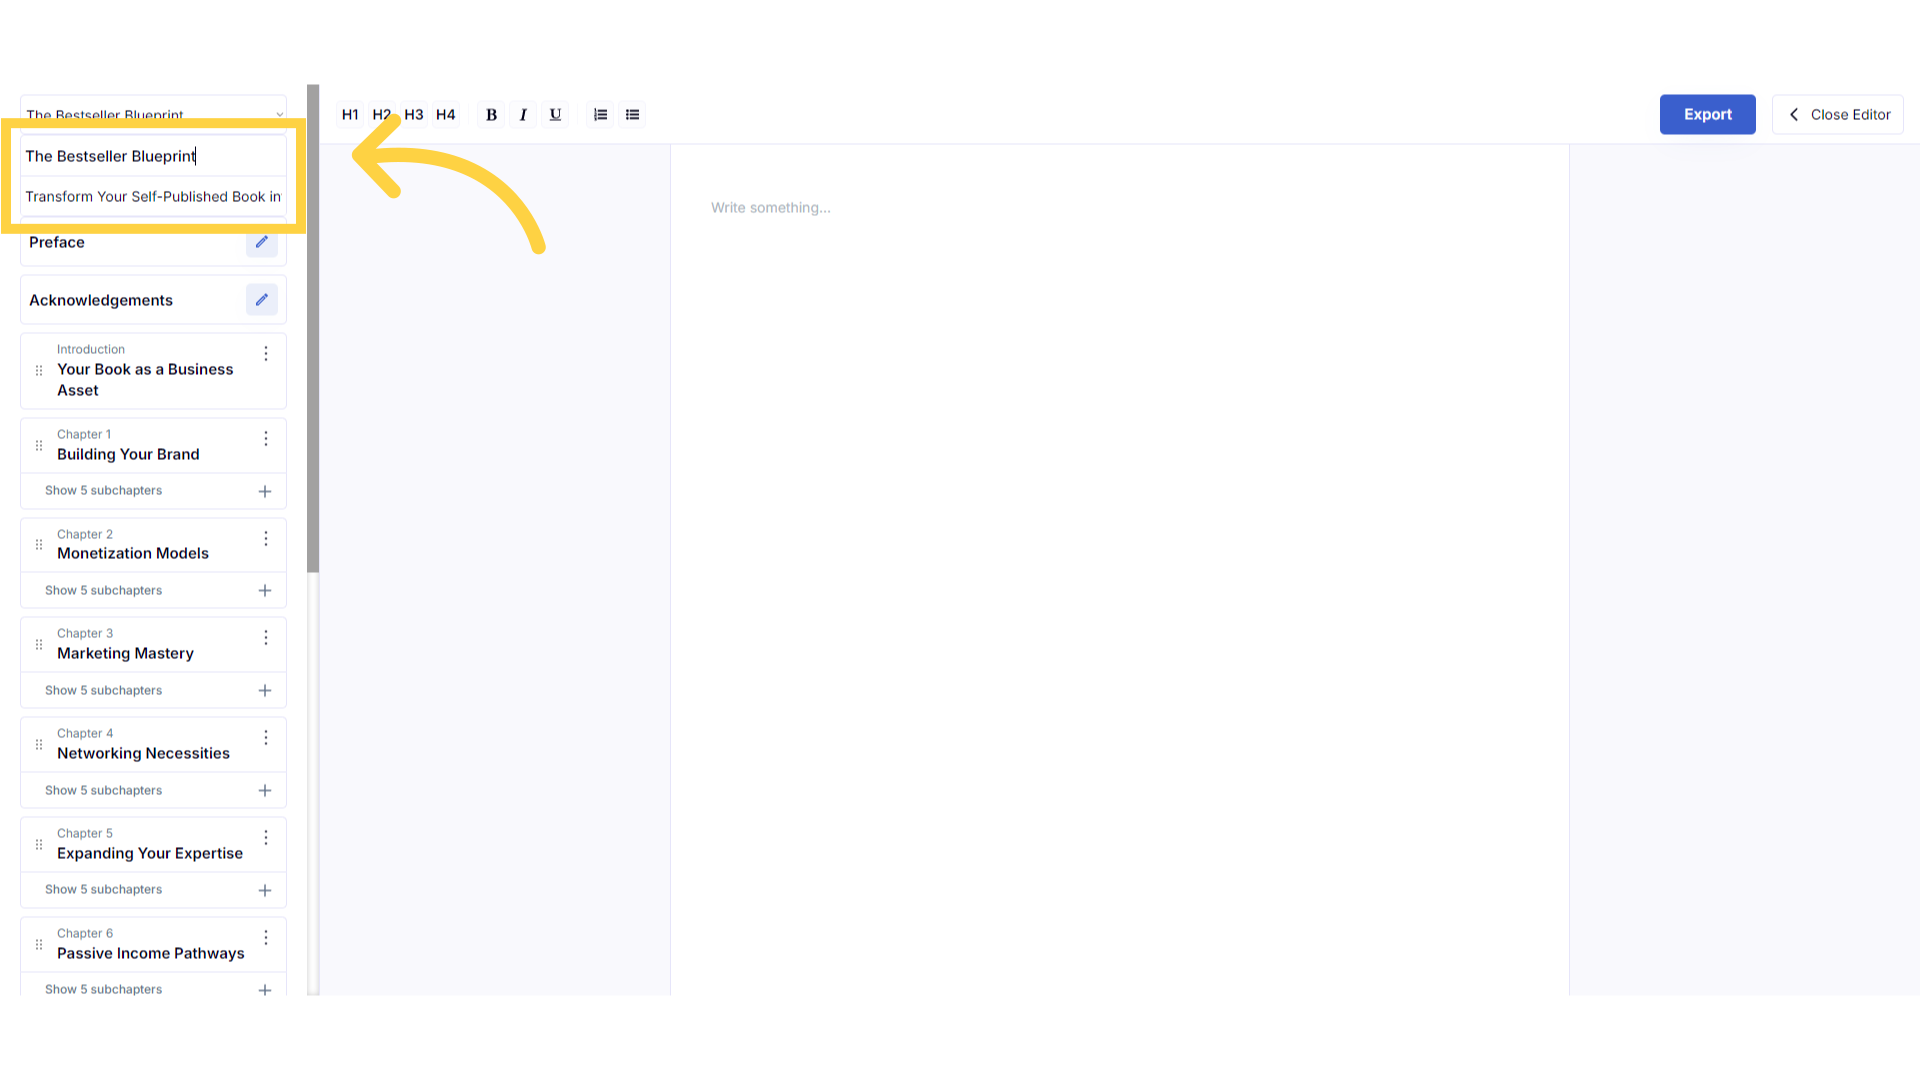
Edit your Book Title and Sub-Title.
While you are in full screen editing mode, you can click on your book title or book subtitle to make changes to the titles.
)
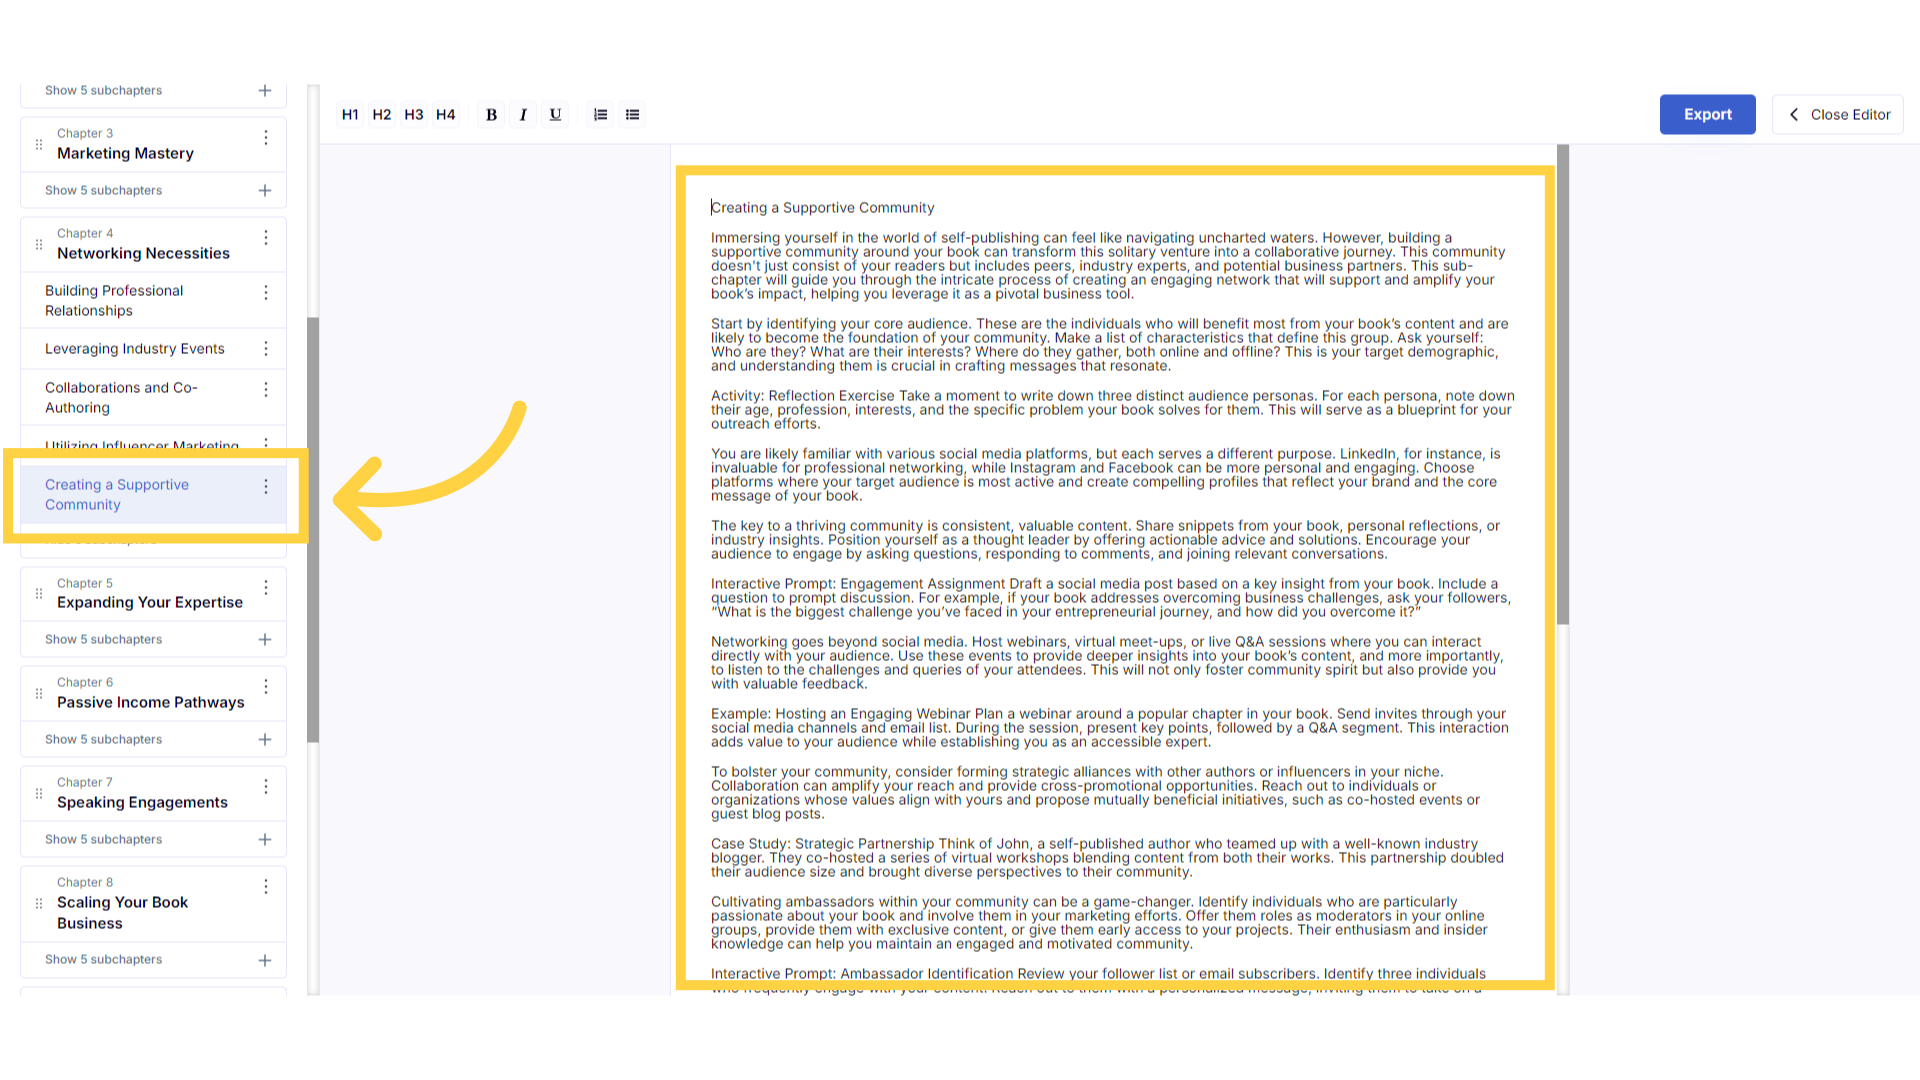
Click the Chapter Title to edit the Chapter.
This is full screen editing mode. You can edit content in any chapter, by clicking and highlighting the chapter or subchapter title, to display and edit the content on the right.
)
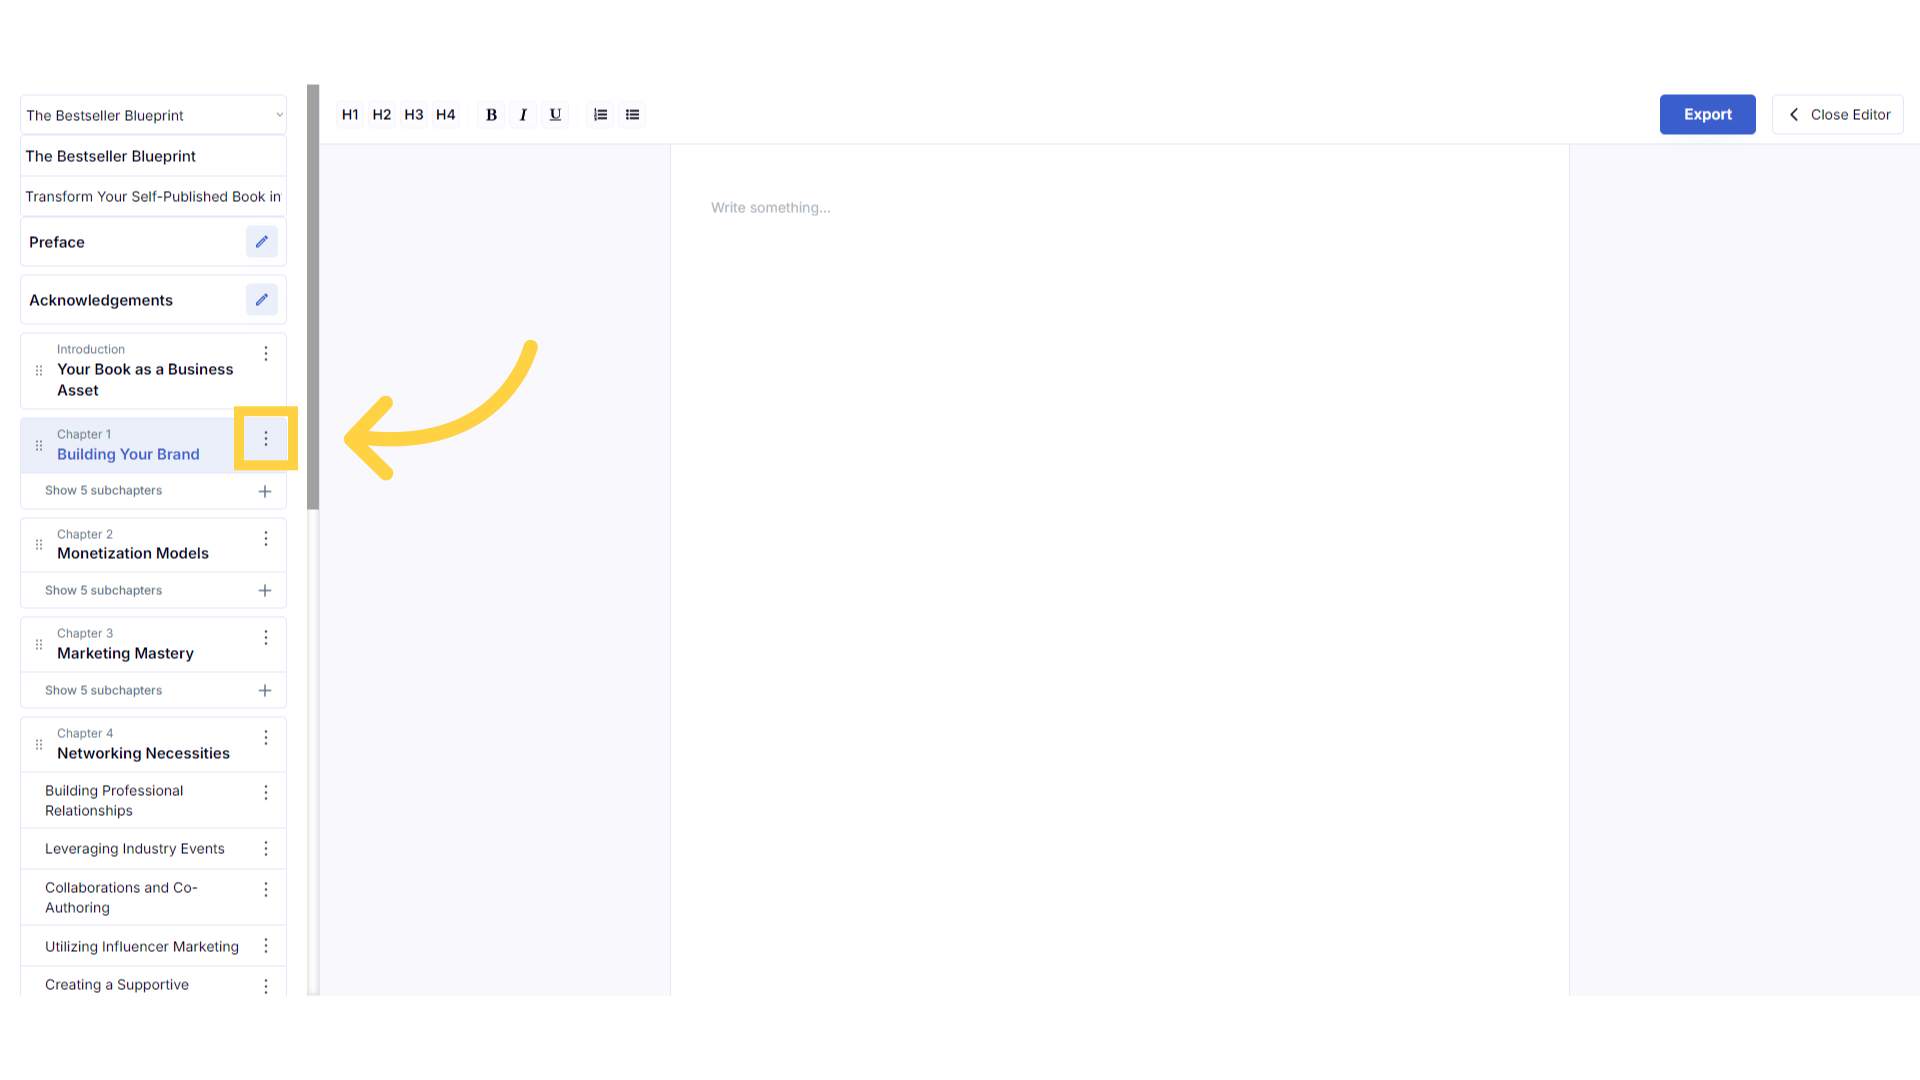
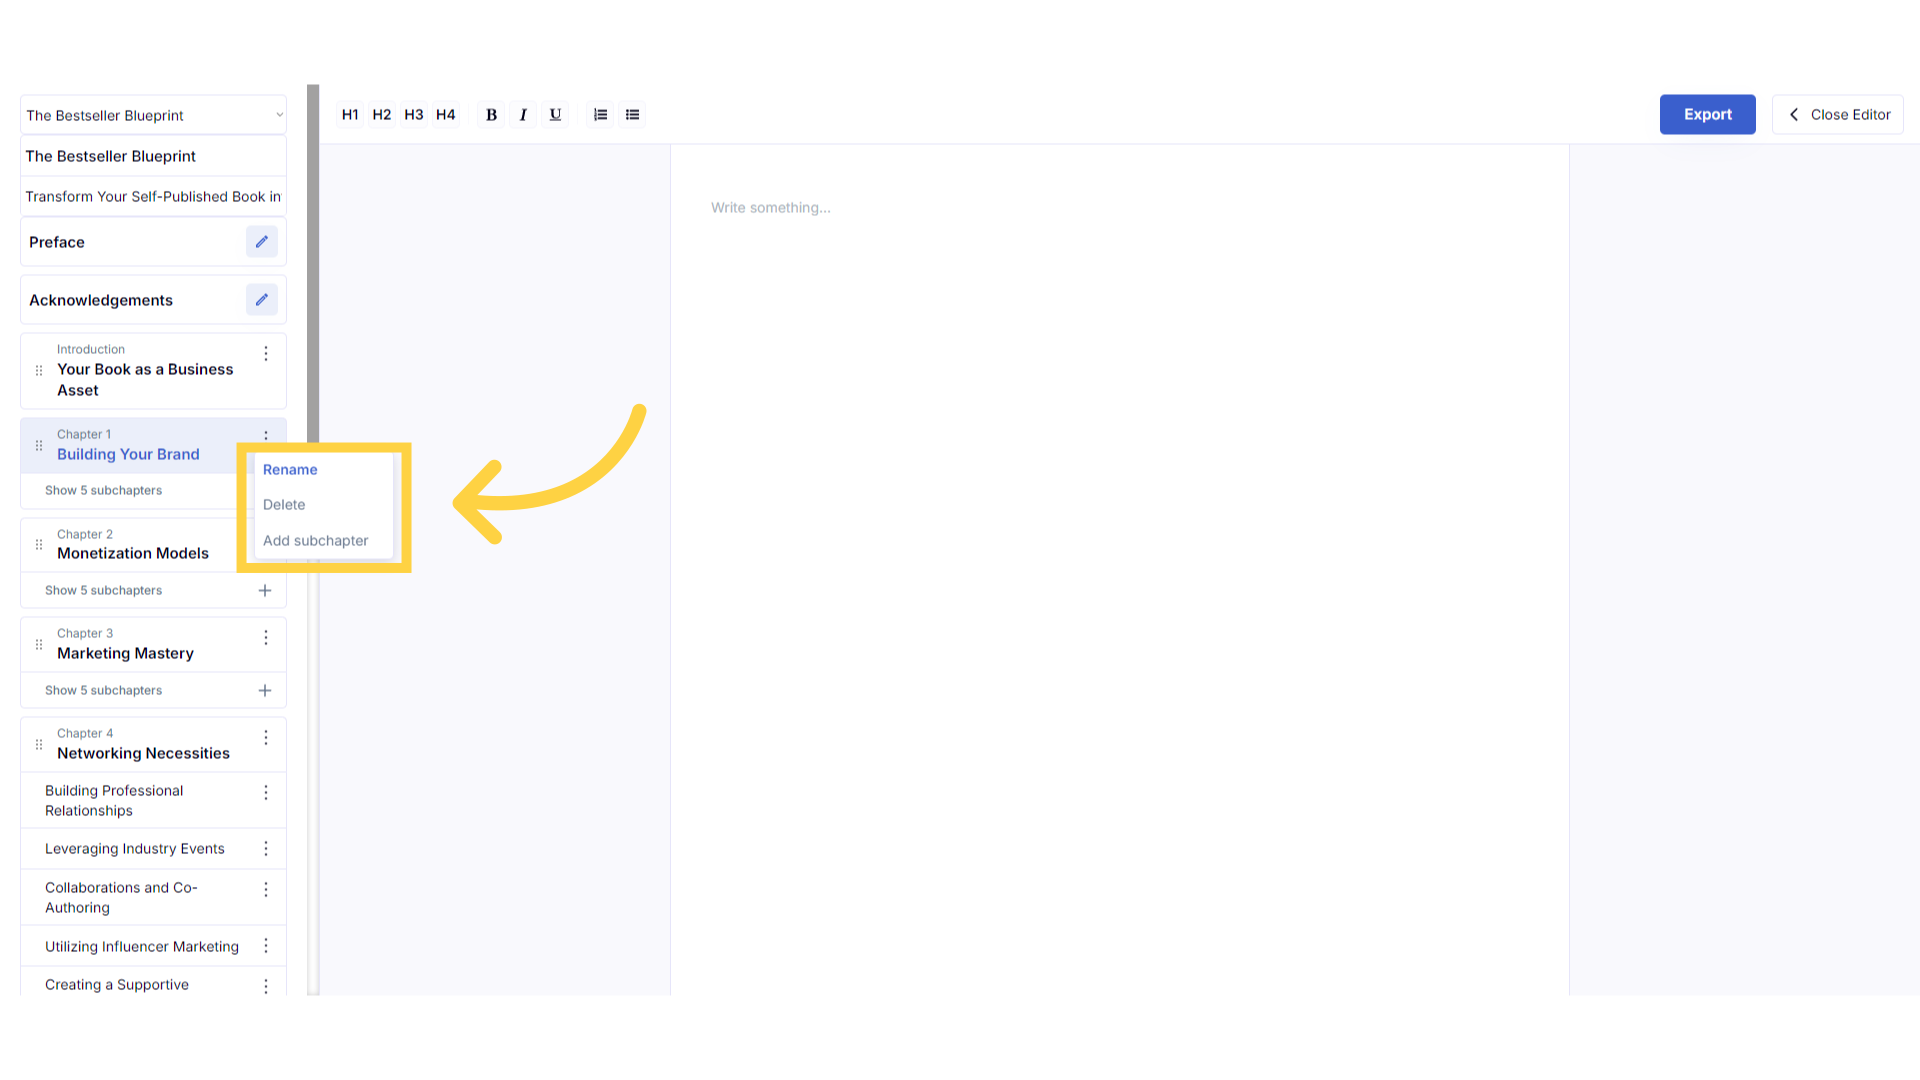
Rename or Delete the Chapter.
You can re-name or delete your chapter, by clicking on the three dots to the right of the title. Remember, you can't add new chapters once your table of contents is created, so be sure you don't need the chapter before deleting it.
)
Select an option to make changes to the Chapter.
You can also add additional sections to your chapter by clicking add subchapter.
)
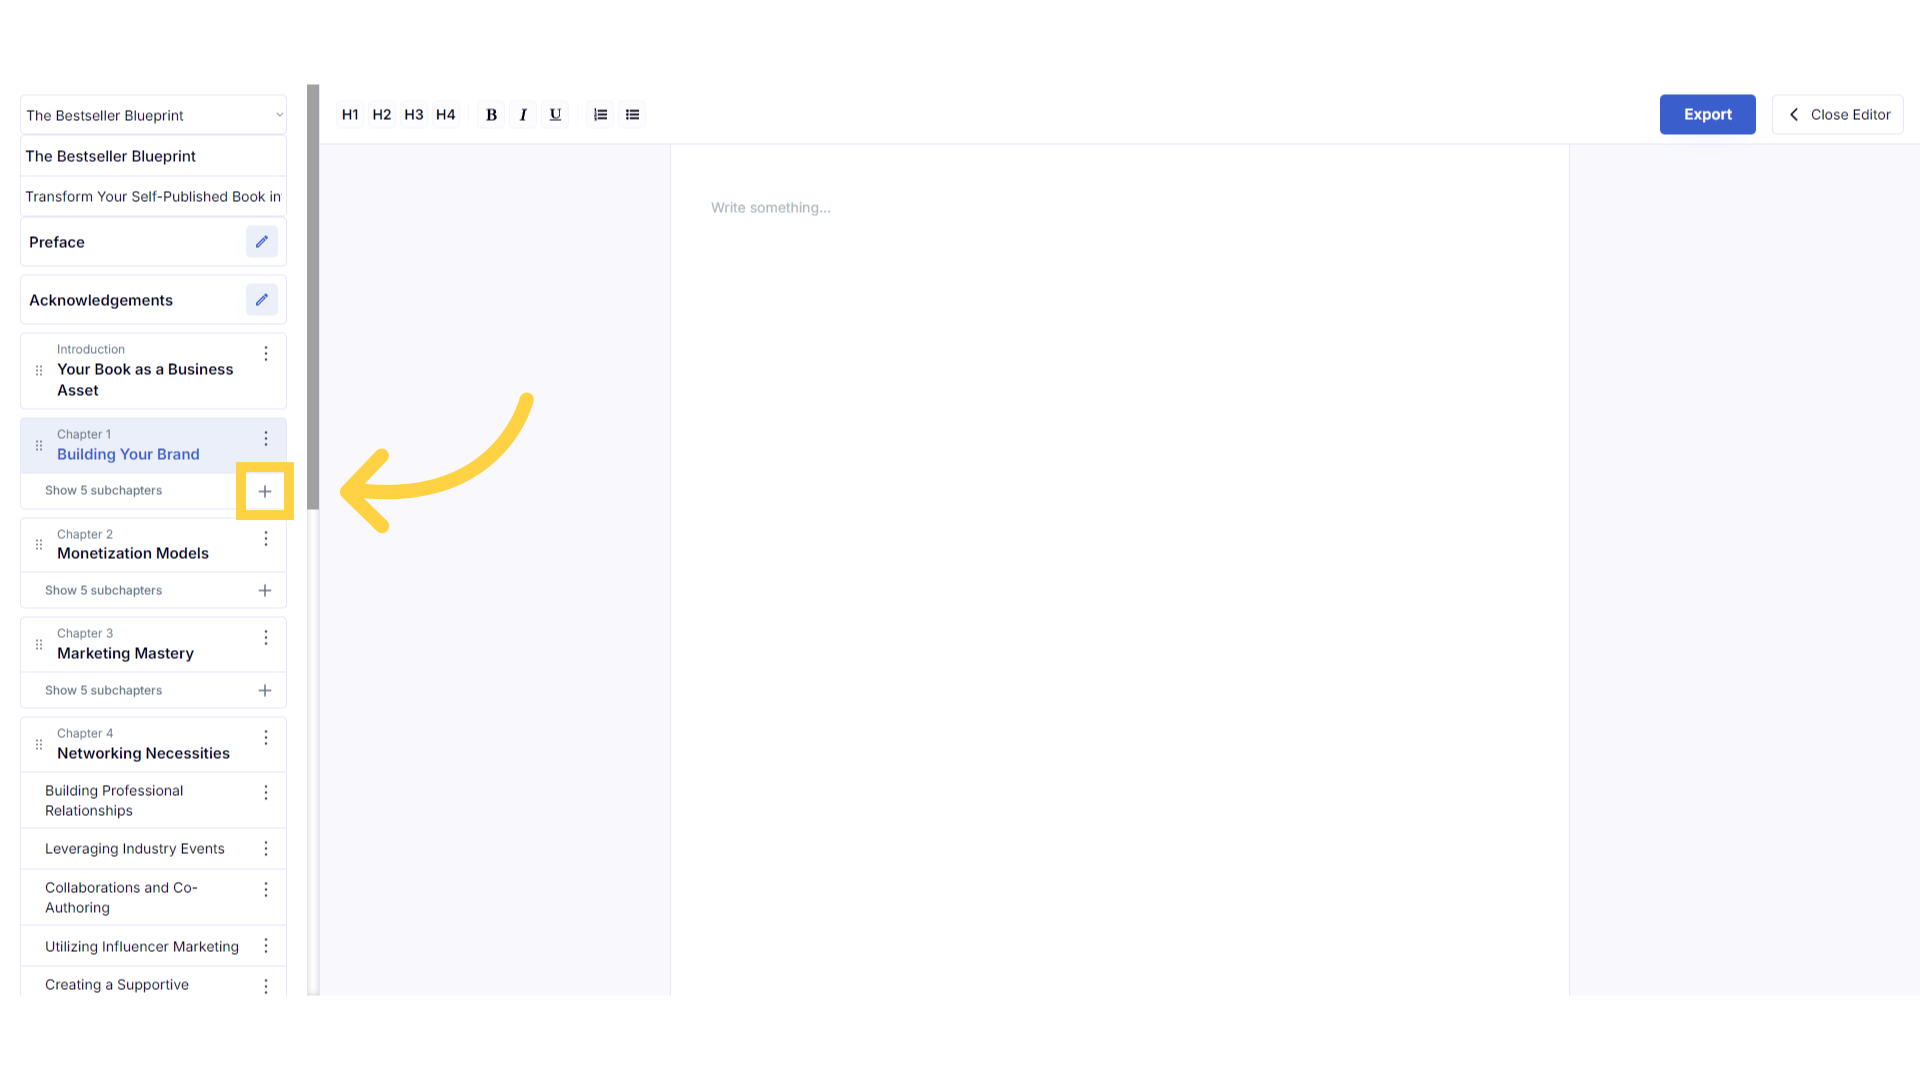
Click the plus symbol below the Chapter Title to open your subchapters and edit content.
Click the plus symbol below the chapter title to display and edit the subchapters.
)
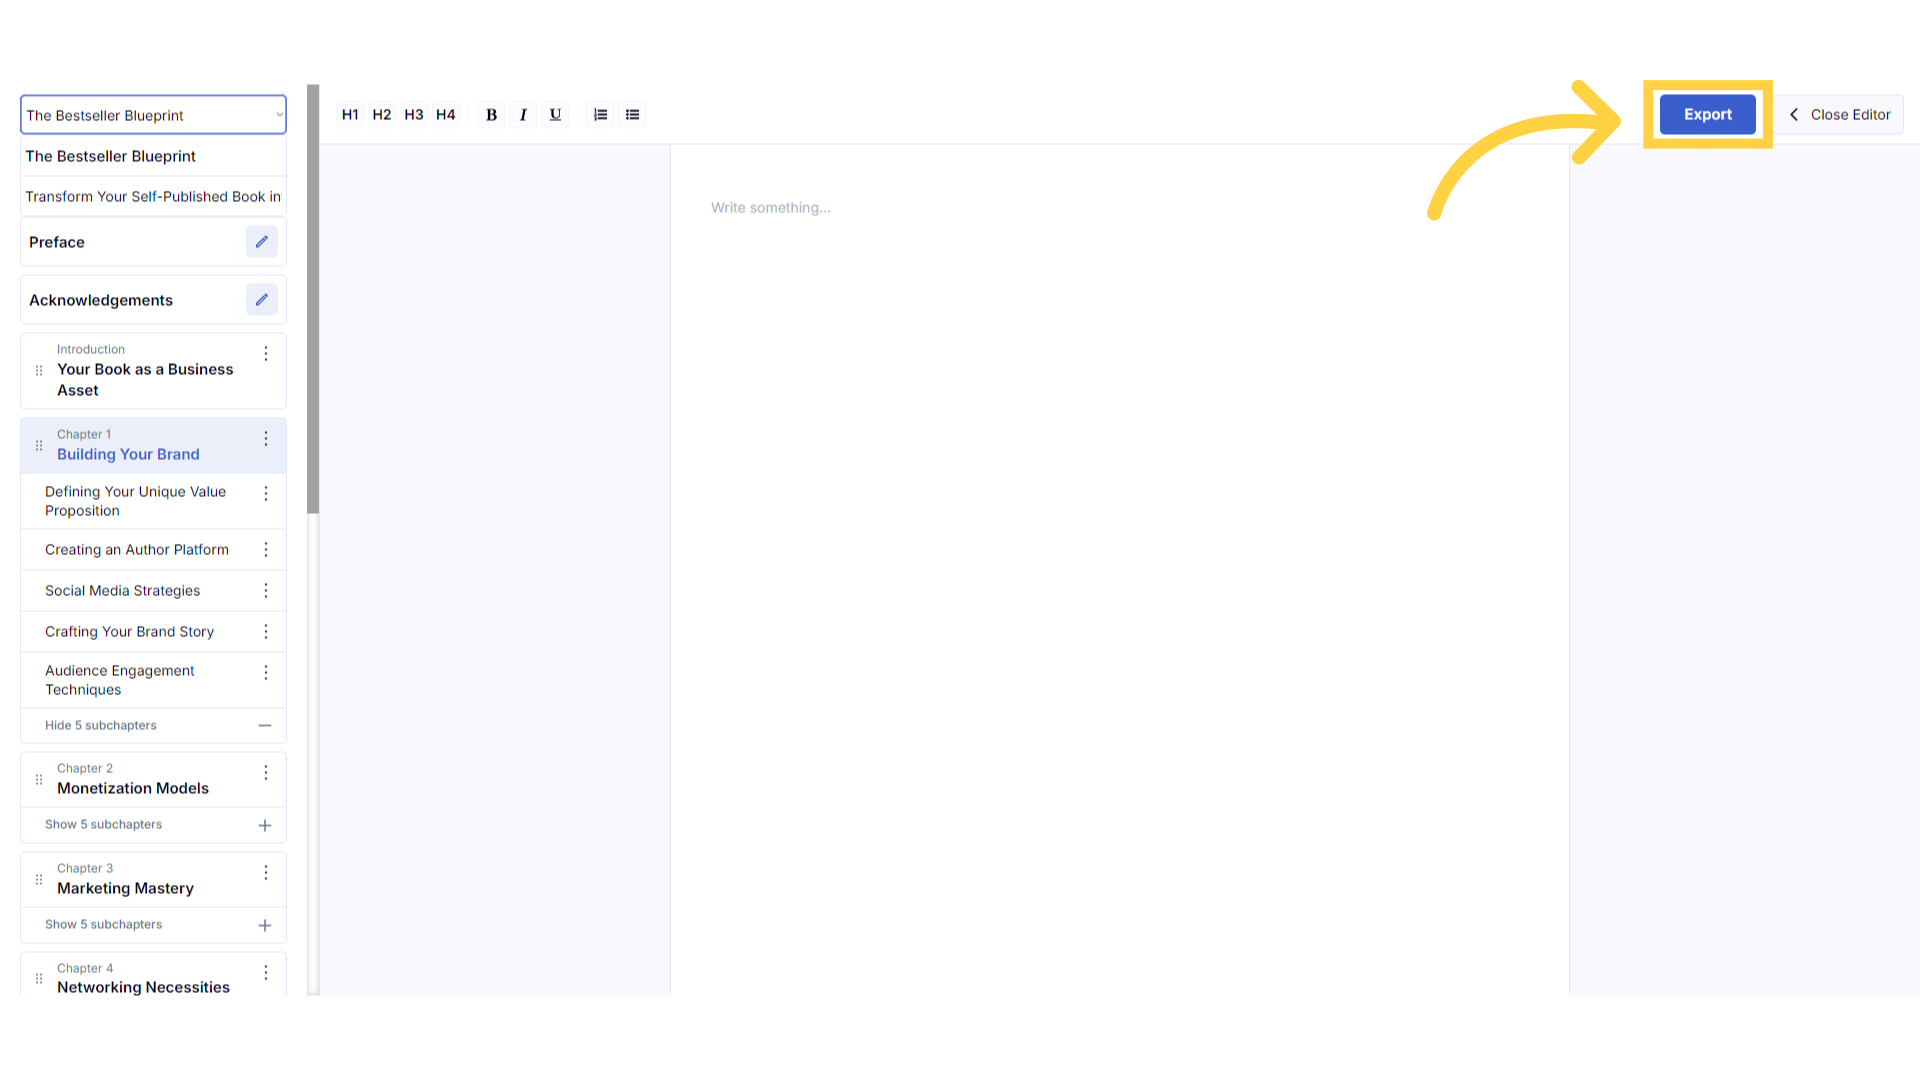
Click "Export" to download your book fully formatted in A4, US Letter or Paperback 6"x9".
When your book is complete, click export to download your book in Doc X format, to the download section on your device. If you don’t have Microsoft Word, you can use free alternatives like Google Docs, LibreOffice Writer, or Apache OpenOffice Writer, to open and edit your book. When exporting, you can choose one of three formats: A4, US Letter or Paperback 6"x9". After export, you can edit your book externally or send it to your editor. If you reach your monthly export limit, you can still generate and copy content within the book builder, then paste it into your existing exported document to continue making changes without needing to export your book again.
)
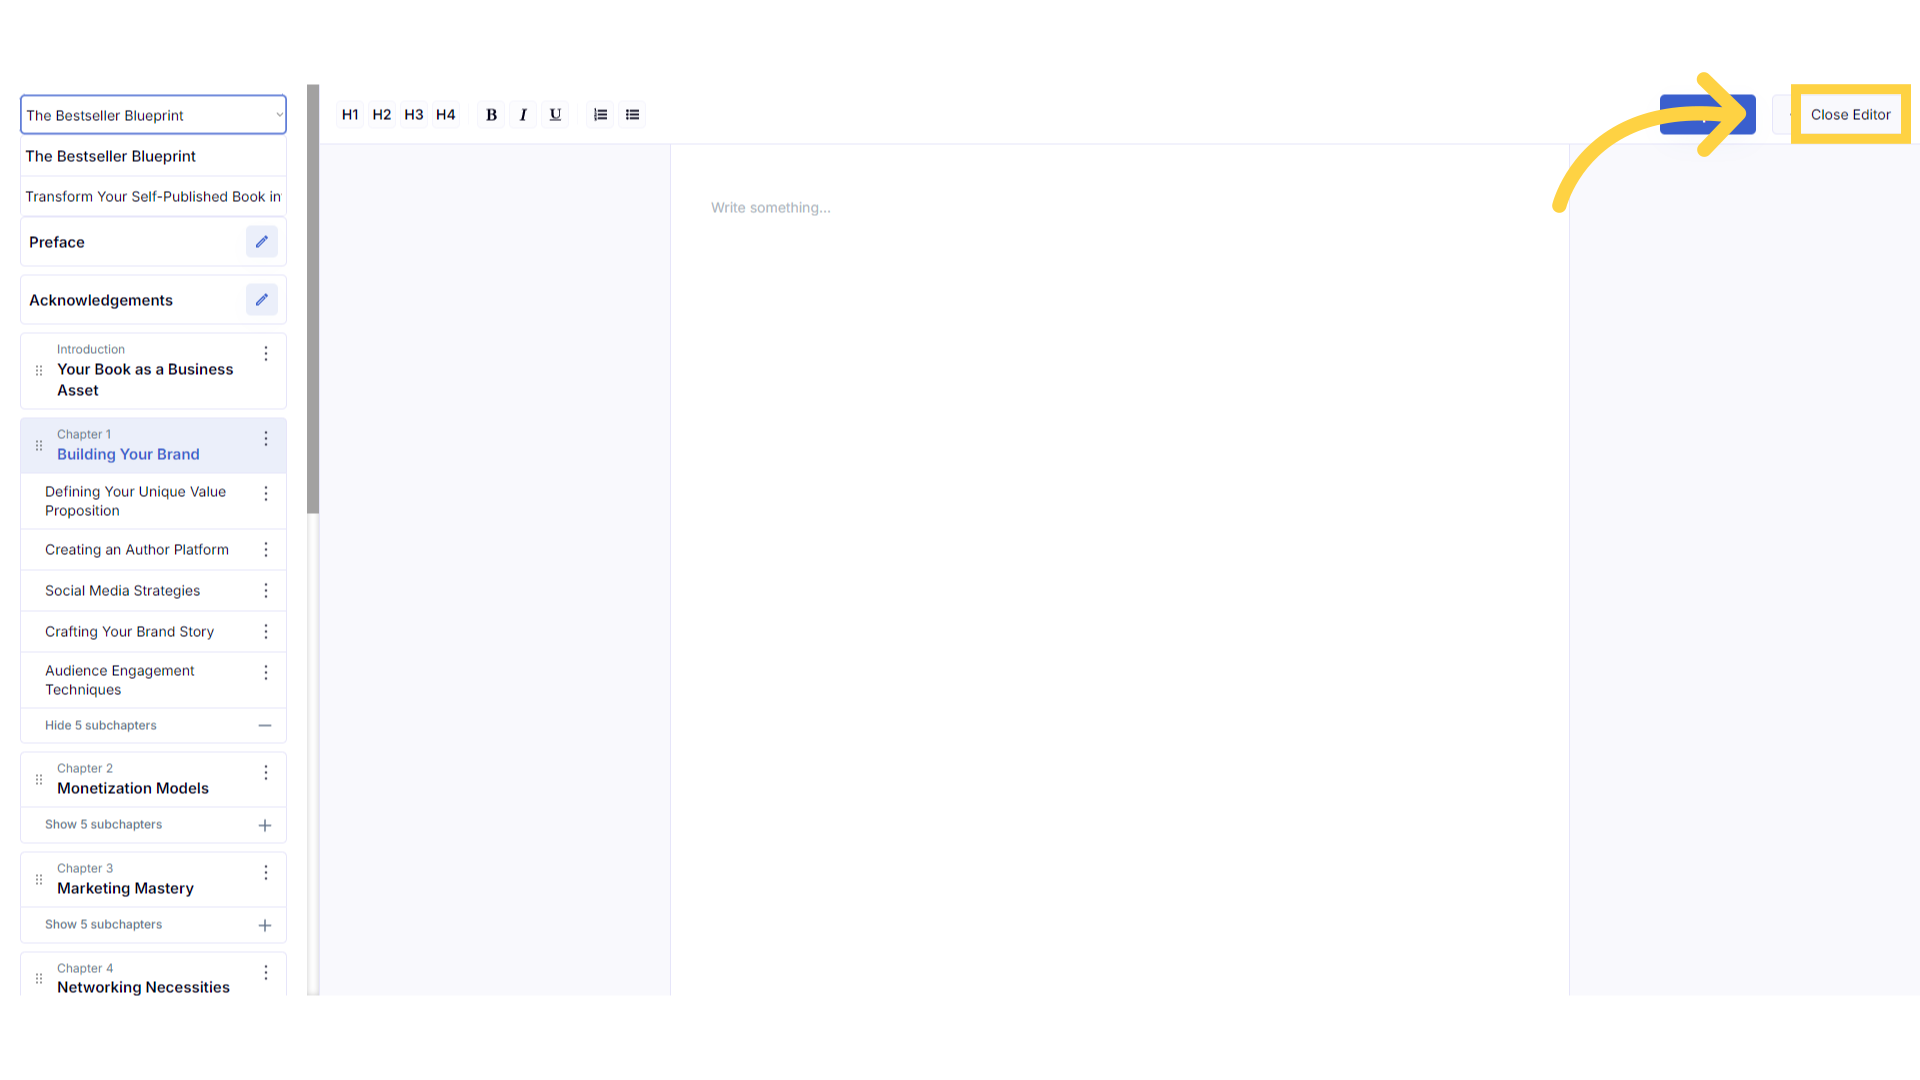
Click "Close Editor" to return to your book and generate different content.
Click on close editor to return to the book builder and continue to generate content.
)
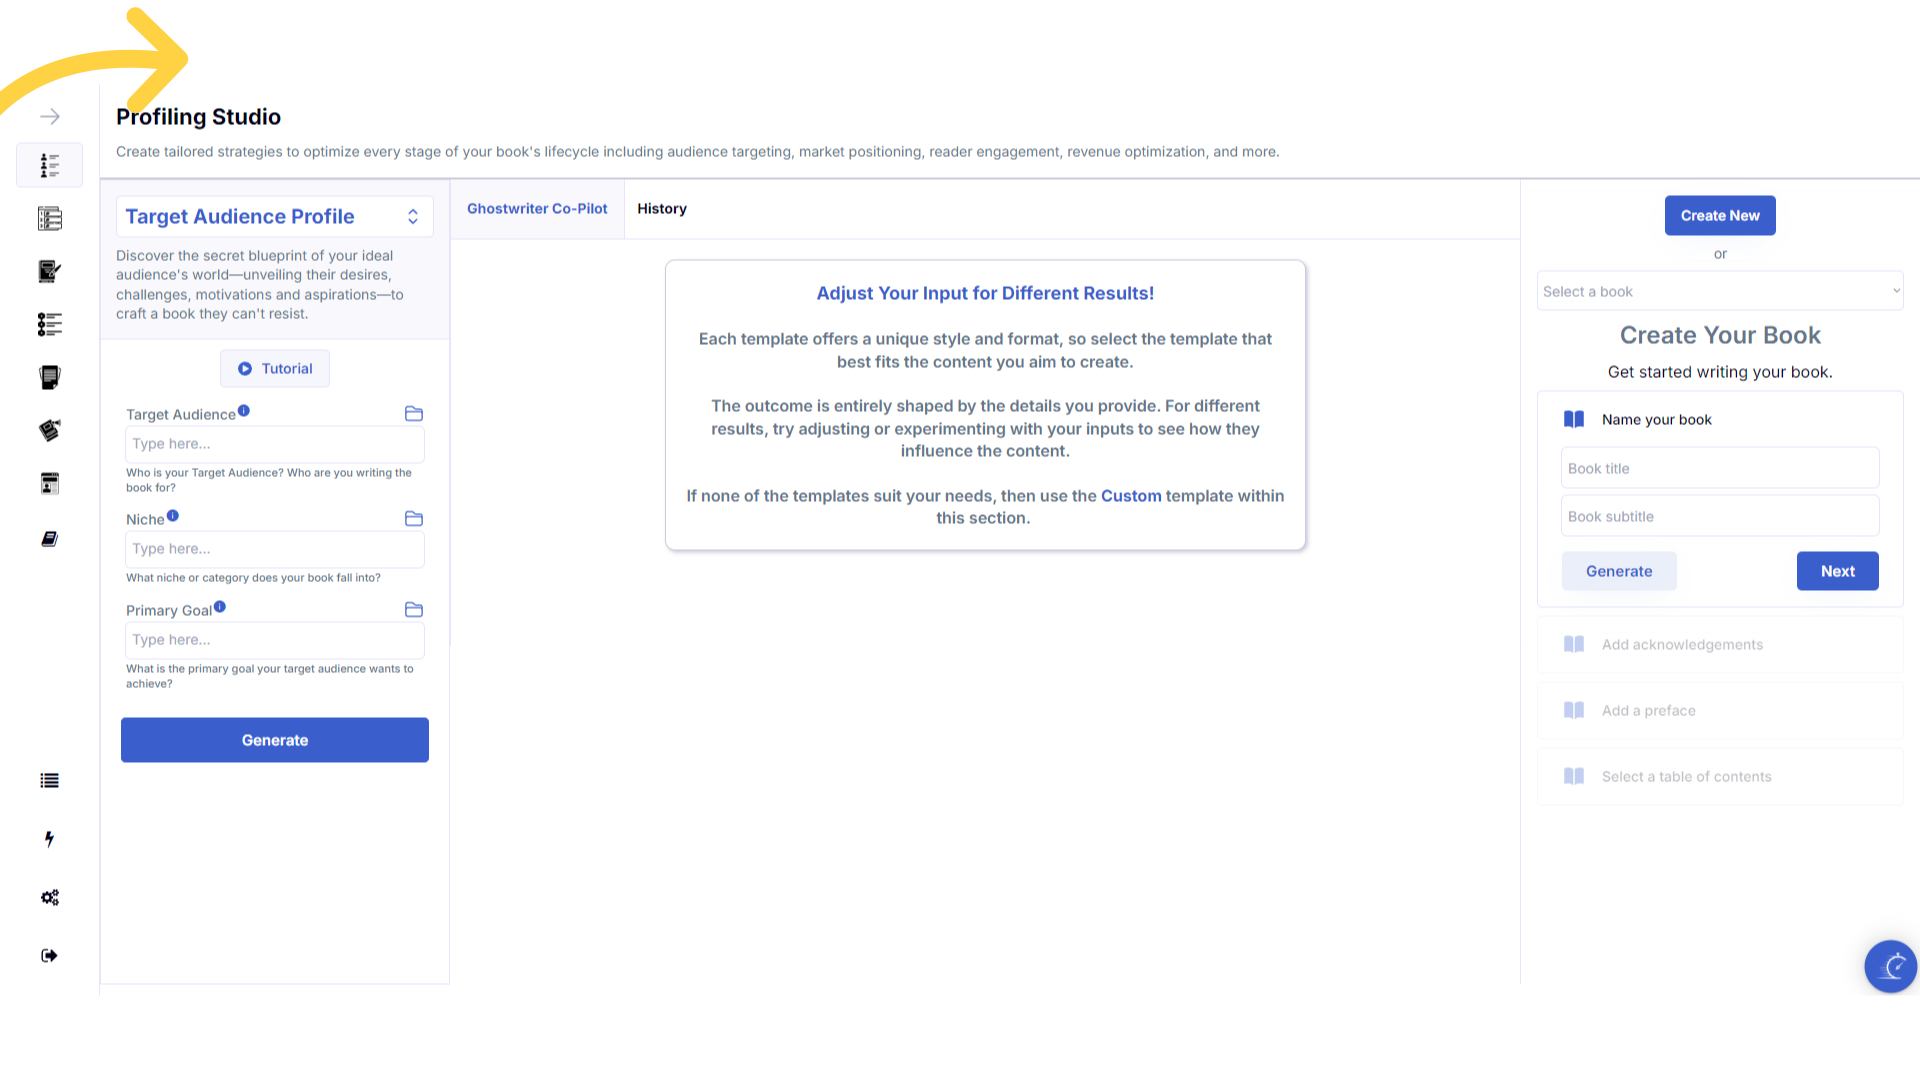
Refresh your browser to reset the dashboard if you are having technical issues.
If you are having a technical issue, refresh the website browser and try again. This usually fixes any issues.
)
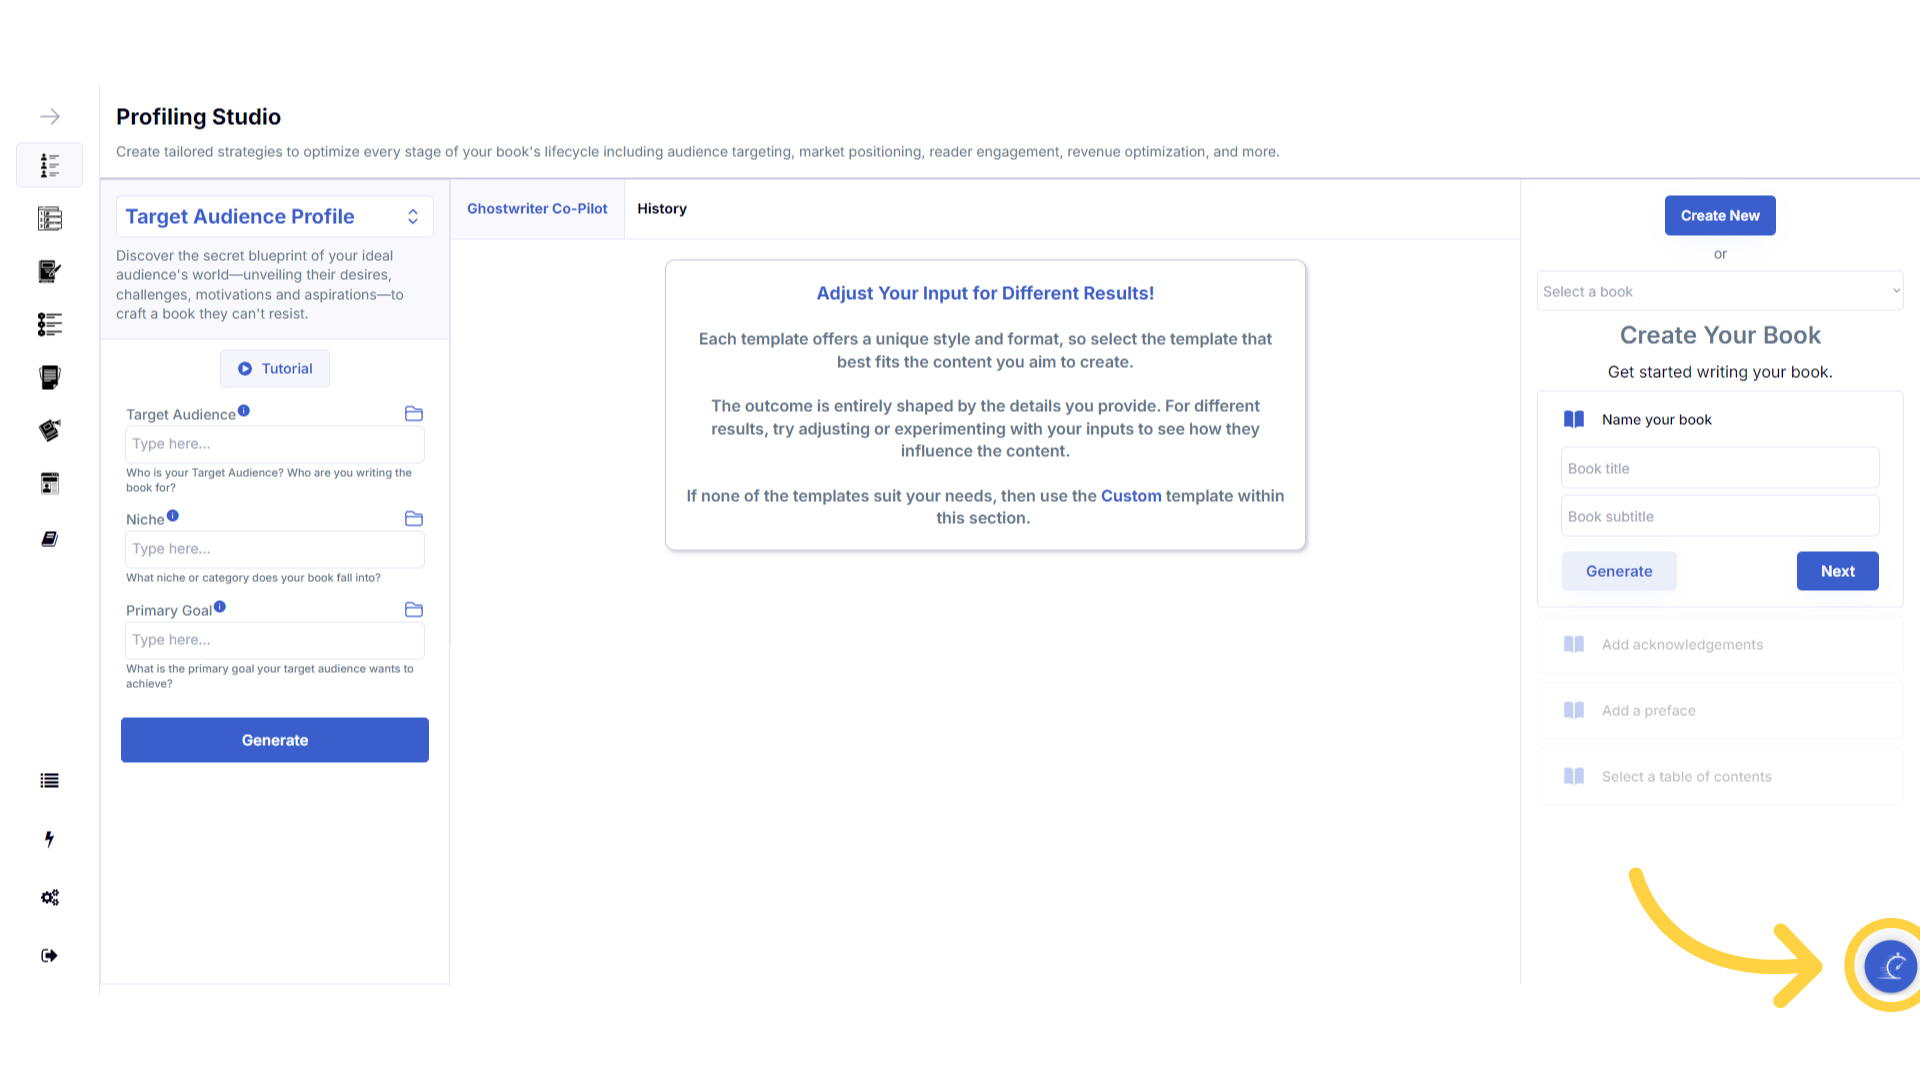
Click the blue icon at the bottom right of your screen.
You can access the help center, tutorials and support by clicking on the icon at the bottom right of your screen.
)
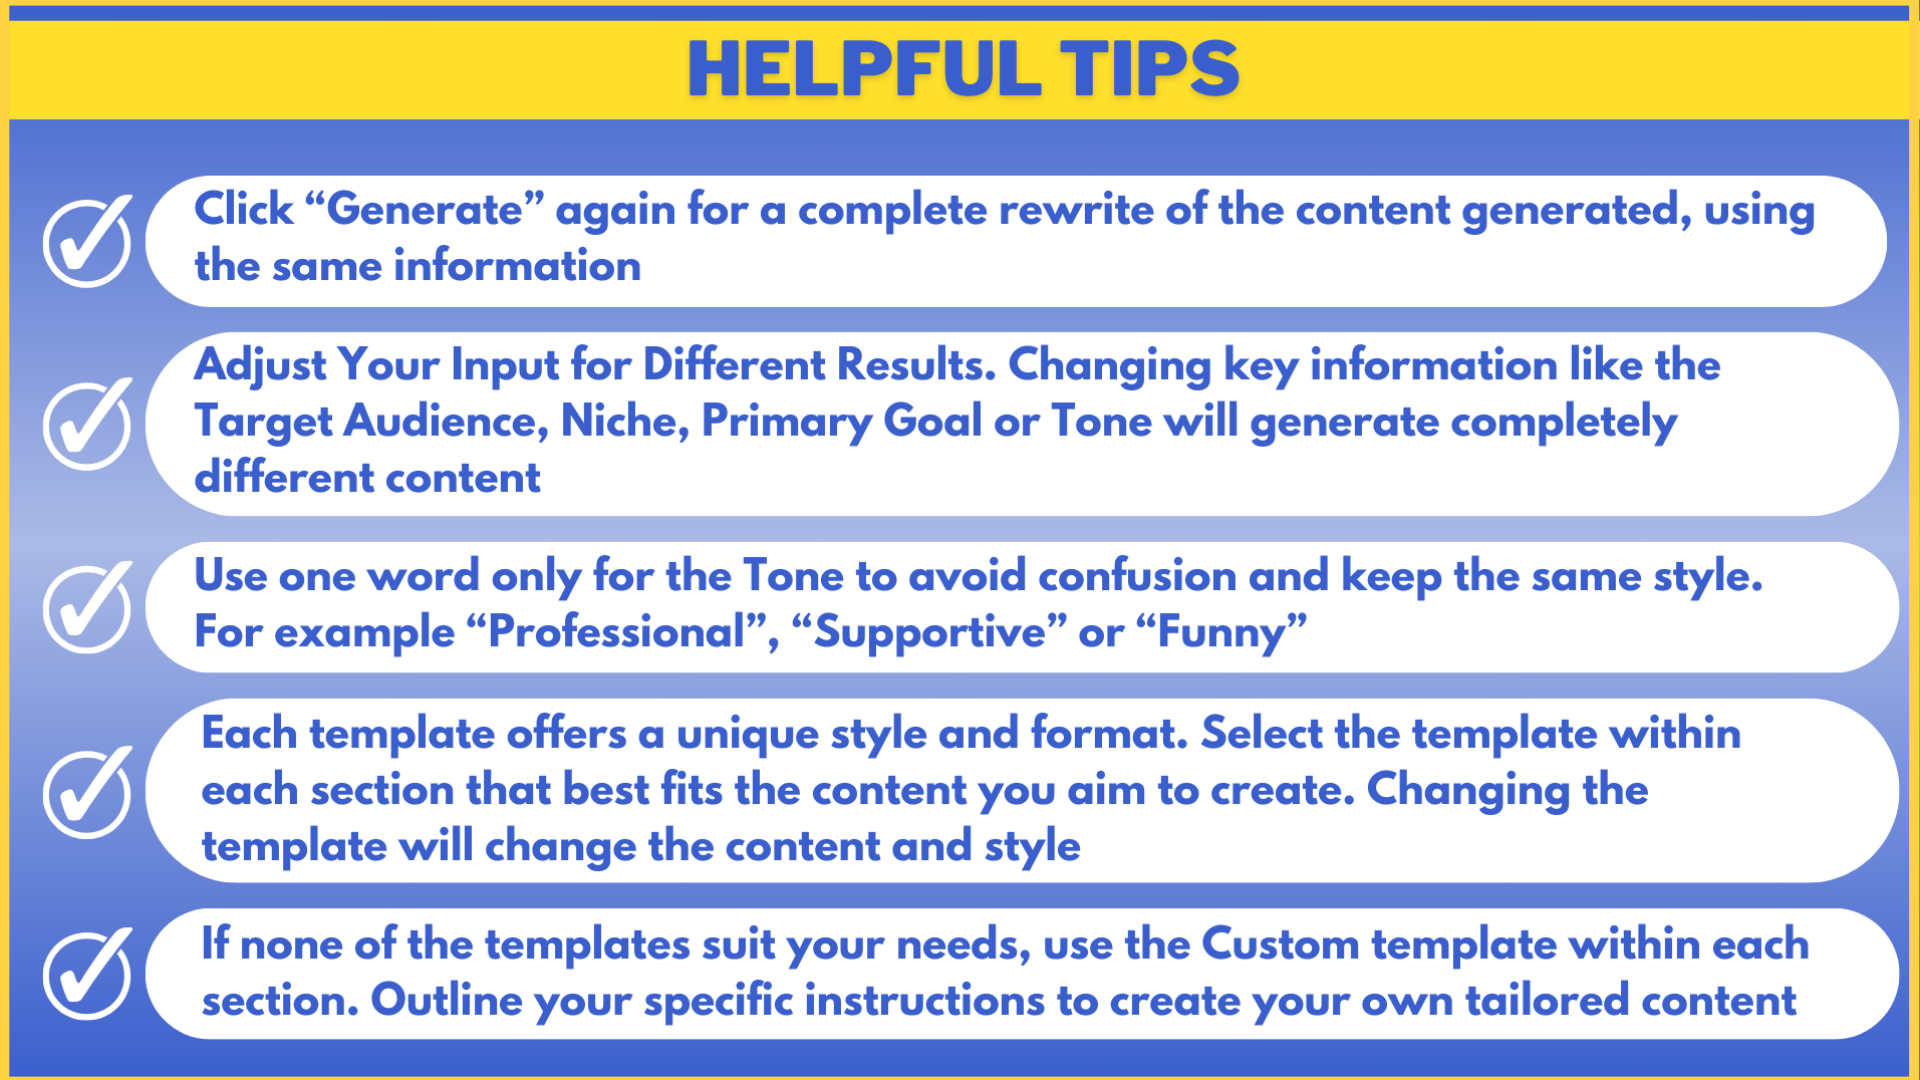
Here are some helpful tips to help you craft your book.
Here are some helpful tips. You can experiment with different information to craft perfectly aligned content.
)