The Debate & Resolve template engages readers by comparing debates with resolutions. Dive into contentious subjects, presenting diverse viewpoints followed by enlightening insights. Chapter titles represent significant debates or contentious issues related to the target audience's primary goal. Following each debate, sub-chapter titles guide the reader toward resolutions or clarifying insights, employing alliteration for added engagement. This structure ensures a balanced exploration of topics, fostering critical thinking and comprehensive understanding.
Create the perfect table of contents for your next book.
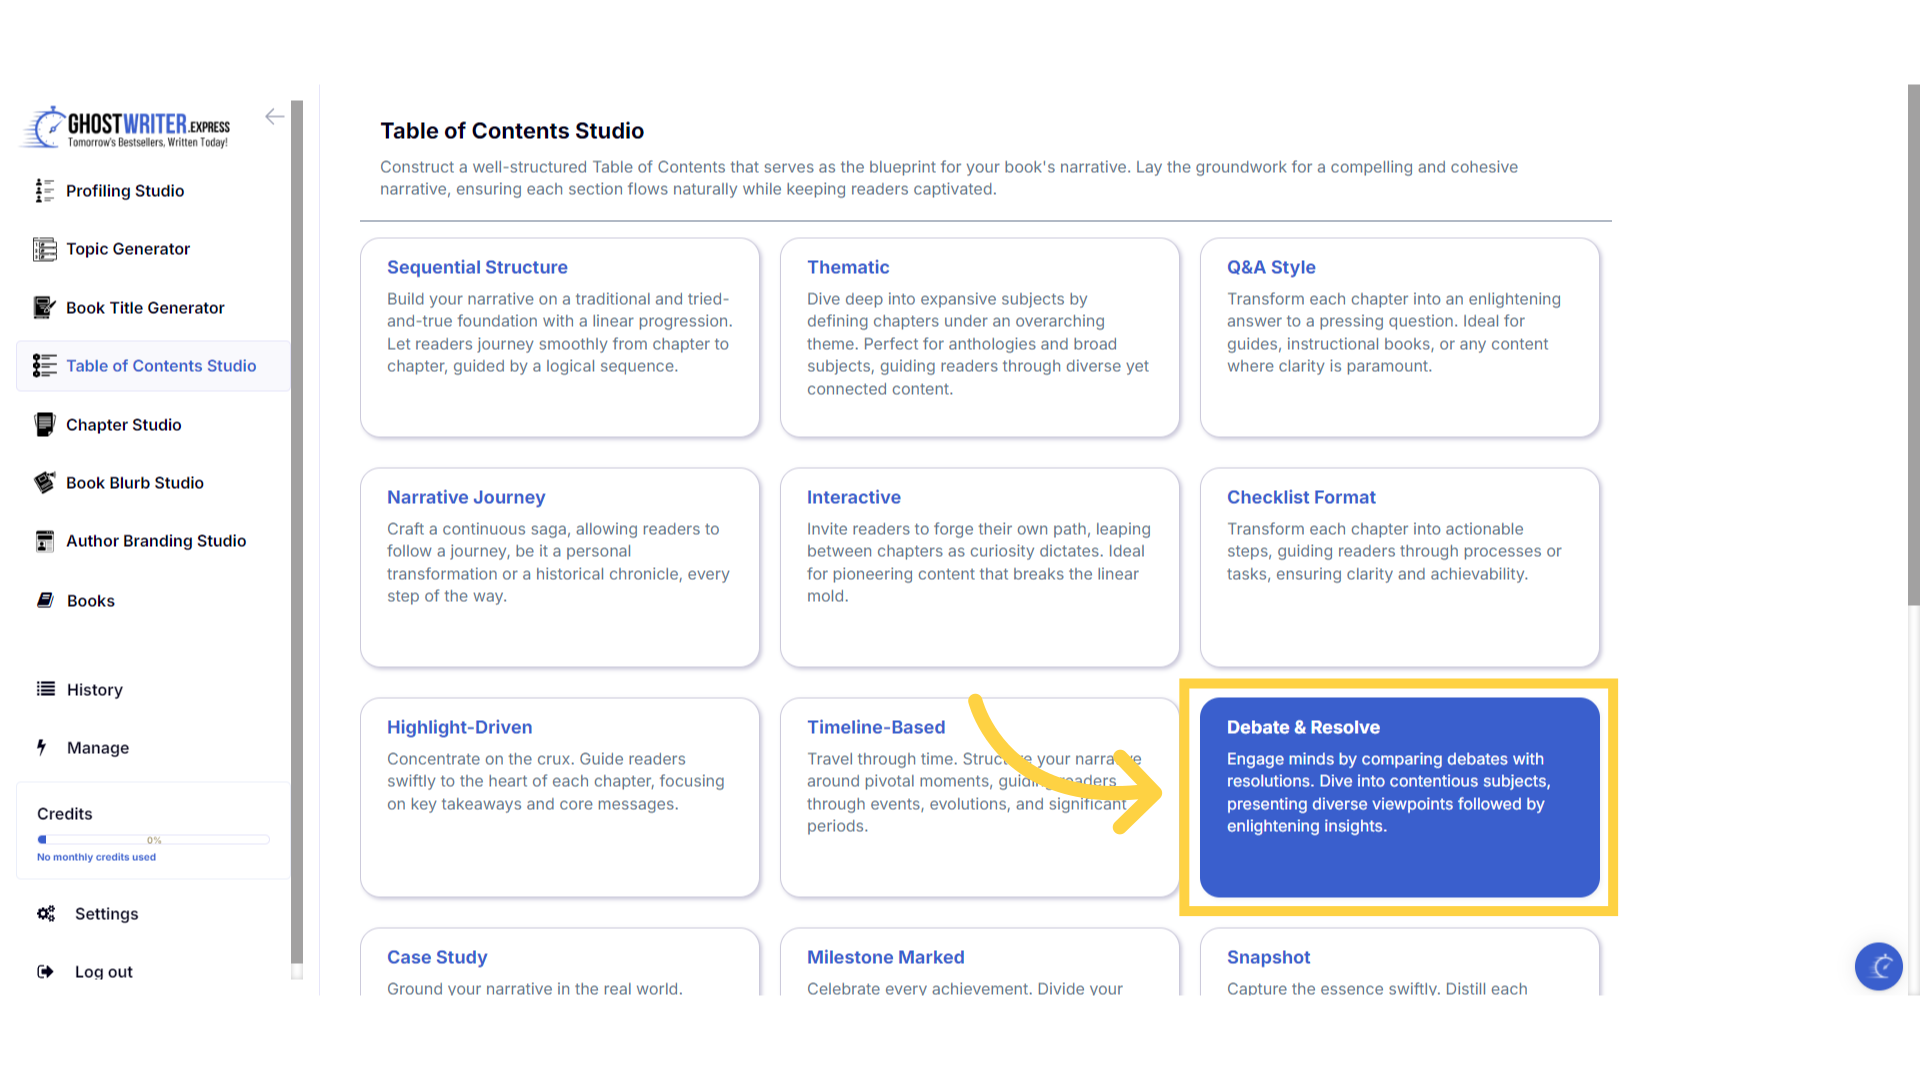
Click "Table of Contents Studio"
The table of contents studio is designed to help you construct a well-structured table of contents that serves as the blueprint for your book's narrative.
)
Select "Debate & Resolve"
The debate and resolve template engages readers by comparing debates with resolutions. Dive into contentious subjects, presenting diverse viewpoints followed by enlightening insights. Chapter titles represent significant debates or contentious issues related to the target audience's primary goal. Following each debate, sub-chapter titles guide the reader toward resolutions or clarifying insights, employing alliteration for added engagement. This structure ensures a balanced exploration of topics, fostering critical thinking and comprehensive understanding.
)
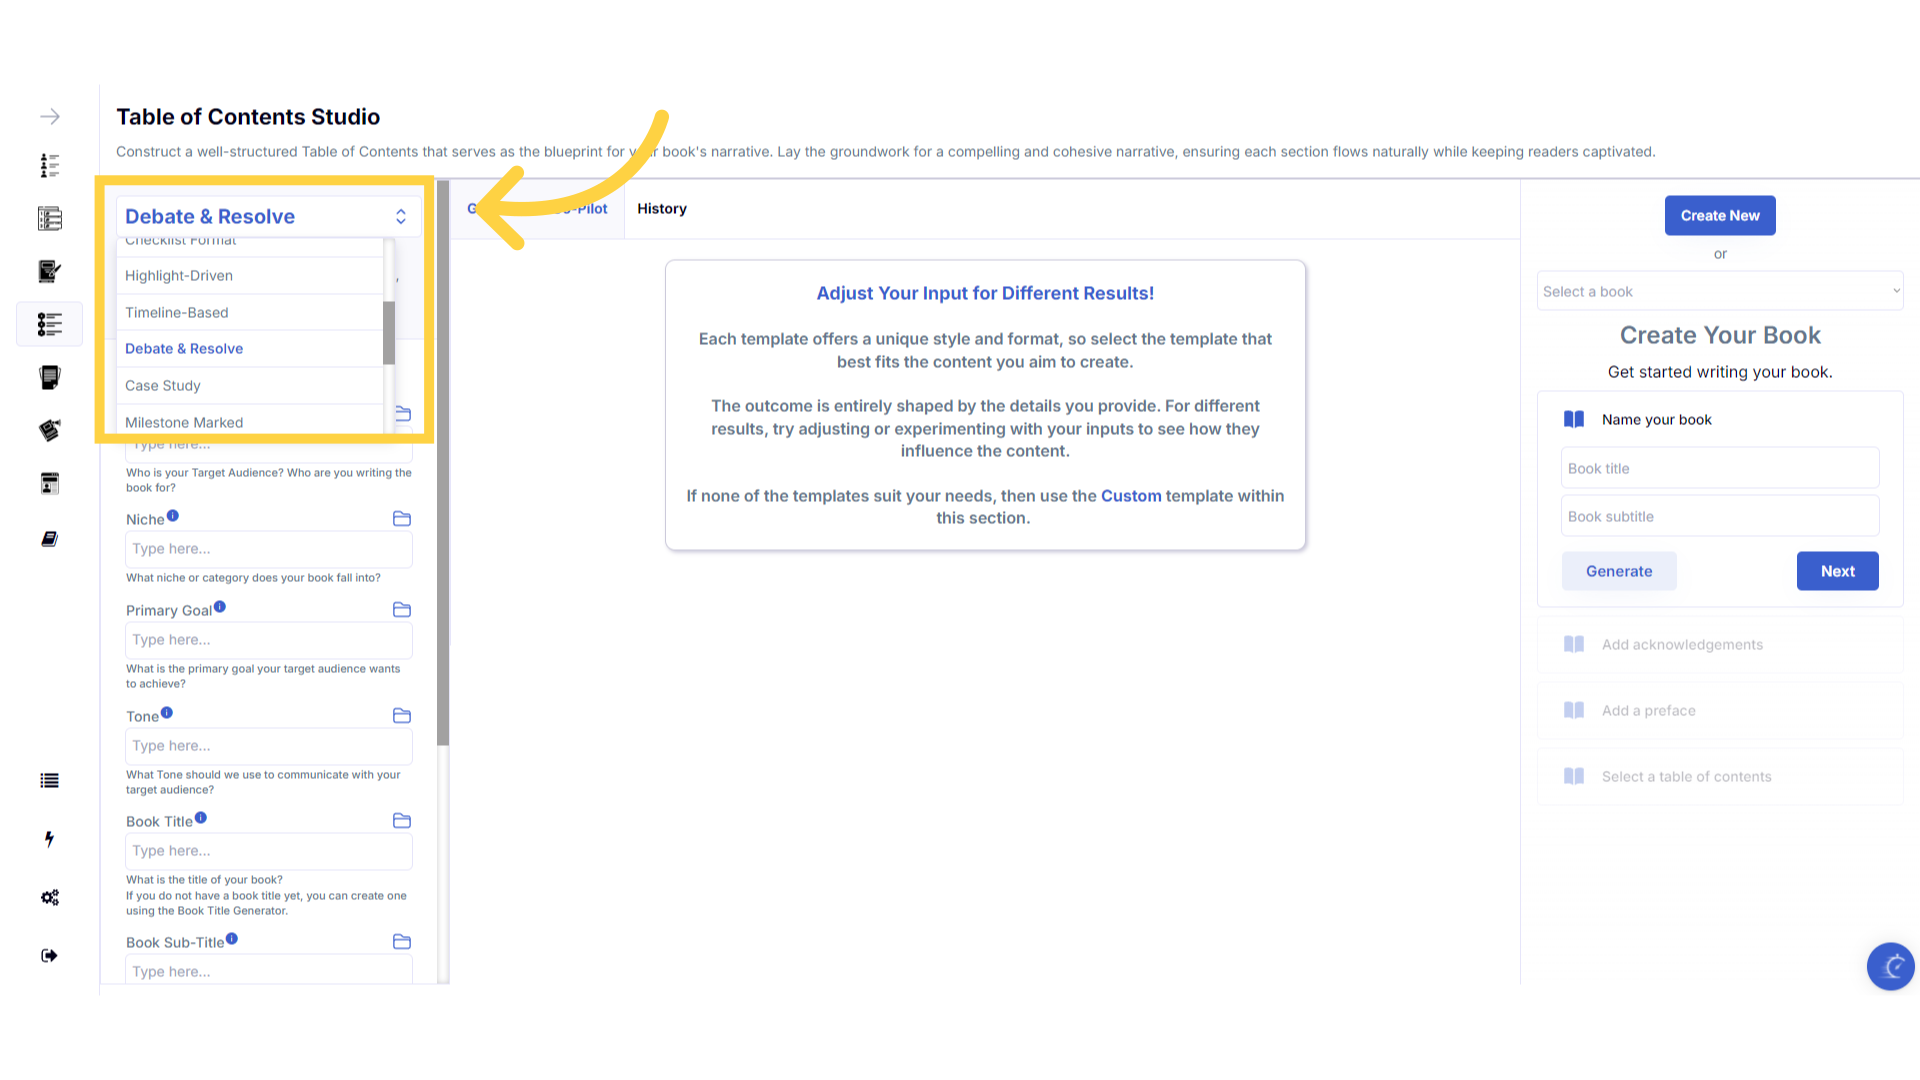
Click "Template Name" in the dropdown menu to change between the templates.
Click on the template name to open the dropdown menu, to select and change between the templates within the table of contents studio.
)
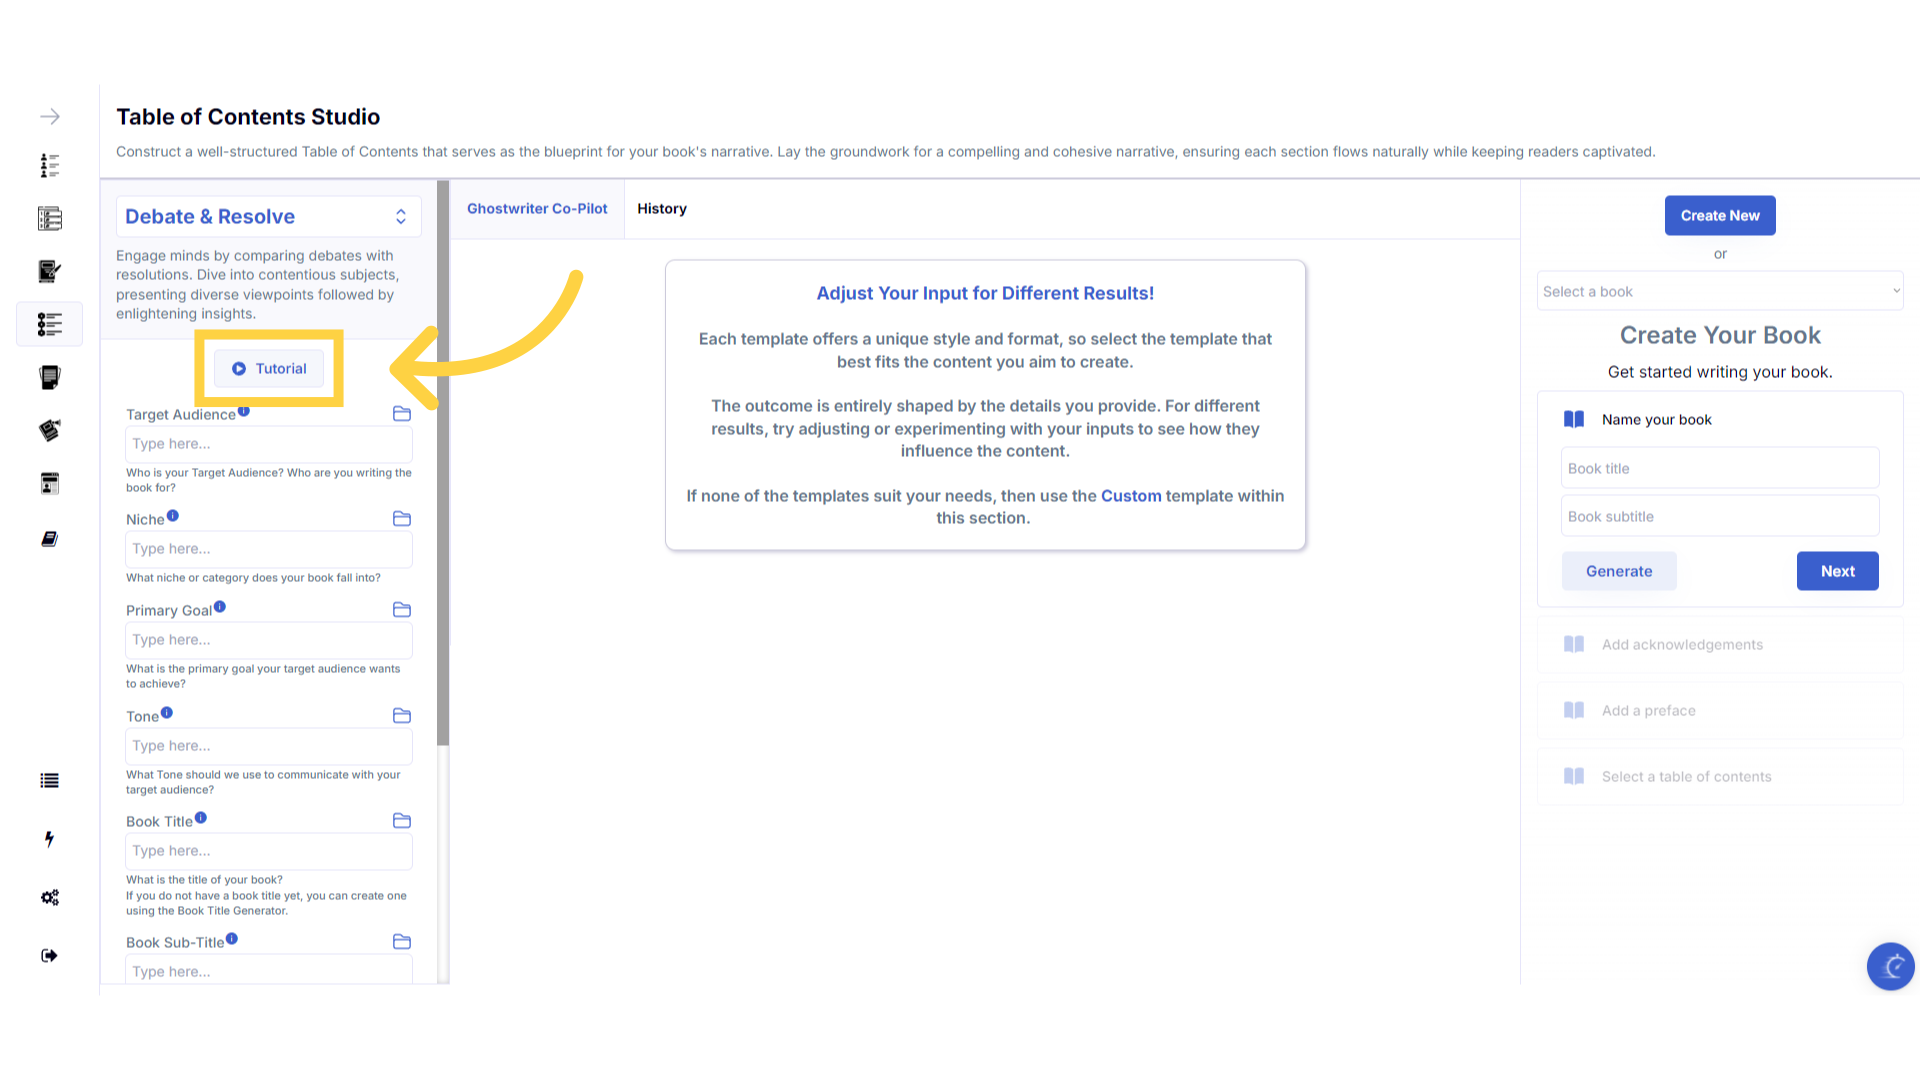
Click the "Tutorial" button to learn more about how to use the template.
If you need help at any time you can watch the tutorial.
)
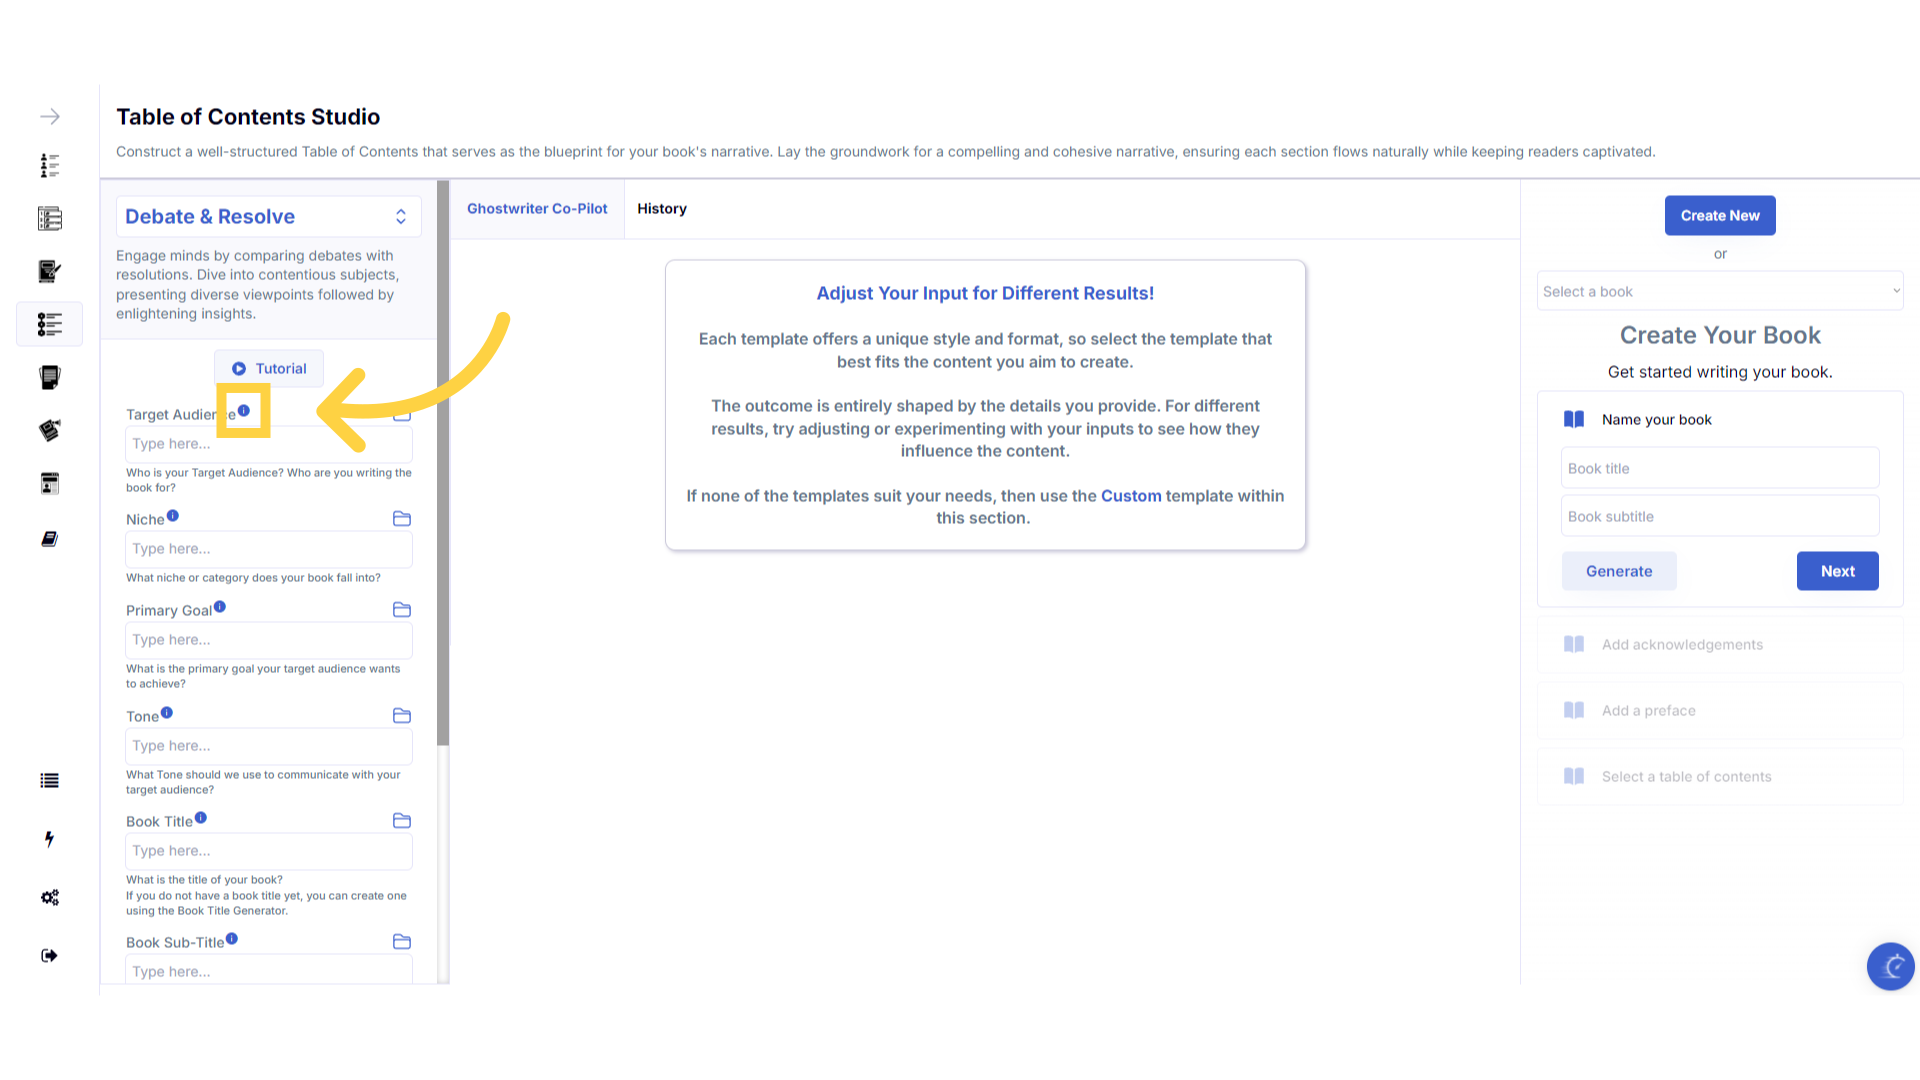
Click the blue "i" icon beside the field name, for an explanation and examples of the information you need to enter in that field.
To help you craft the perfect content, you can select the blue tooltip beside each field name. This will give you an explanation and examples of the information you need to enter in that field.
)
A pop up will display to help you understand what information you need to enter for that field.
A pop up will display with examples of the type of information required.
)
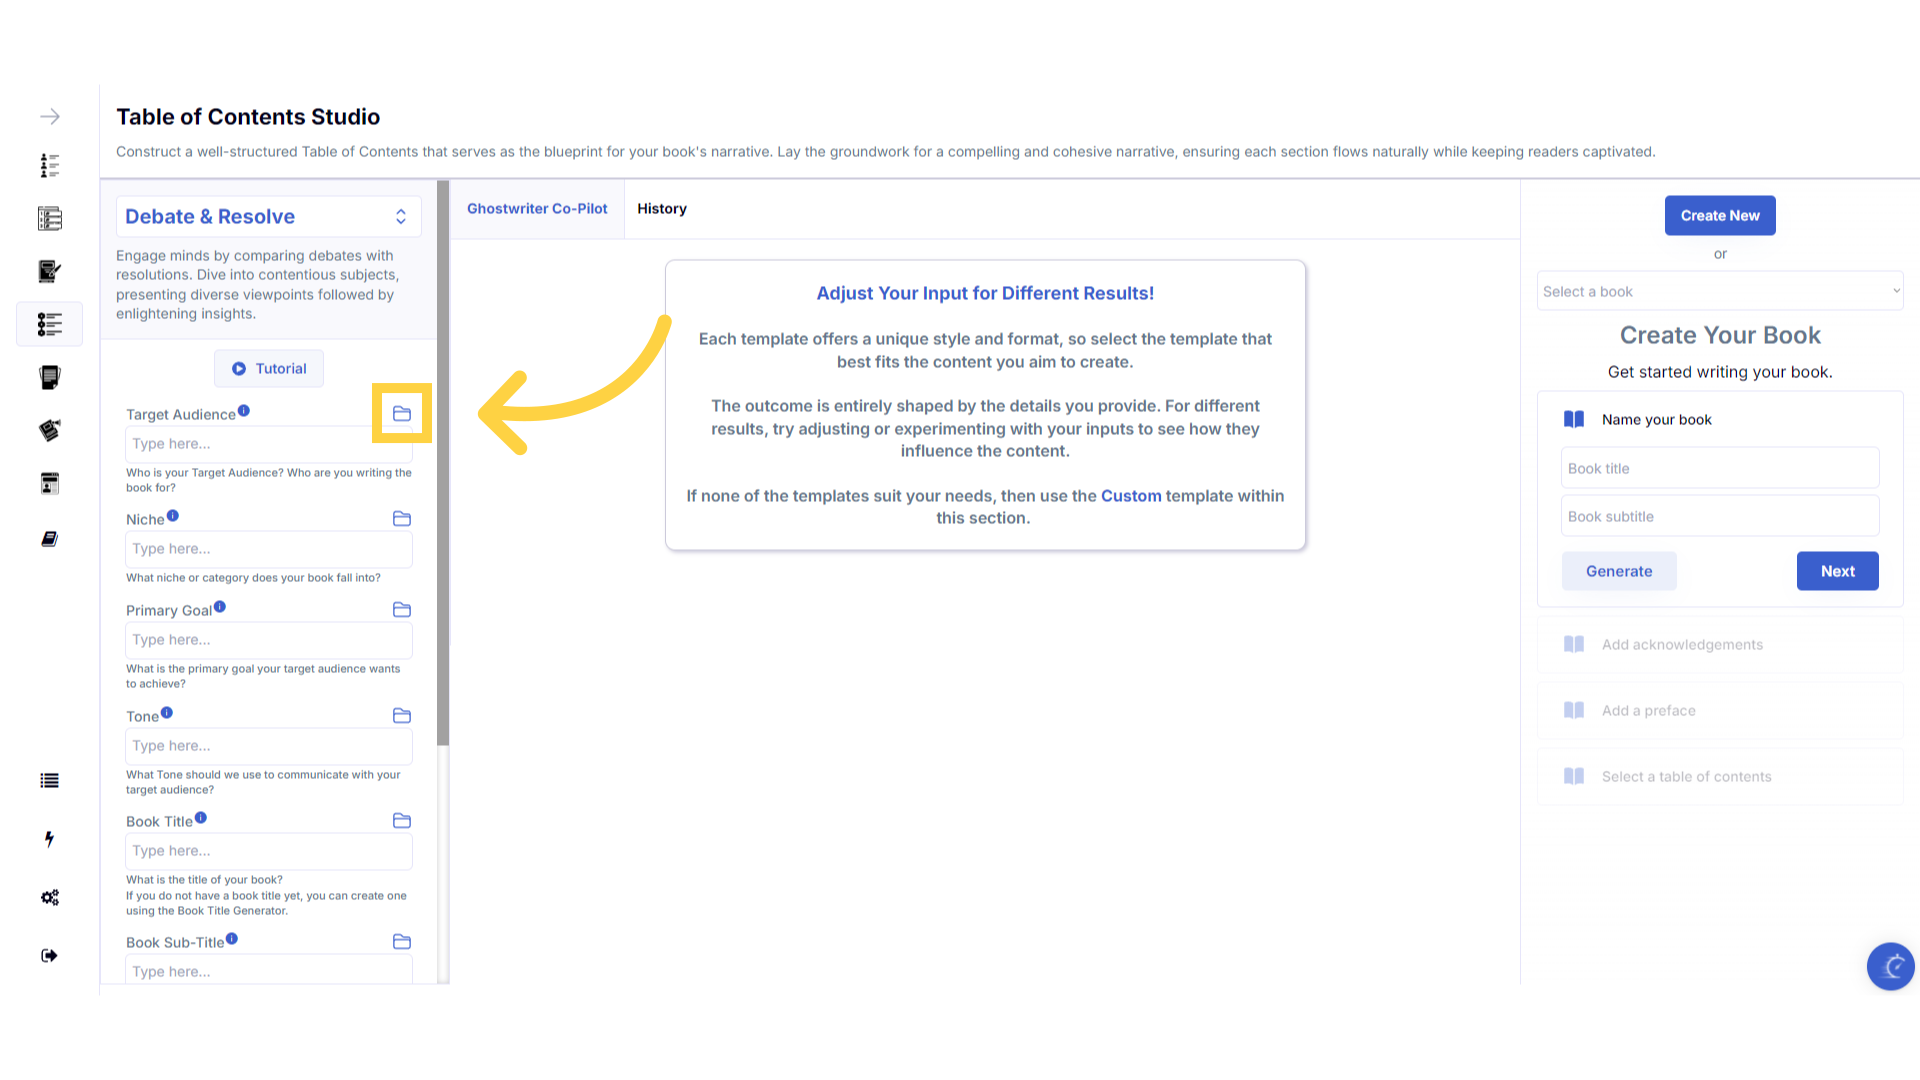
Click the "History" folder to view the last 10 entries for this field.
Once you've added information to a field, a folder will appear on the right that contains the history of the last 10 entries in this field.
)
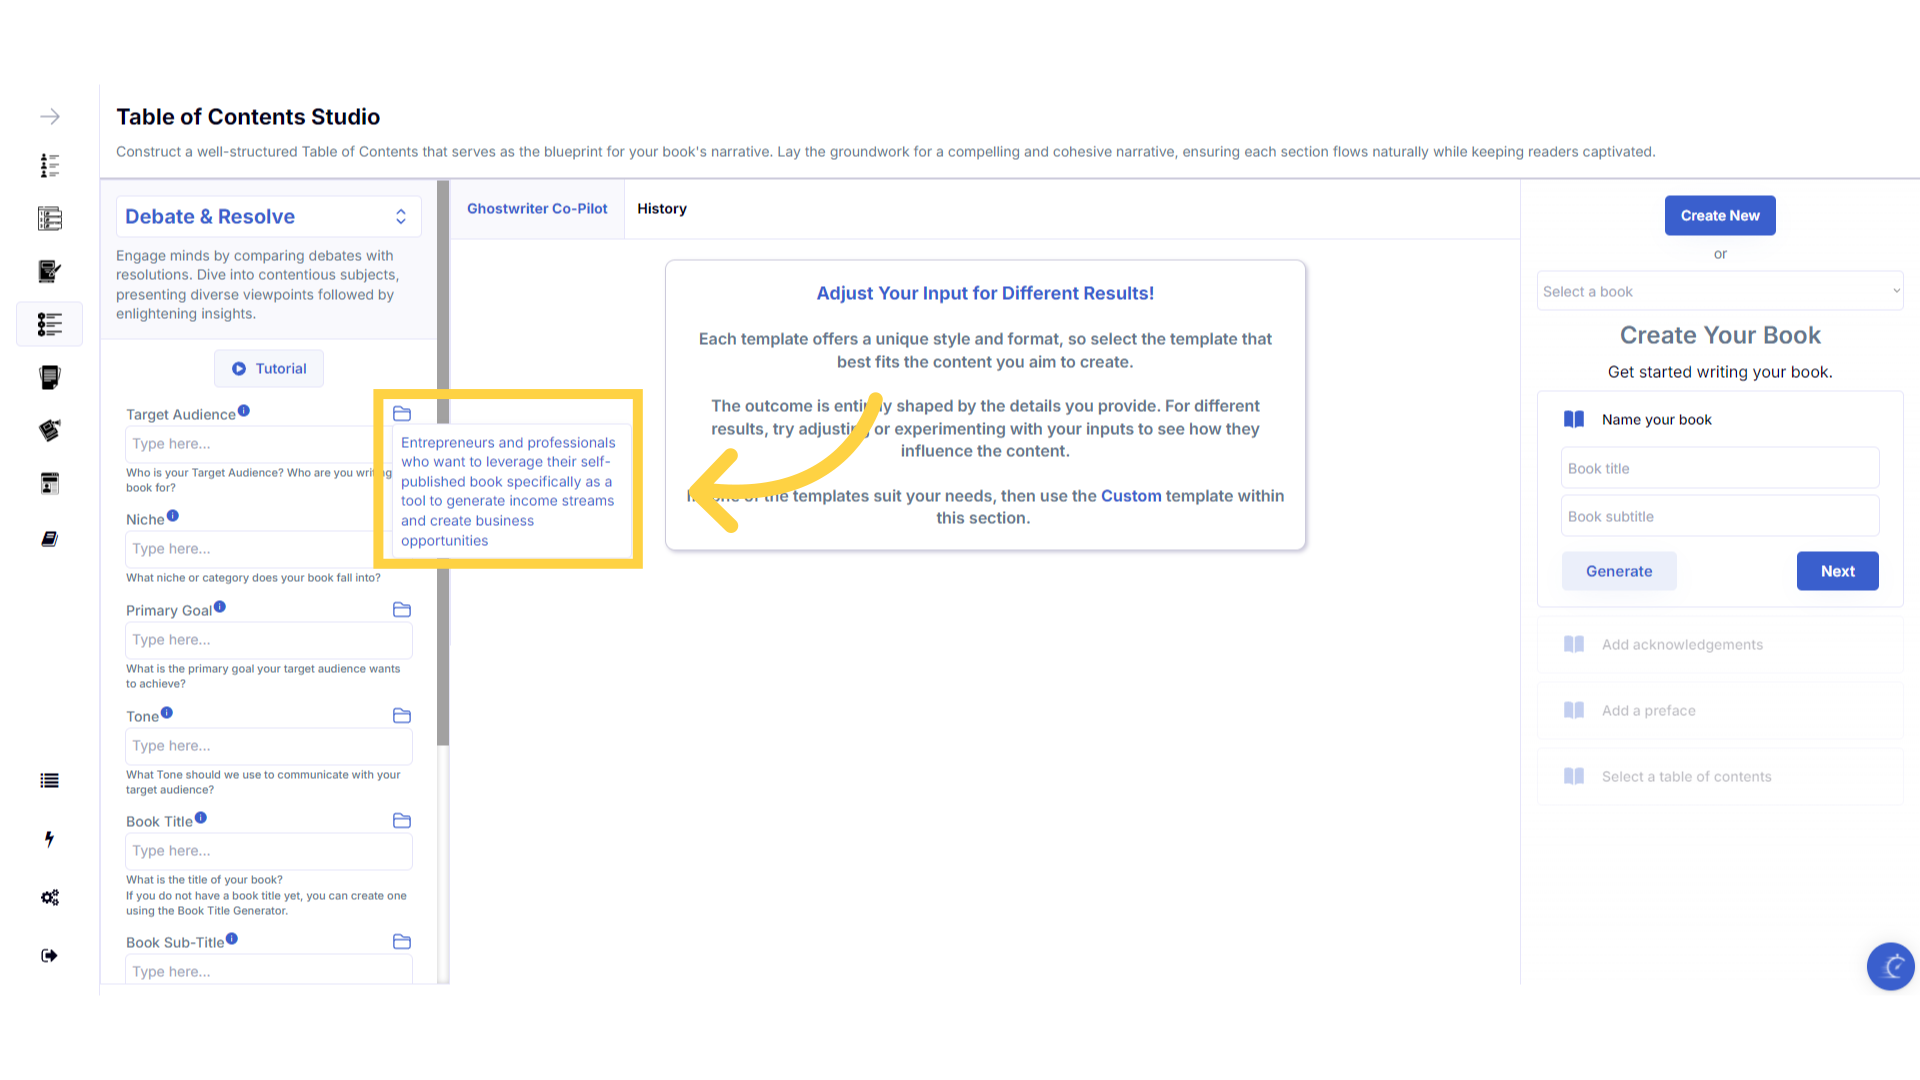
Click on the "History" folder to easily re-select information you've already entered, and add it to that field.
Click on the history folder to easily re-select information you've already entered, and add it to that field.
)
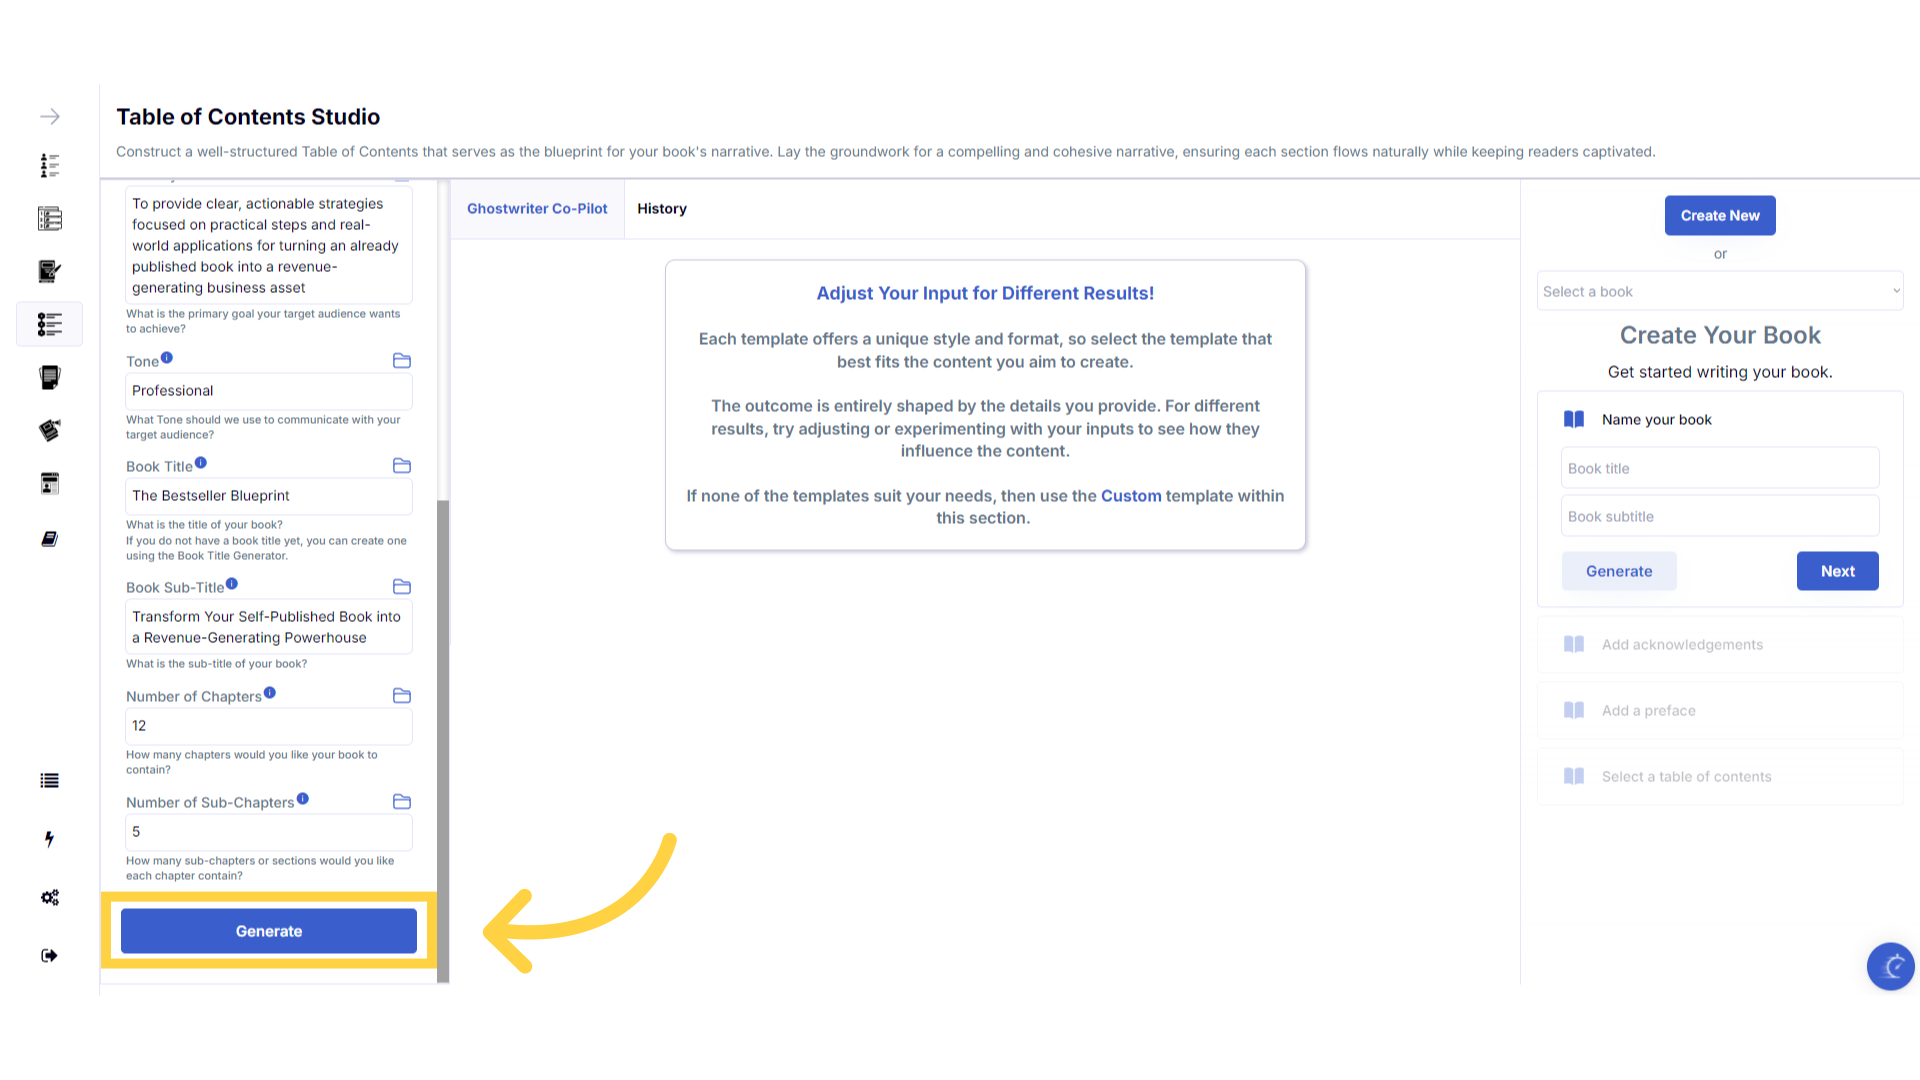
Enter the required information to generate the Table of Contents.
Enter the required information to generate the table of contents. You can highlight and copy the book title and subtitle from the book builder on the right, to paste it into the required field on the left. Ensure you create the correct number of chapters, as you will be unable to add additional main chapters once your book is created.
)
Click "Generate" to craft the Table of Contents.
You can change the information you provide, and re-generate the content as many times as you need, to craft the perfect table of contents for your book.
)
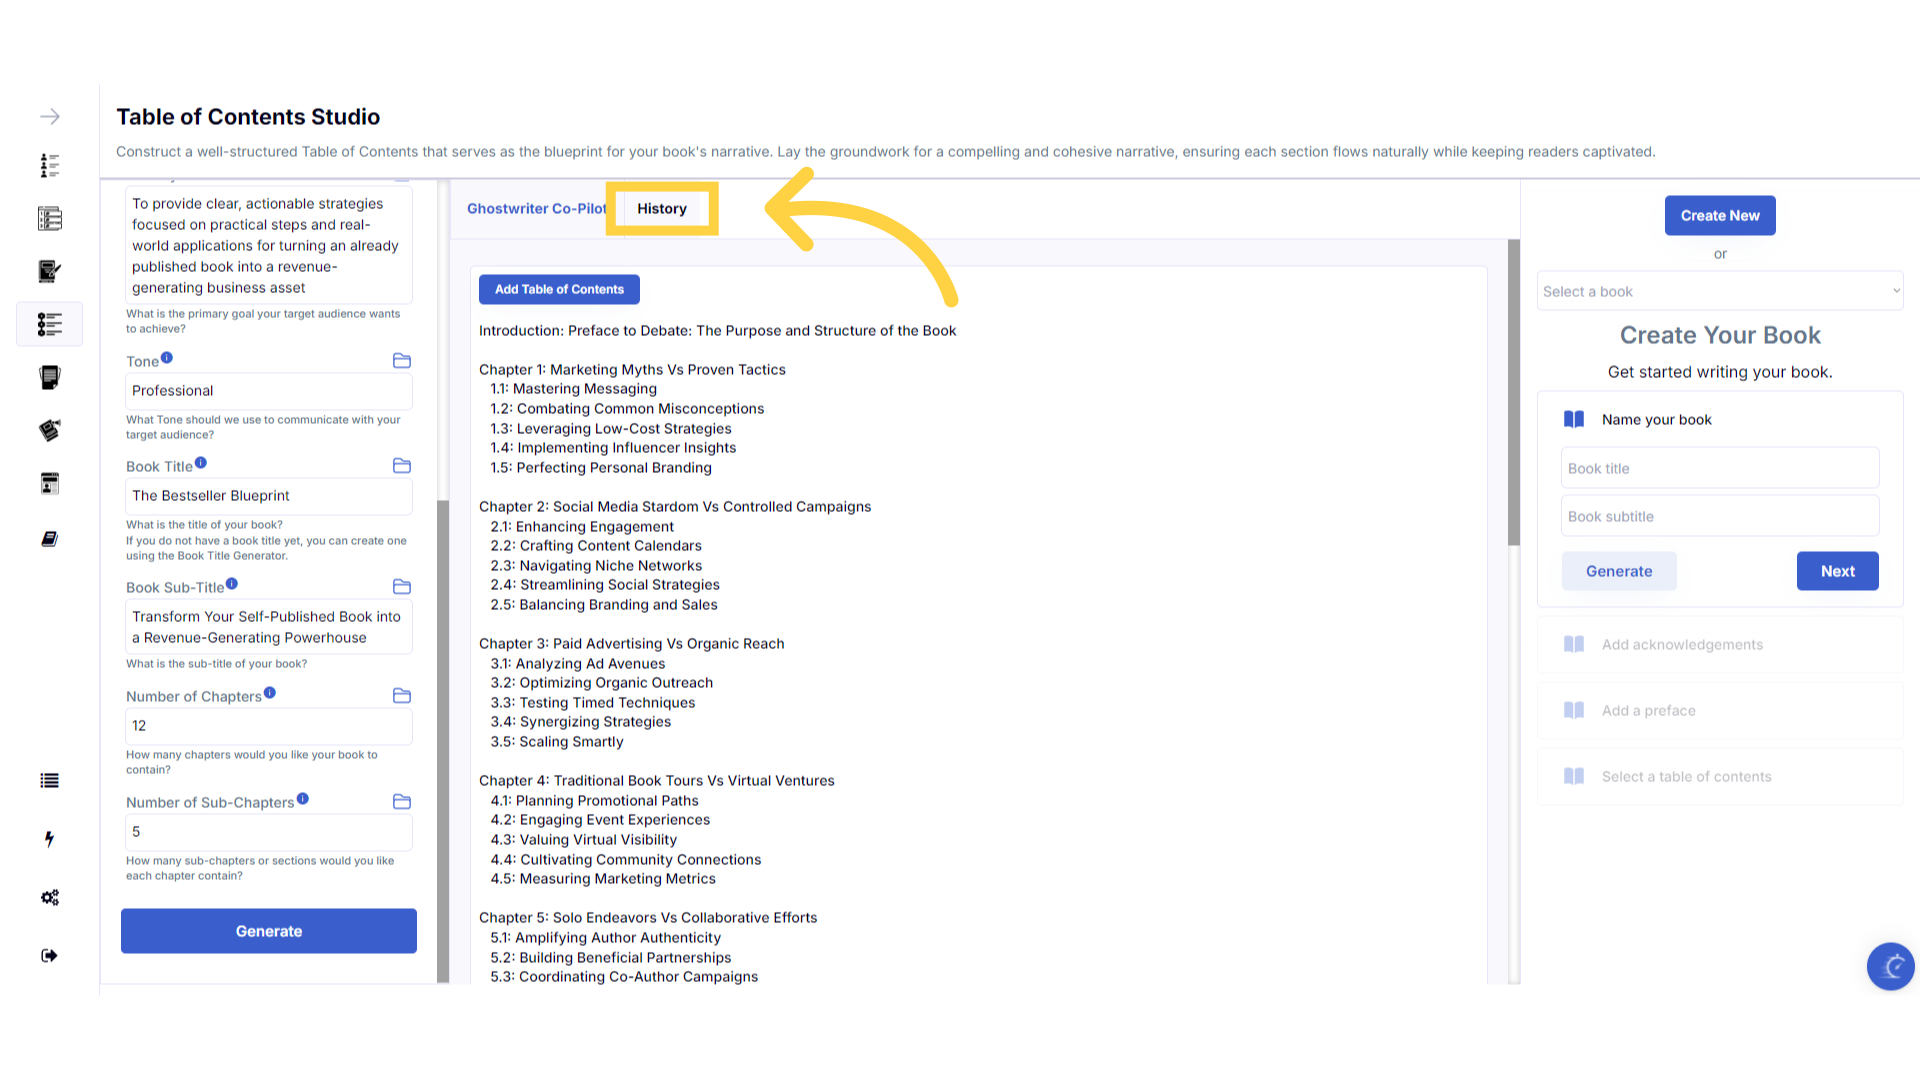
View or use your previous content generated in the "History" section.
The history stores all of the content you've generated. Select the history button to view or use any of the past content you've created with this template.
)
Adding your Table of Contents to the Book Builder.
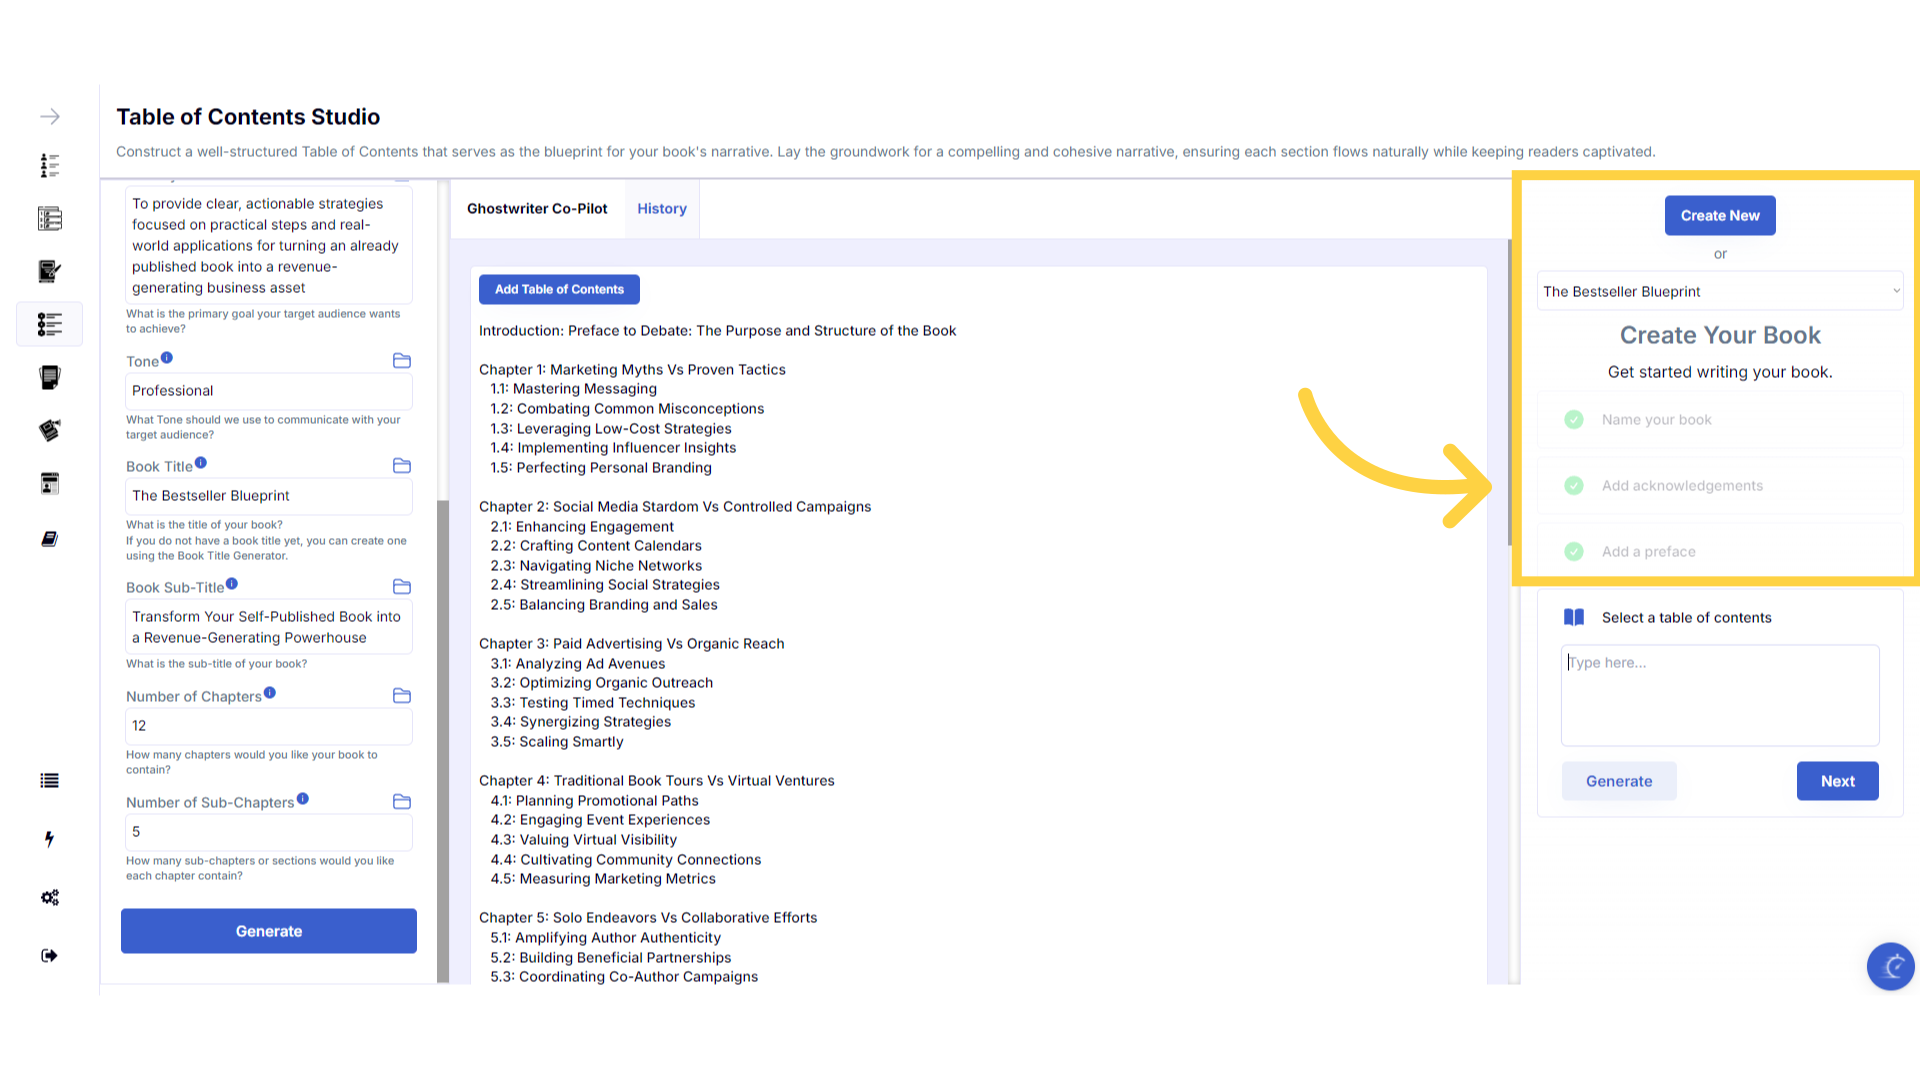
To add a table of contents to the book builder you must first create a book. If you have followed the steps to create a book, you will see that the book title, acknowledgments and preface have a green check mark and only the table of contents is left to add.
)
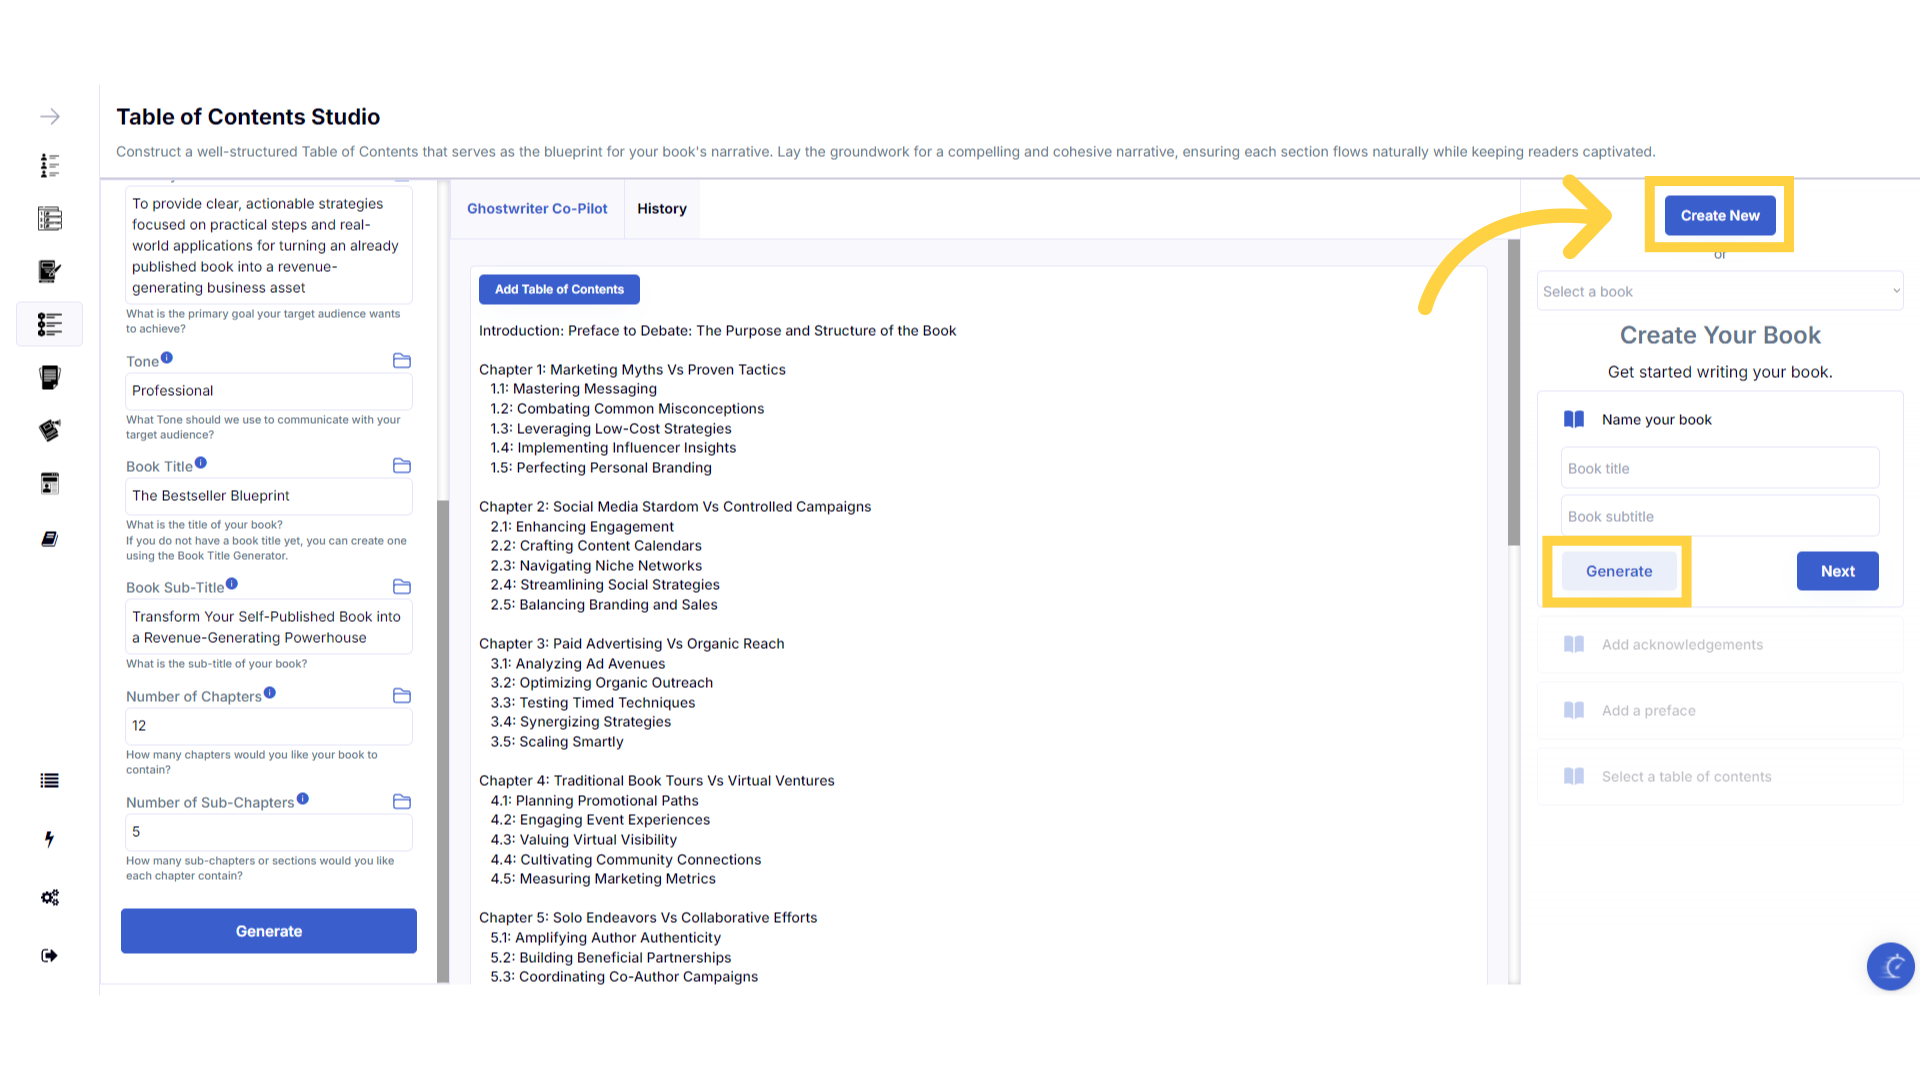
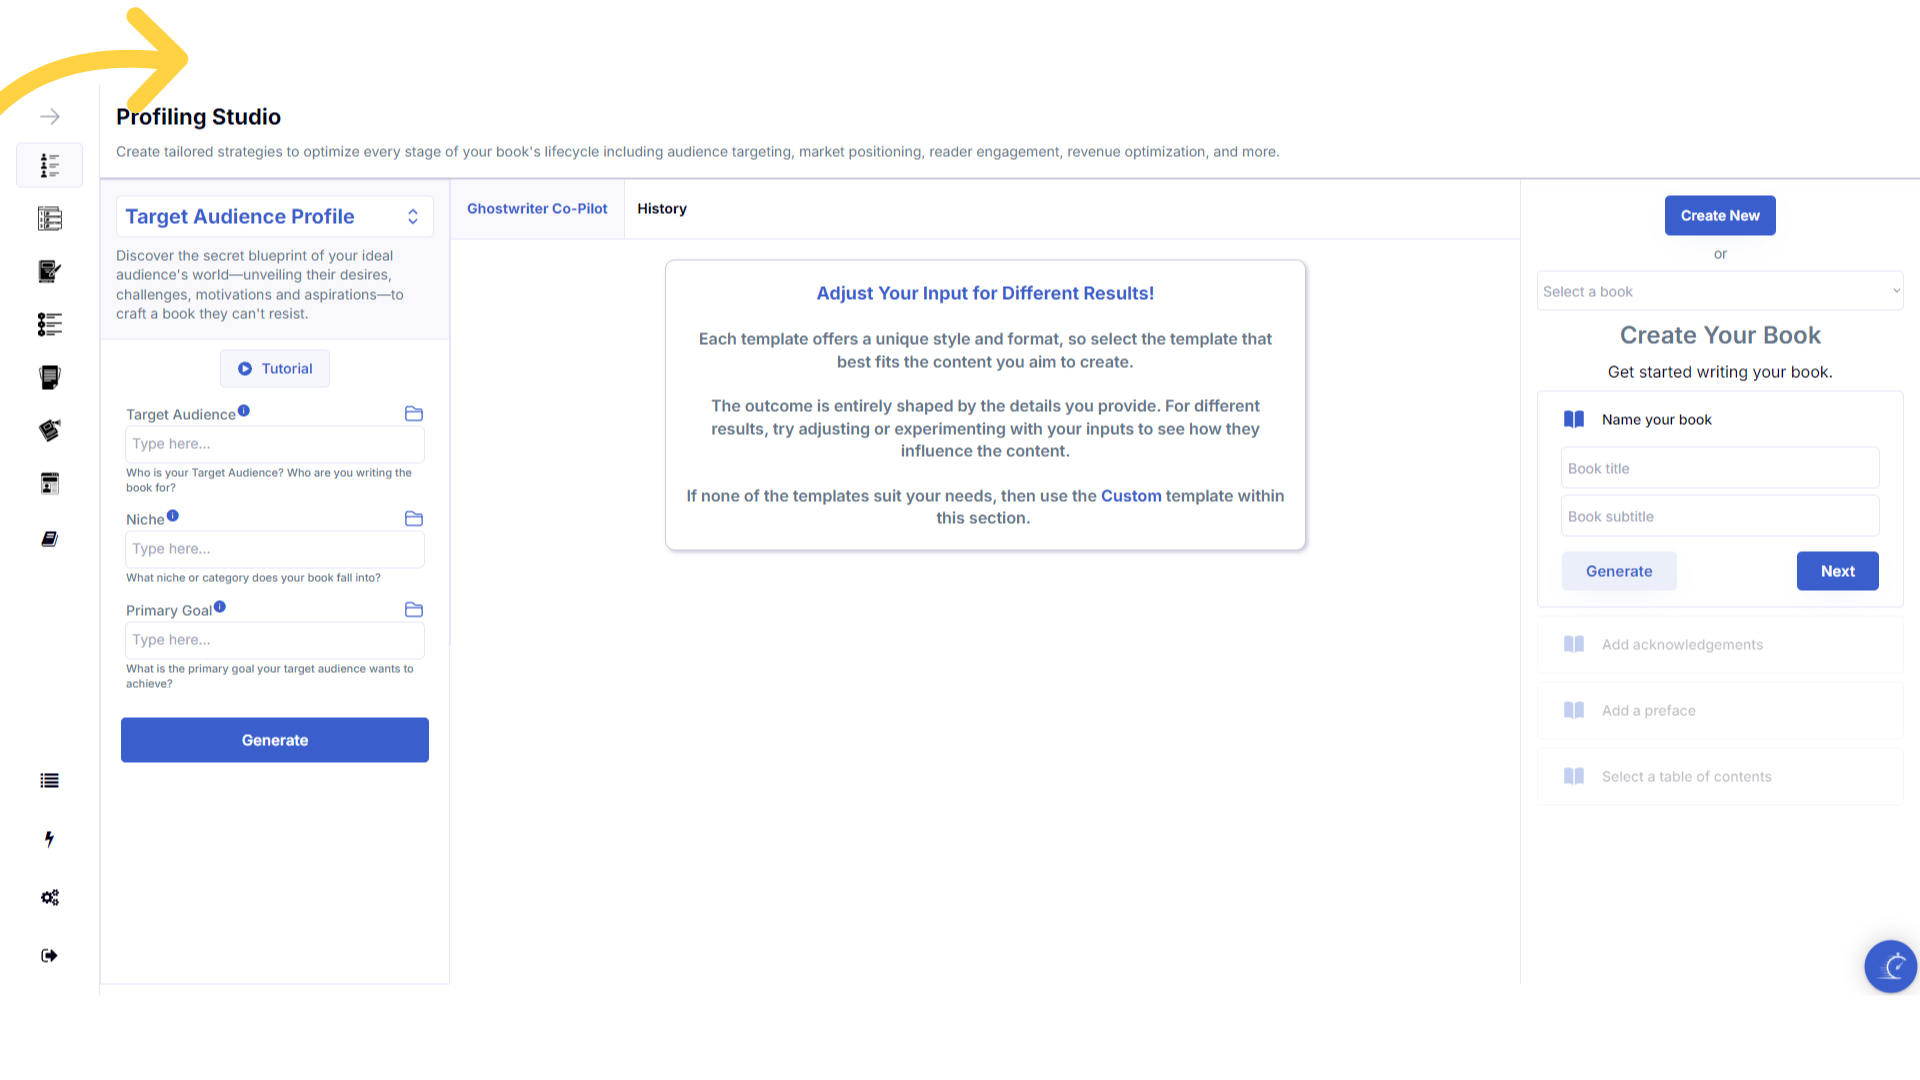
Click "Create New" to create your book if you haven't already.
If you haven't started your book yet, click the create new button in the book builder, then click generate, to be taken to the book title generator to craft and add titles. After you have added your titles, follow the steps in the book builder, until you are at the section to add the table of contents.
)
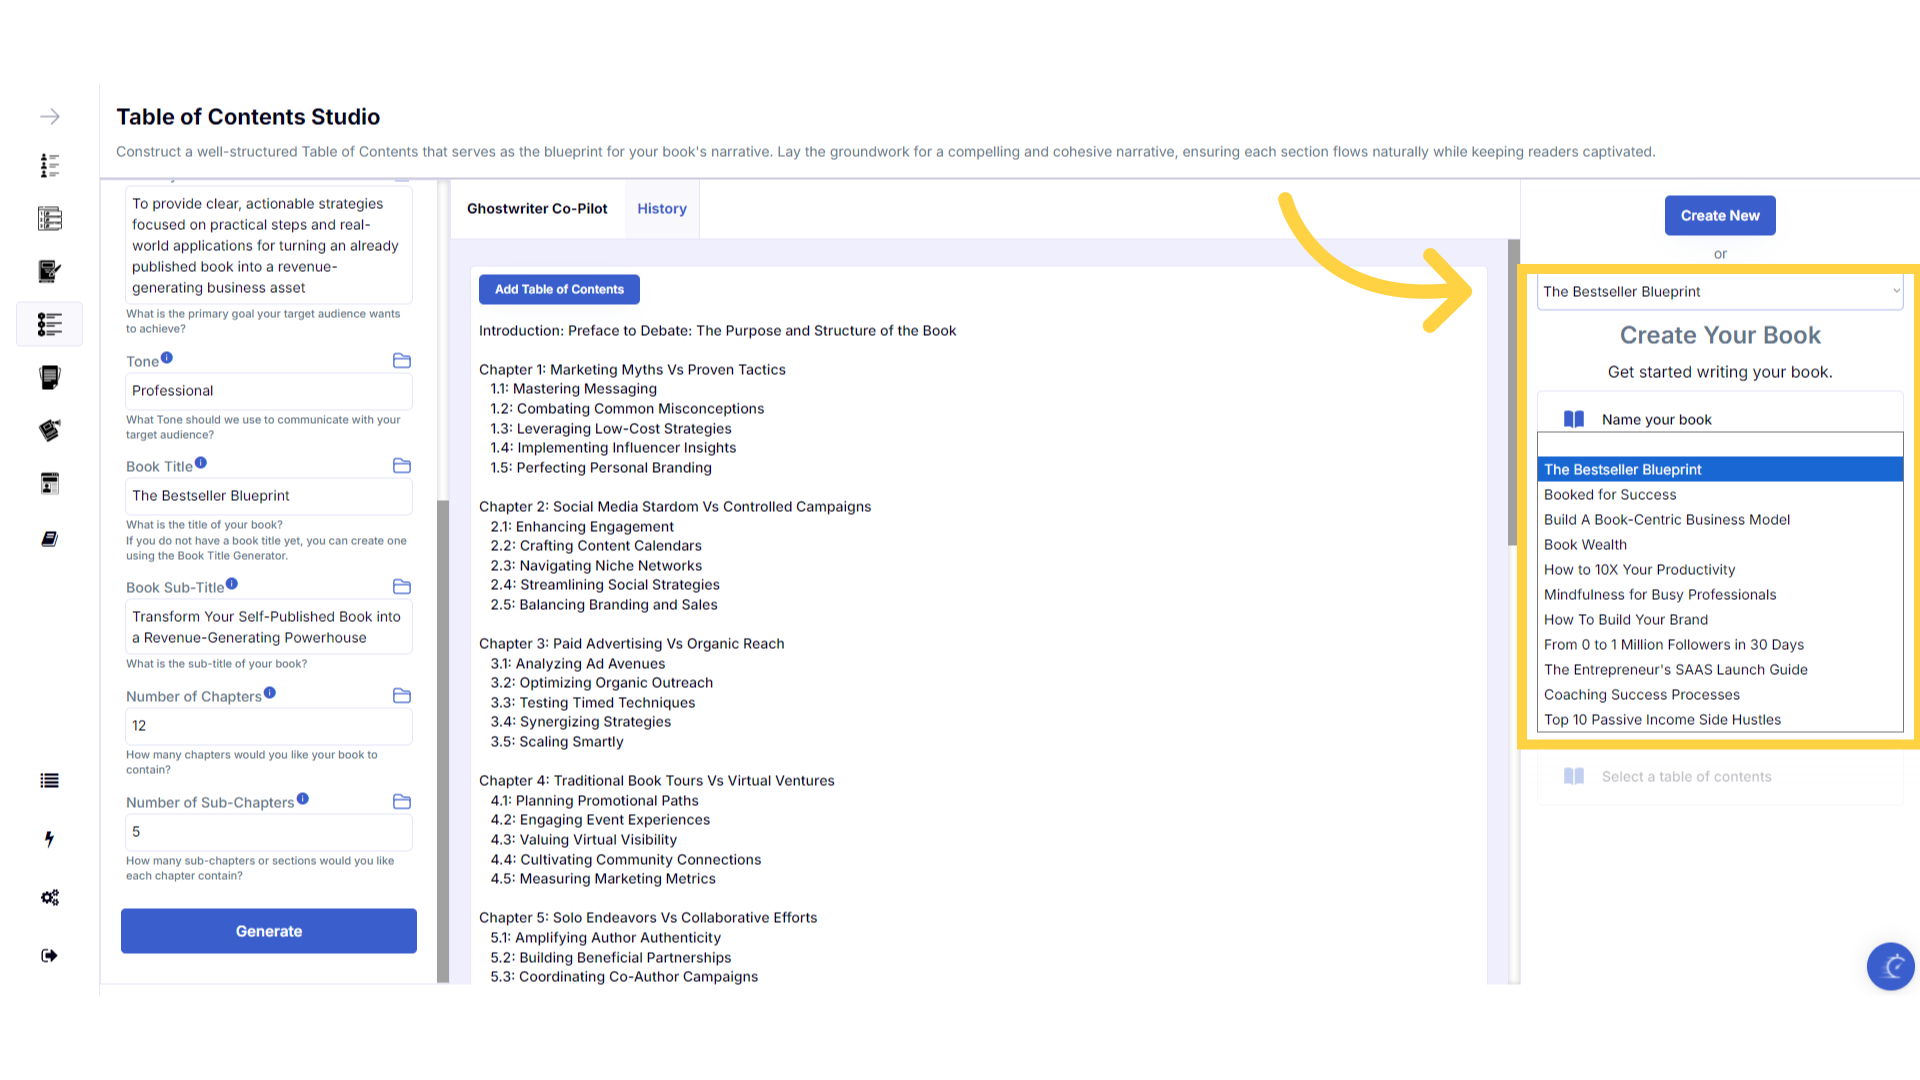
If you have already started your book, select it from the dropdown menu.
Alternatively, if you have already created a book with your title and subtitle, but have not yet generated the table of contents, you can select your book from the dropdown menu to continue, and craft your table of contents.
)
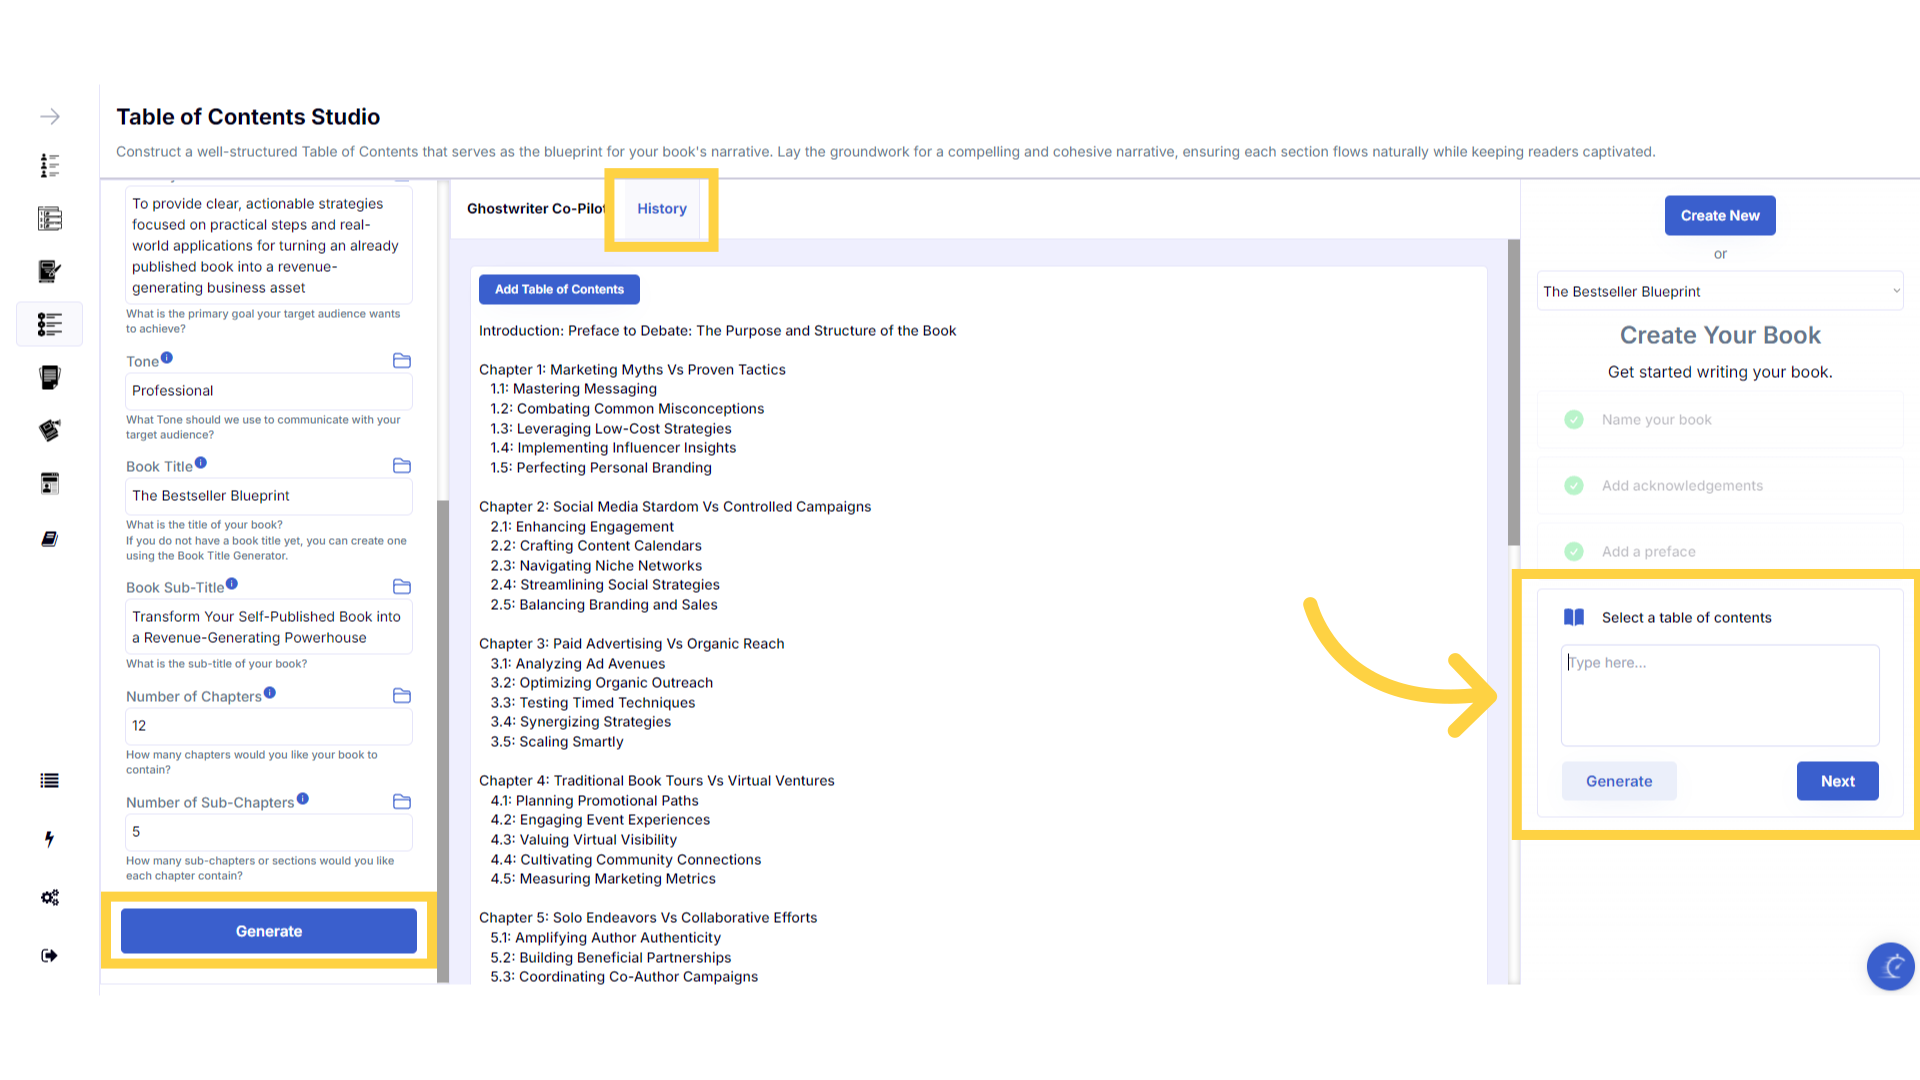
Generate a new Table of Contents or click on "History" to use one already created.
Once you have followed the steps to create your book, you will be at the section to add the table of contents to the book builder. You can either generate a new table of contents, or go to the history tab and add a table of contents you have previously generated.
)
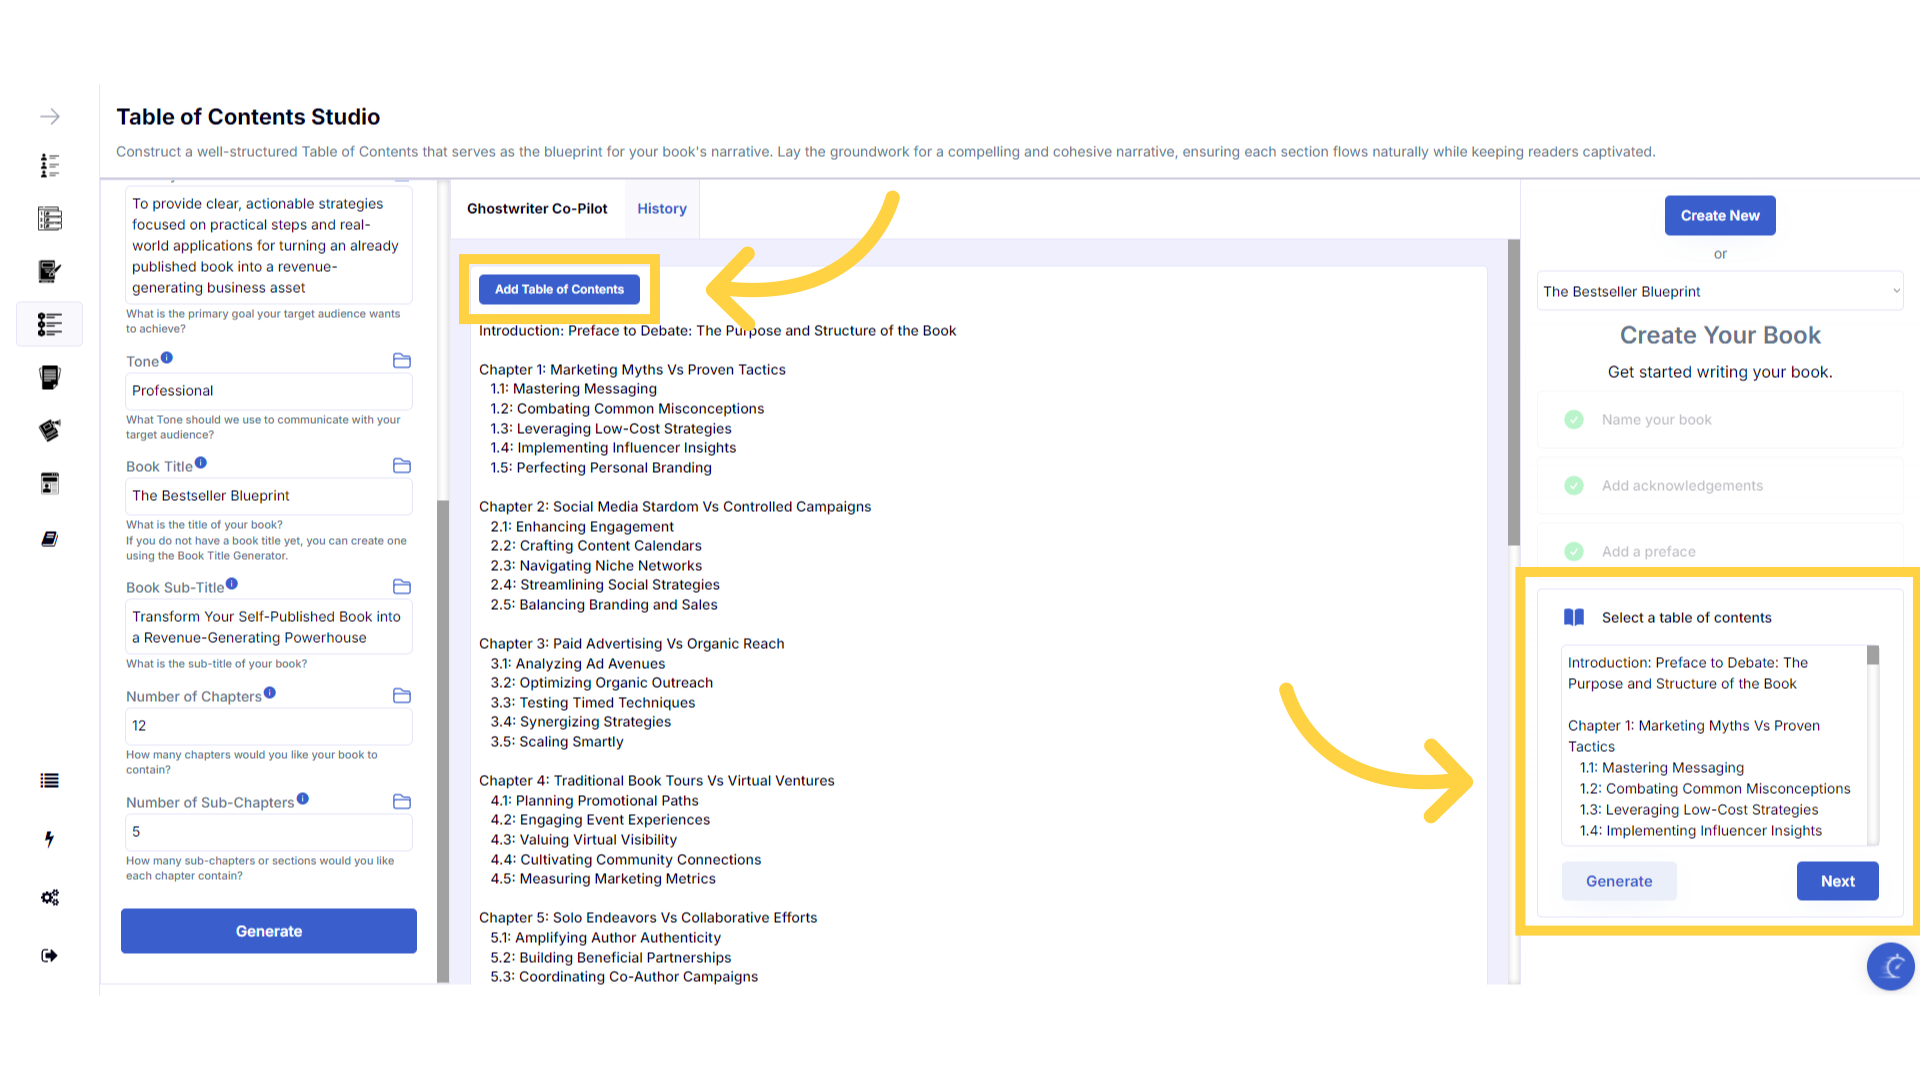
Click "Add Table of Contents" to add the Table of Contents to your book.
Click add table of contents to add it to your book. You can manually change the chapter and subchapter titles in the next section of the book builder.
)
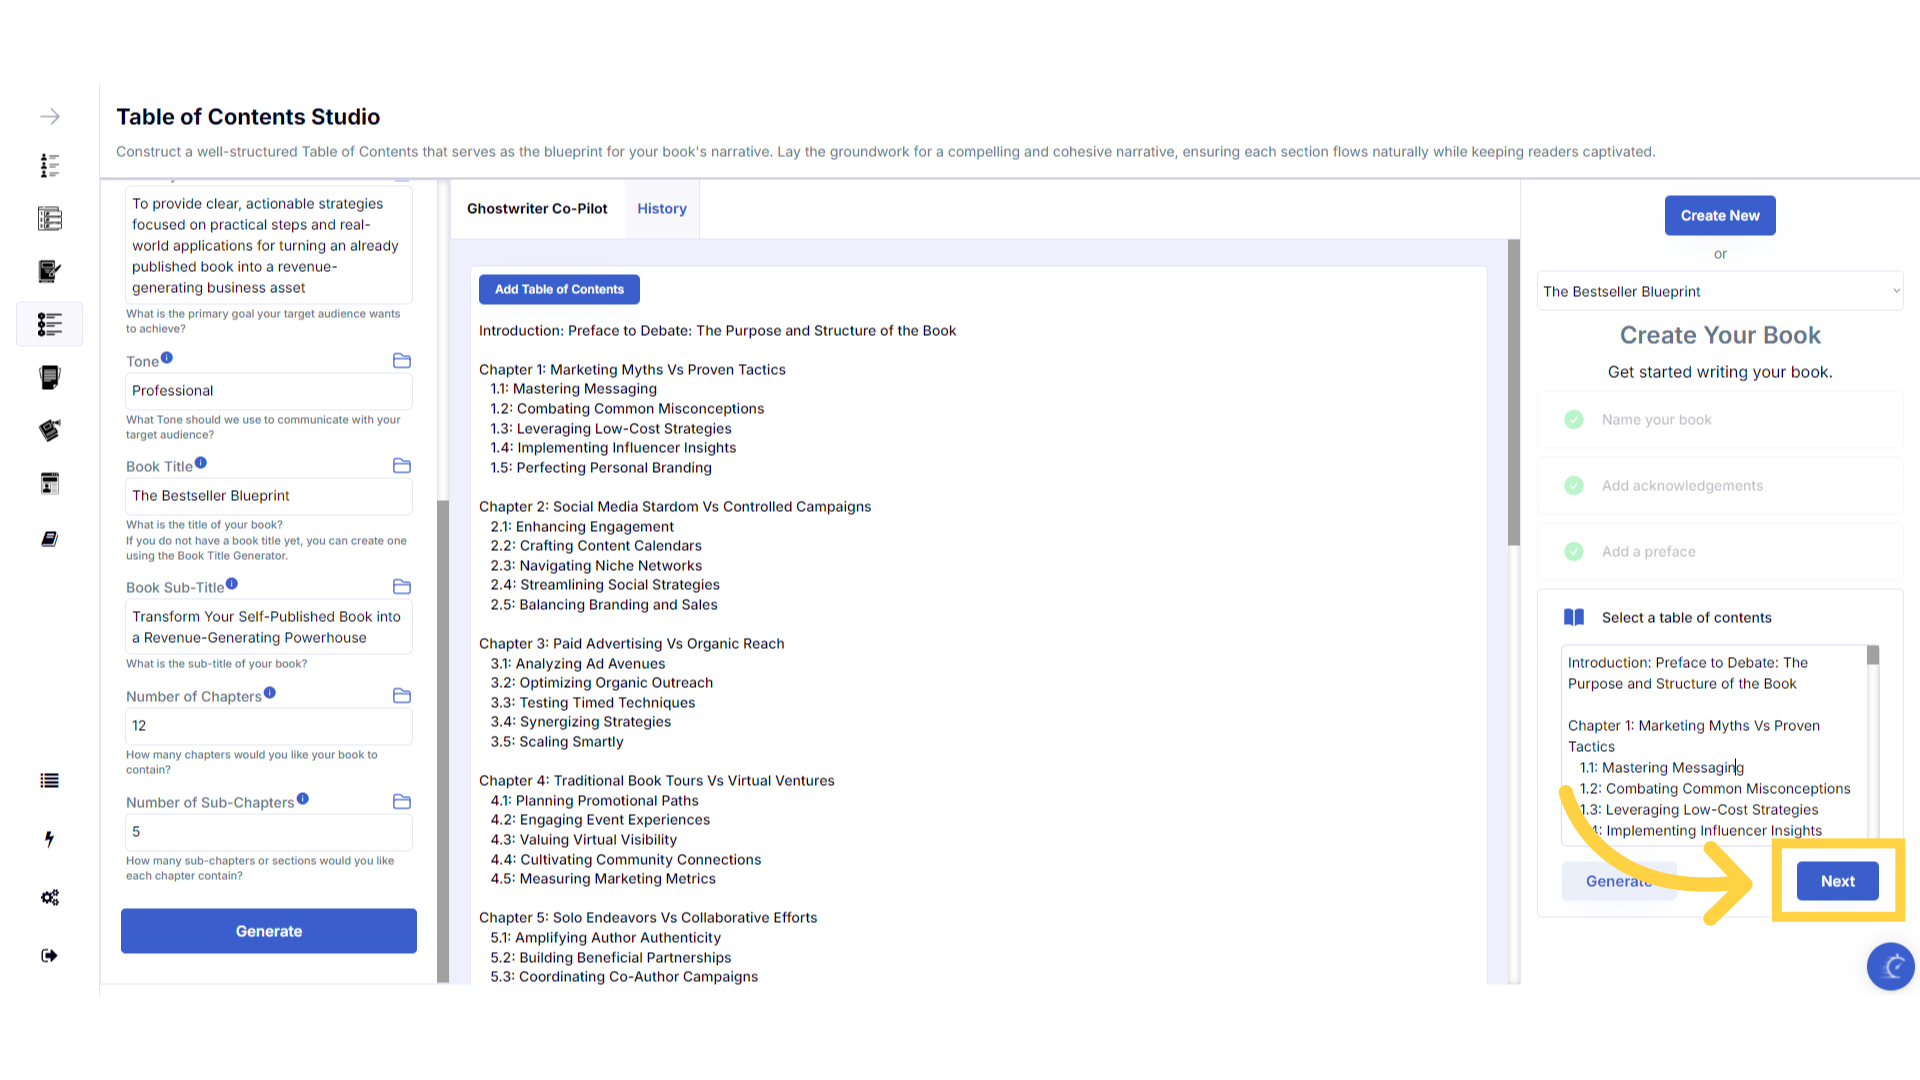
Click "Next" to start crafting Chapters.
Click next. The structure of your book is now being built, and you will be taken to the chapter studio to craft chapters and subchapters. Allow a few seconds without clicking away for your book outline to be generated.
)
Refresh your browser to reset the dashboard if you are having technical issues.
If you are having a technical issue, refresh the website browser and try again. This usually fixes any issues.
)
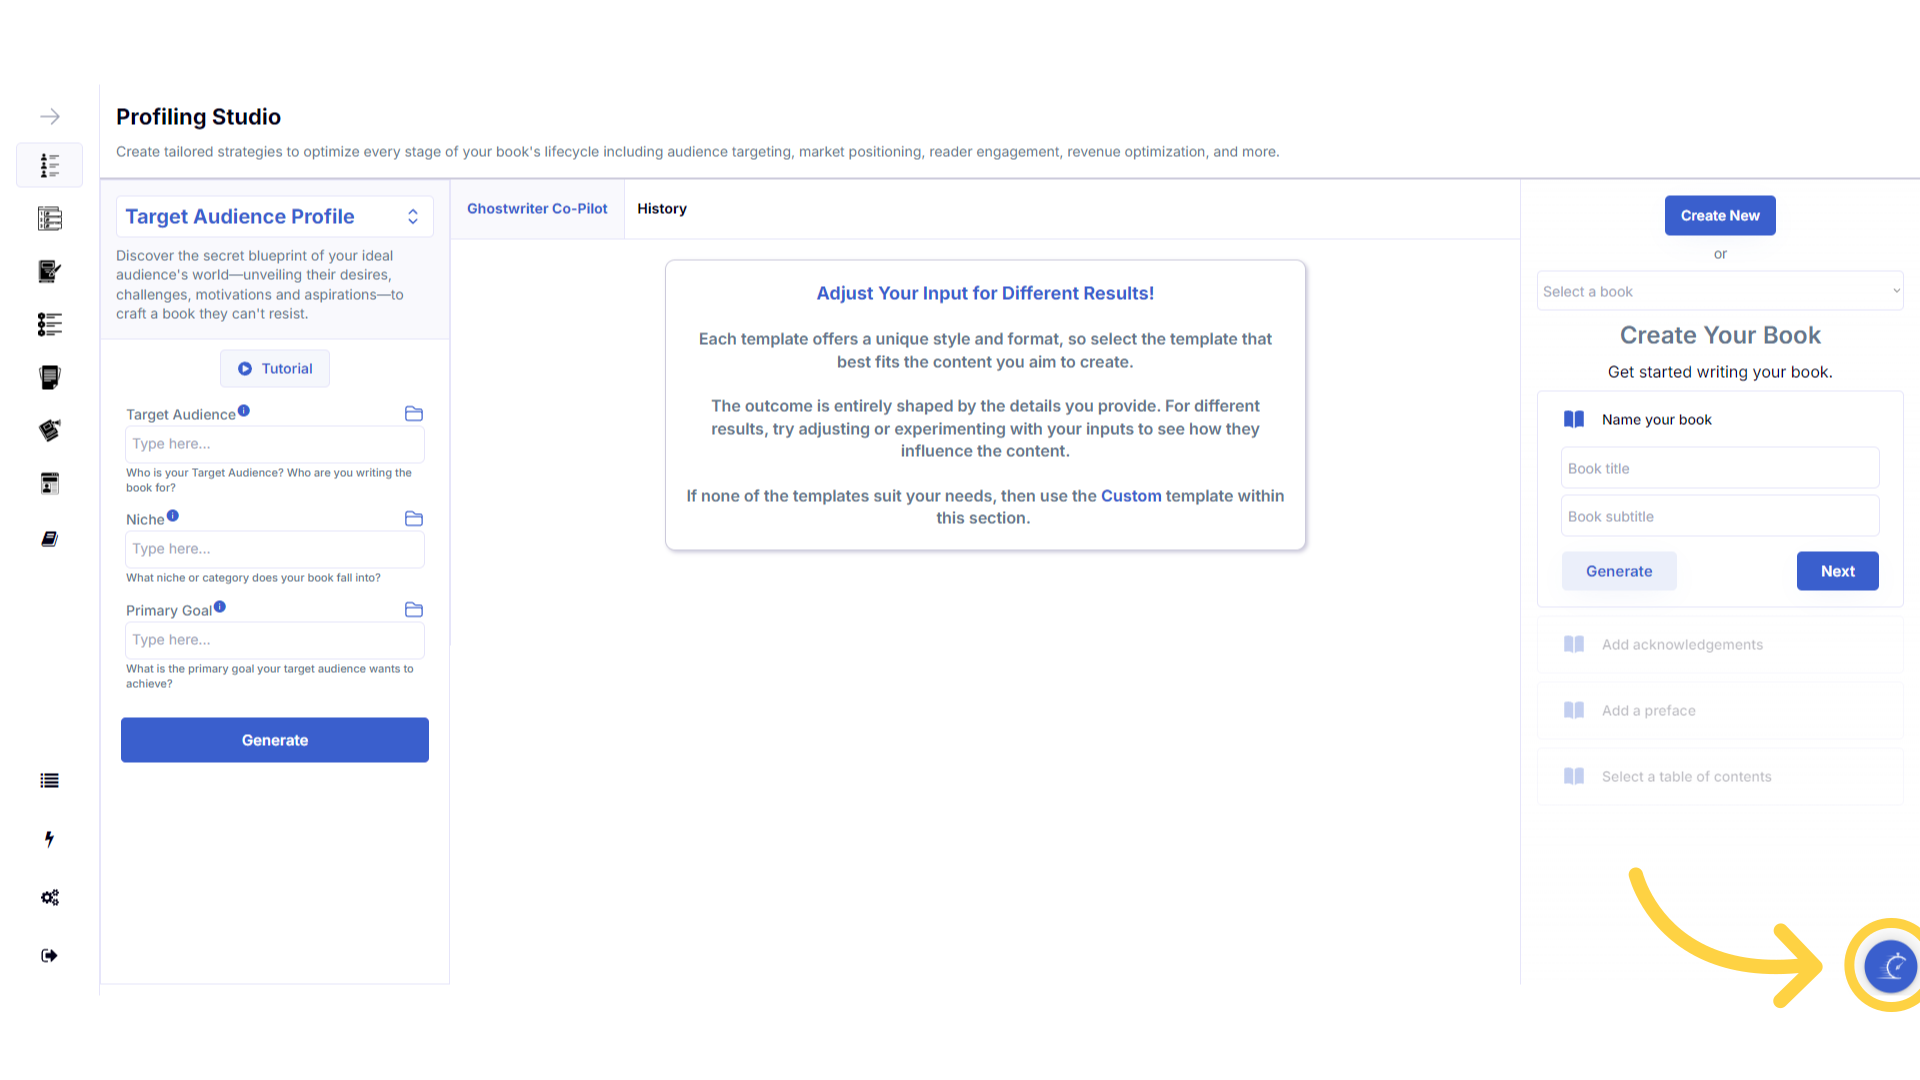
Click the blue icon at the bottom right of your screen.
You can access the help center, tutorials and support by clicking on the icon at the bottom right of your screen.
)
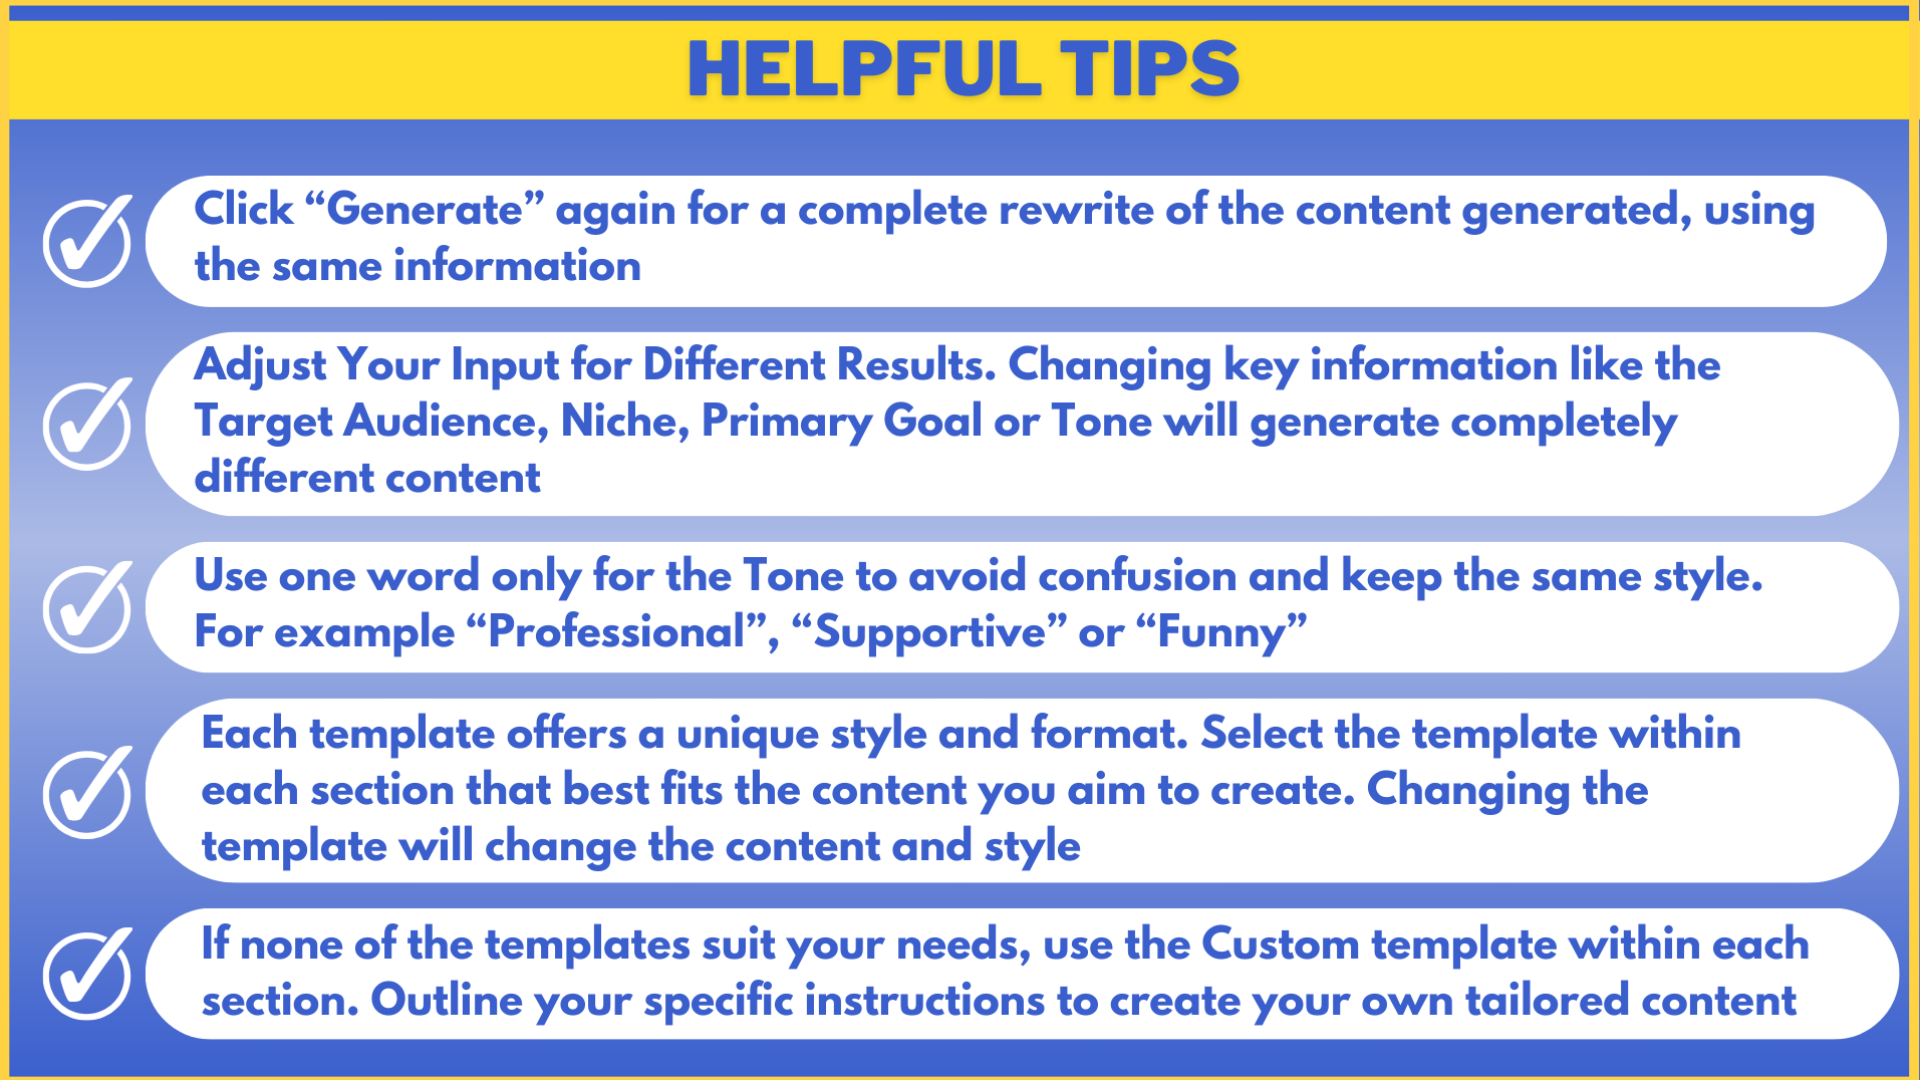
Here are some helpful tips to help you craft your book.
Here are some helpful tips. You can experiment with different information to craft perfectly aligned content.
)